


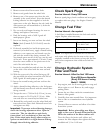

Maintenance
11. Raise the deck and re-install the height of cut pin.
12. Check that the machine does not creep in neutral
with the park brake disengaged.
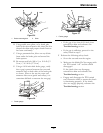
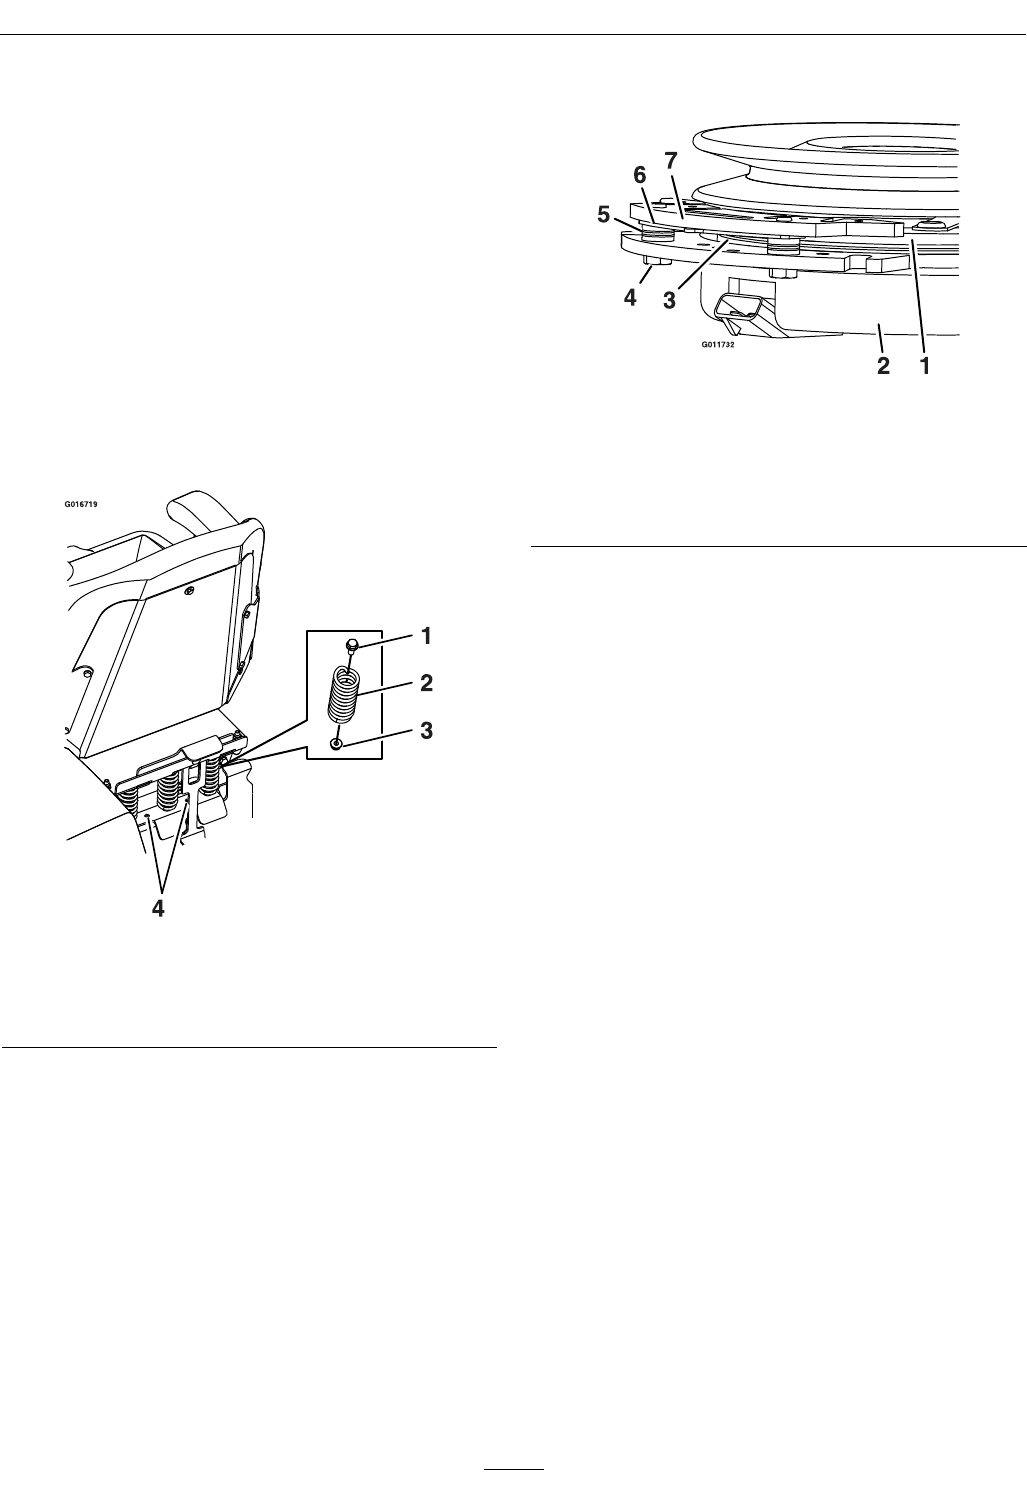
Adjusting the Seat Ride
Suspension
The number of seat springs can be changed to
maximize rider comfort. More springs should be used
with heavier operators and on rough terrain. Fewer
springs should be used with lighter operators and
when mowing smooth, well established lawns. Always
keep the number of springs on the left and right side
the same when adding and removing springs.
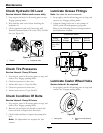
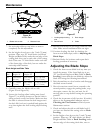
Figure 33
1. Bolt 3. Nut
2. Spring
4. Additional mounting
holes
Up to ve springs can be secured to the seat box with
a nut and bolt, see Figure 33.
Refer to the Parts Manual for spring and hardware
part numbers.
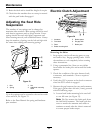
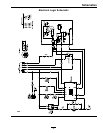
Electric Clutch Adjustment
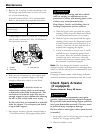
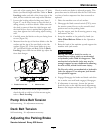
Figure 34
1. Armature 5. Brake spacer
2. Field shell 6. Re-gap shim
3. Rotor 7. Brake pole
4. Brake mounting bolt
Removing the Shim:
1. Stop engine, wait for all moving parts to stop,
and remove key. Engage parking brake. Allow
the machine to cool completely before starting
these instructions.
2. Using a pneumatic line, blow out any debris
from under the brake pole and around the brake
spacers.
3. Check the condition of the wire harness leads,
connectors, and terminals. Clean or repair as
necessary.
4. Verify that 12V is present at the clutch connector
when the PTO switch is engaged.
5. Measure the gap between the rotor and armature.
If the gap is greater than .04 inch (1 mm), proceed
with the following steps:
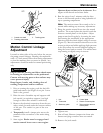
A. Loosen both brake mounting bolts one-half
to one full turn (see
Figure 35).
Note: Do Not remove the brake pole from
the eld shell/armature. The brake pole has
worn to match the armature and needs to
continue to match after the shim is removed
to ensure proper brake torque.
40