Starting the Engine
Read, understand and follow all
instructions and warnings on the machine and in
this manual before operating.
Wear leather work gloves, safety shoes,
and safety glasses when operating a log splitter.
Ensure safe footing.
Before Each Use
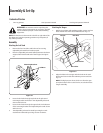
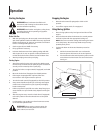
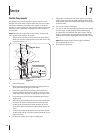
With the spark plug wire disconnected, remove the dipstick 1.
and check hydraulic fluid level. Refill if necessary. Approved
fluids include Dexron® III / Mercon® automatic transmission
fluid or a 10 Weight AW hydraulic oil.
Check engine oil level. Refill if necessary.2.
Fill up gasoline if necessary.3.
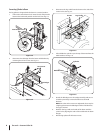
Lubricate the beam area where splitting wedge will slide 4.
with engine oil. Do not use grease to lubricate. Make sure
to lubricate both the front and the back of the beam face.
Attach spark plug wire to the spark plug.5.
Starting Engine
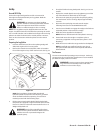
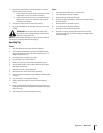
Attach the spark plug wire to the spark plug. Make certain 1.
the metal cap on the end of the spark plug wire is fastened
securely over the metal tip of the spark plug.
Turn the fuel valve or engine switch (if equipped) to the ON 2.
position.
Move the choke lever (if equipped) to CHOKE position.3.
If the engine is equipped with a primer, follow the 4.
instructions in the engine manual to prime it.
Turn the throttle control (if equipped) to the FAST position.5.
Grasp starter handle and pull rope out slowly until engine 6.
reaches start of compression cycle (rope will pull slightly
harder at this point).
Pull the rope with a rapid, full arm stroke. Keep firm grip on 7.
starter handle. Let rope rewind slowly. Repeat until engine
cranks.
After the engine starts, move the choke lever (if equipped) 8.
to the OFF position. Place the throttle lever to the speed
desired.
In cold weather, run wedge up or down beam 6 to 8 times 9.
to circulate the hydraulic fluid.
When starting a warm engine, the
muffler and surrounding areas are hot and can
cause a burn. Do not touch.
Stopping the Engine
Move throttle control (if equipped) to STOP or OFF 1.
position.
Turn off the engine switch, if so equipped.2.
Using the Log Splitter
Place the log splitter on dry level ground and shut off the 1.
engine.
Place the beam in either the horizontal or vertical position 2.
and lock in place with the appropriate locking rod.
NOTE: Take extra care when raising and lowering the beam
as it is fairly heavy. Be sure to keep hands away from any
possible pinch points.
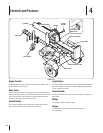
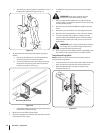
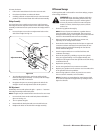
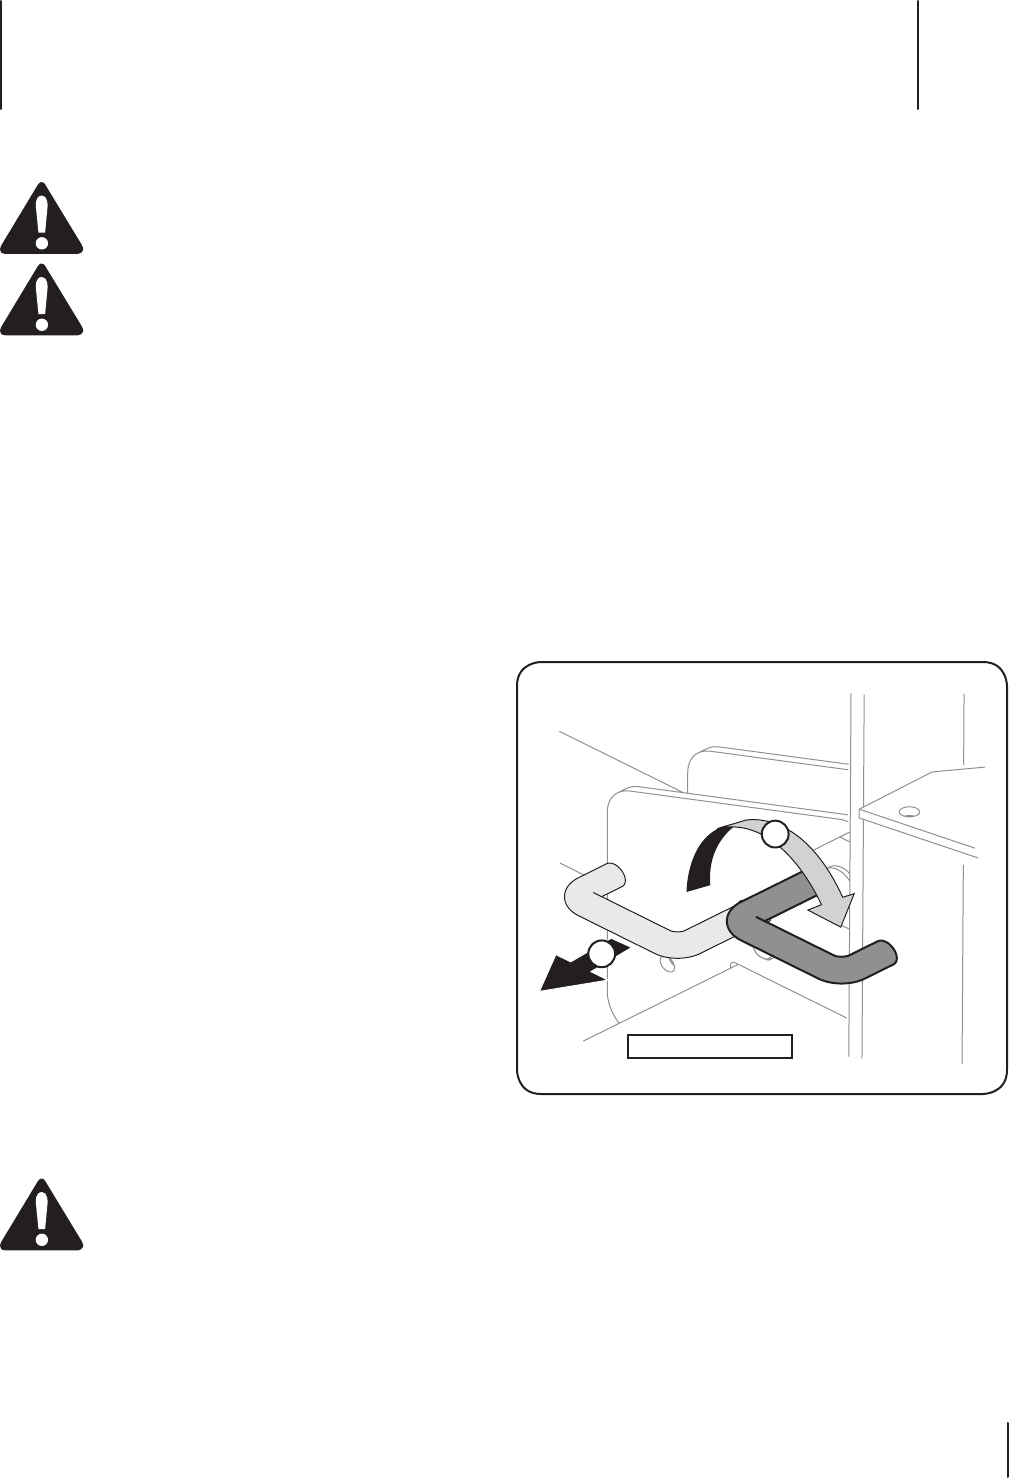
To place the beam in the Vertical Position proceed as 3.
follows:
Pull the horizontal beam lock out to release the a.
beam and pivot the beam to the vertical position.
To lock the beam in the vertical position, pull out on the b.
vertical beam lock and rotate it to secure the beam.
See Fig. 5-1.
1
2
Operation
5
11


