20
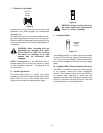
Hazard Lights
Always use the flashing amber hazard lights along
with the SMV (Slow Moving Vehicle) emblem when
operating the tractor on, or near, roadways. Also
activate the hazard lights when necessary to warn
others that the tractor is being operated in the area.
• To turn on the flashing hazard lights, depress
the top end of the hazard light switch located to
the left of the headlight switch.
• To turn off the hazard lights, depress the
bottom of the light switch.
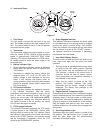
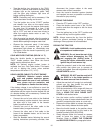
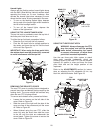
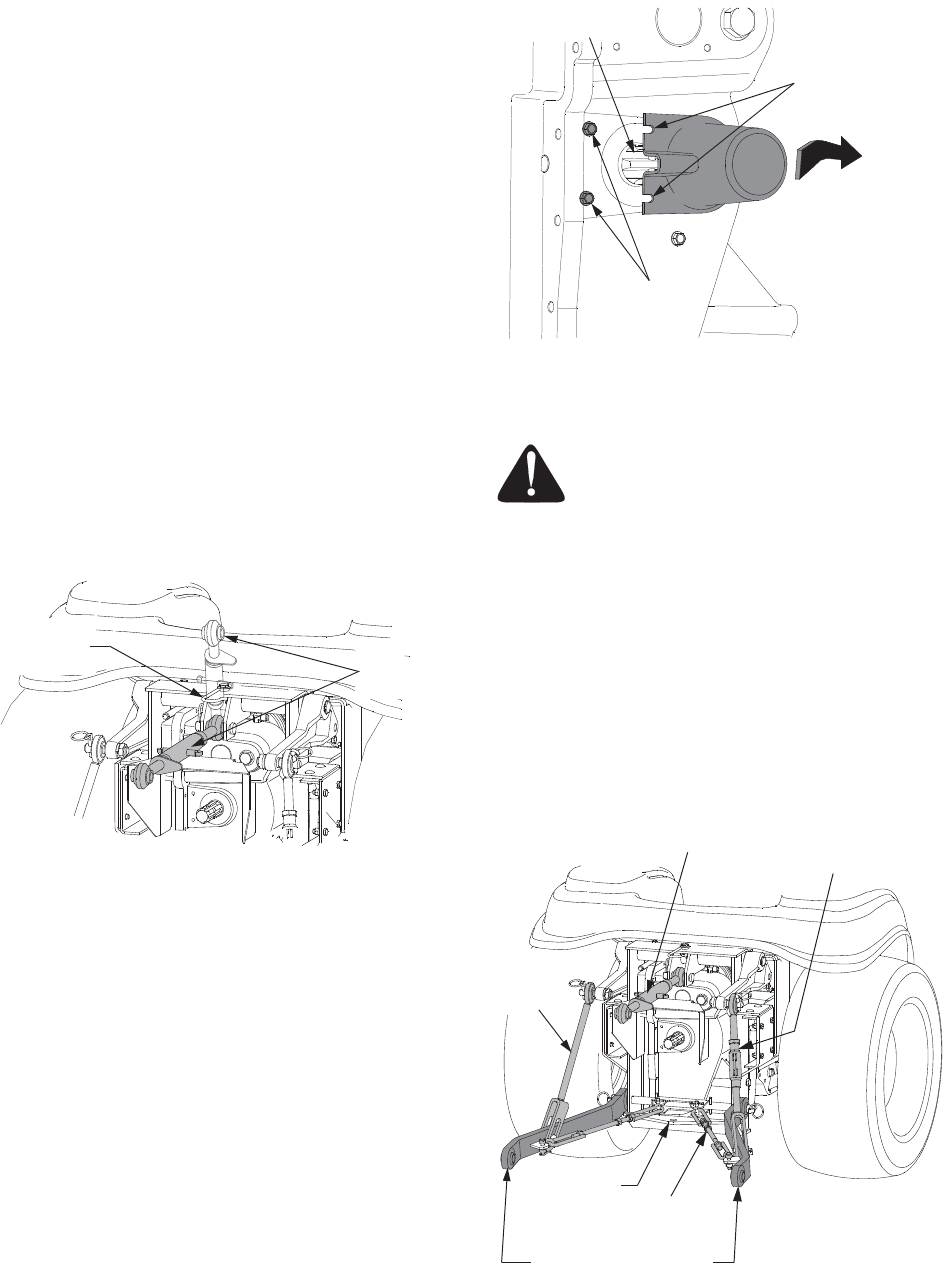
USING THE TOP LINK RETAINER HOOK
The top link hook is provided to retain the top link of
the three point hitch when not in use.
To utilize the top link hook, proceed as follows:
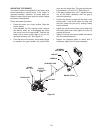
• Raise the 3-pt. hitch top link fully upward.
• Pivot the link hook from its storage position to
the center and lower the top link into the hook
of the rod. See Figure 21.
IMPORTANT: When using the three point hitch,
the retainer hook must be pivoted fully rearward
to avoid interference with the top link.
Figure 21
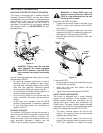
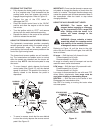
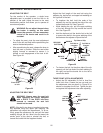
REMOVING THE REAR PTO COVER
The rear PTO cover is a safety feature designed to
prevent items from accidentally being caught by the
rotating shaft. The cover should be removed only
when the rear PTO is being utilized.
To remove and reinstall cover, proceed as follows:
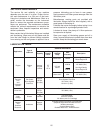
• Loosen the two screws on the left side of the
cover. Refer to Figure 22.
• Slide the cover to the right until the slots of the
cover are free of the screws and pull the cover
off. Refer to Figure 22.
• When finished using the rear PTO, slide the
cover fully onto the shaft; then slide the cover
to the left until the slots are underneath the
screw heads. Tighten the screws to secure the
cover. Refer to Figure 22.
Figure 22
USING THE THREE POINT HITCH
WARNING: Always disengage the PTO,
stop the engine, and set the parking
brake before dismounting the tractor
to connect, disconnect, or adjust three
point hitch mounted implements.
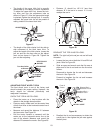
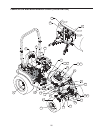
Use the rear three point hitch system to attach
three point mounted implements, which are
normally driven by the rear PTO. Use the tractor’s
hydraulic lift system to raise and lower the three
point hitch and set the height position of the
implement.
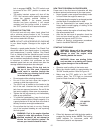
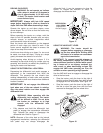
Refer to the ADJUSTMENTS section for instruc-
tions on adjusting the RH adjustable lift link, top
hitch link, and hitch chains. See Figure 23.
Figure 23
TOP LINK
HOOK
TOP
LINK
PTO
HEX SCREW
REAR PTO
SHAFT
Slide to Right
and Pull Off
COVER
SLOTS
HITCH
CHAIN
HITCH
PLATE
LOWER HITCH LINK
ADJUSTABLE
LIFT LINK
TOP
HITCH LINK
FIXED
LIFT
LINK


