19
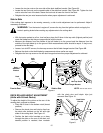
• Move the lift lever into the top notch on the
right fender to raise the deck lift arms out of
the way.
• Gently slide the cutting deck toward the front
of the tractor allowing the hooks on the deck
to release themselves from the deck stabilizer
rod. Do NOT let the deck fall to the ground.
• Gently slide the cutting deck (from the right
side) out from underneath the tractor.
NOTE: To properly remount the cutting deck,
perform the above steps in reverse order. Having a
second person assist you will ease this procedure.
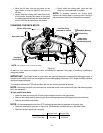
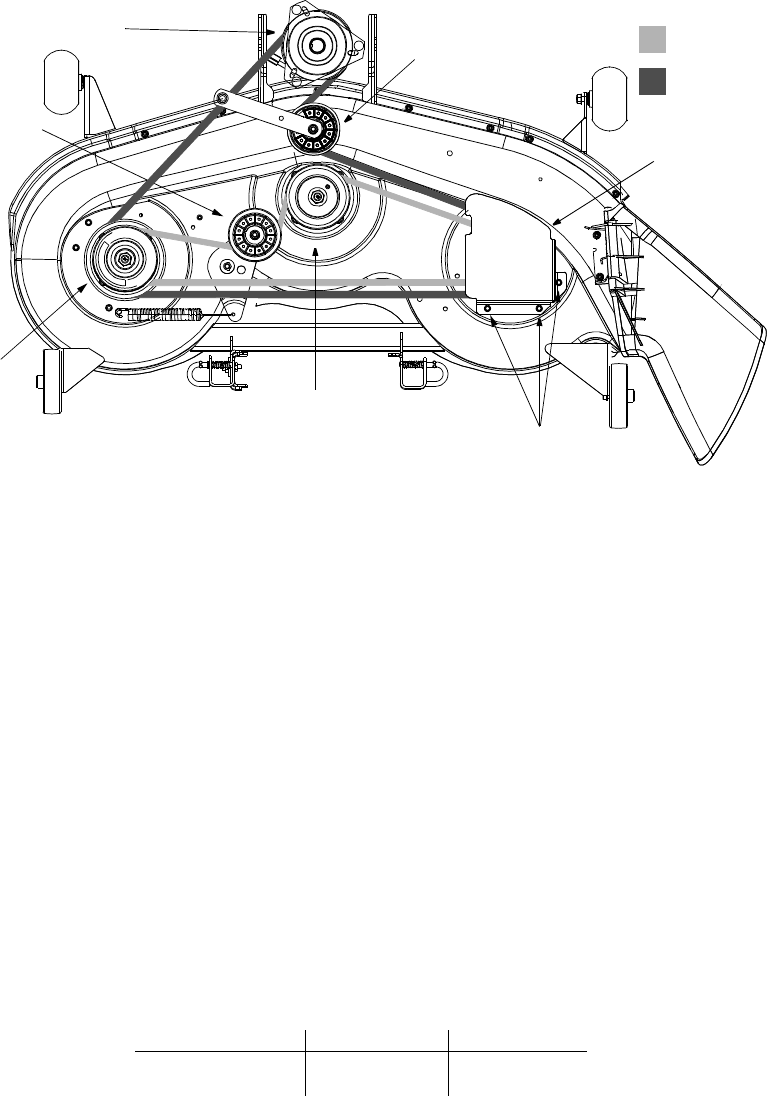
CHANGING THE DECK BELTS
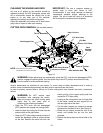
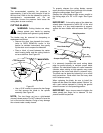
Figure 16
All belts on your tractor are subject to wear and should be replaced if any signs of cracking, shredding or
rotting are present.
IMPORTANT: The V-belts found on your tractor are specially designed to engage and disengage safely. A
substitute (non-OEM) V-belt can be dangerous by not disengaging completely. For a proper working machine,
use factory approved belts.
To change or replace the PTO belt and deck belt on your tractor, proceed as follows:
NOTE: Removing the deck from the tractor as instructed earlier in this section will ease the following steps,
but is not necessary.
46-inch and 50-inch decks
• Lower the deck by moving the lift lever into the bottom notch on the right fender.
• Remove the belt guards by removing the three self-tapping screws that fasten them to the deck top.
• Remove and discard old belt(s).
NOTE: It’s recommended that both the PTO belt and the deck belt be replaced at the same time.
• Route the new belt(s) as shown in Figure 16. OEM belt part numbers shown in the table below.
• Remount the belt guards just removed.
46-inch Deck 50-inch Deck
PTO (Upper) Belt 754-0476 754-0475
Deck (Lower) Belt 754-0349 754-0291A
Electric PTO Clutch
PTO Idler Pulley
Left Hand
Double Pulley
Right Hand
Double Pulley
Center Pulley
Deck Idler Pulley
Deck belt (Bottom)
PTO belt (Top)
NOTE: Left hand belt cover not shown for clarity.
Self-tapping Screws
(beneath belt guard)
(mounted on tractor)


