ASSEMBLY
1,1,,, ,,,,,,,,,,,,,,,, = L = J =LJJui,,,Jiu,i,u,,, ,,,,,,,,i,
ASSEMBLY FOR BLOWER OPERATION
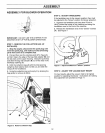
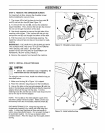
STEP 2: ADJUST HANDLEBARS
If the handlebars are in the vacuum position, they must
be adjusted to the "blower" position for blower operation.
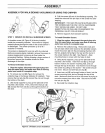
1. Squeeze the handlebar end (see decal "Push in
Here") toward the center of the machine and swing the
handlebars over to the front of the machine,
2. Release the handlebars ends in the "blower" notches
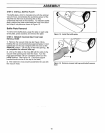
(A), See Figure 7.
IMPORTANT: DO NOT USE THE CHIPPER IF THE
MACHINE IS SET UP FOR BLOWER OPERATION..
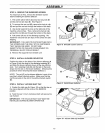
STEP 1: REMOVE 'THE COLLECTION BAG (IF
INSTALLED)
1o Stop the engine, disconnect the spark plug wire
from the spark p/ug, and make sure that all moving
parts have come to a complete stop.
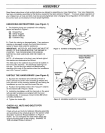
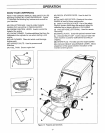
2_ Pull and then turn the retaining knob (F in Figure 6)
so that it clears the edge of the bag inlet adapter (B) and
the tab rests on the upper housing_ Grasp the pull strap
and slide the bag inlet adapter (B) out of the slots in the
discharge opening (C).
3. Hold the collection bag (A) with the inlet opening
upright so that material does not fall out, and slide the
straps off the handlebars
4, Unzip the collection bag and empty it by shaking the
bag gently to remove all debris
\ \
\
A
Figure 7: Adjust handlebars to "blower" position_
STEP 3: ADJUST THE VACUUM INLET HEIGHT
For best results, adjust the vacuum inlet to its highest
position for operating the blower, Instructions for making
this adjustment are provided on Page 11.
Figure 6: Remove collection bag,
12


