UNPACK CARTON
_CAUTION: Be careful of exposed sta-
ples when handling or dispoSing of carton-
ing material.
IMPORTANT When unpacking and as-
sembling tiller, be careful not to stretch or
kink cable(s).
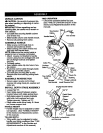
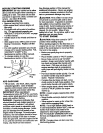
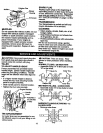
• Cut cable ties secudng handle column
and reverse rod.
• Slide handle column onto handle mount.
• Remove all packing from carton.
ASSEMBLE HANDLE
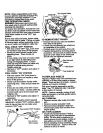
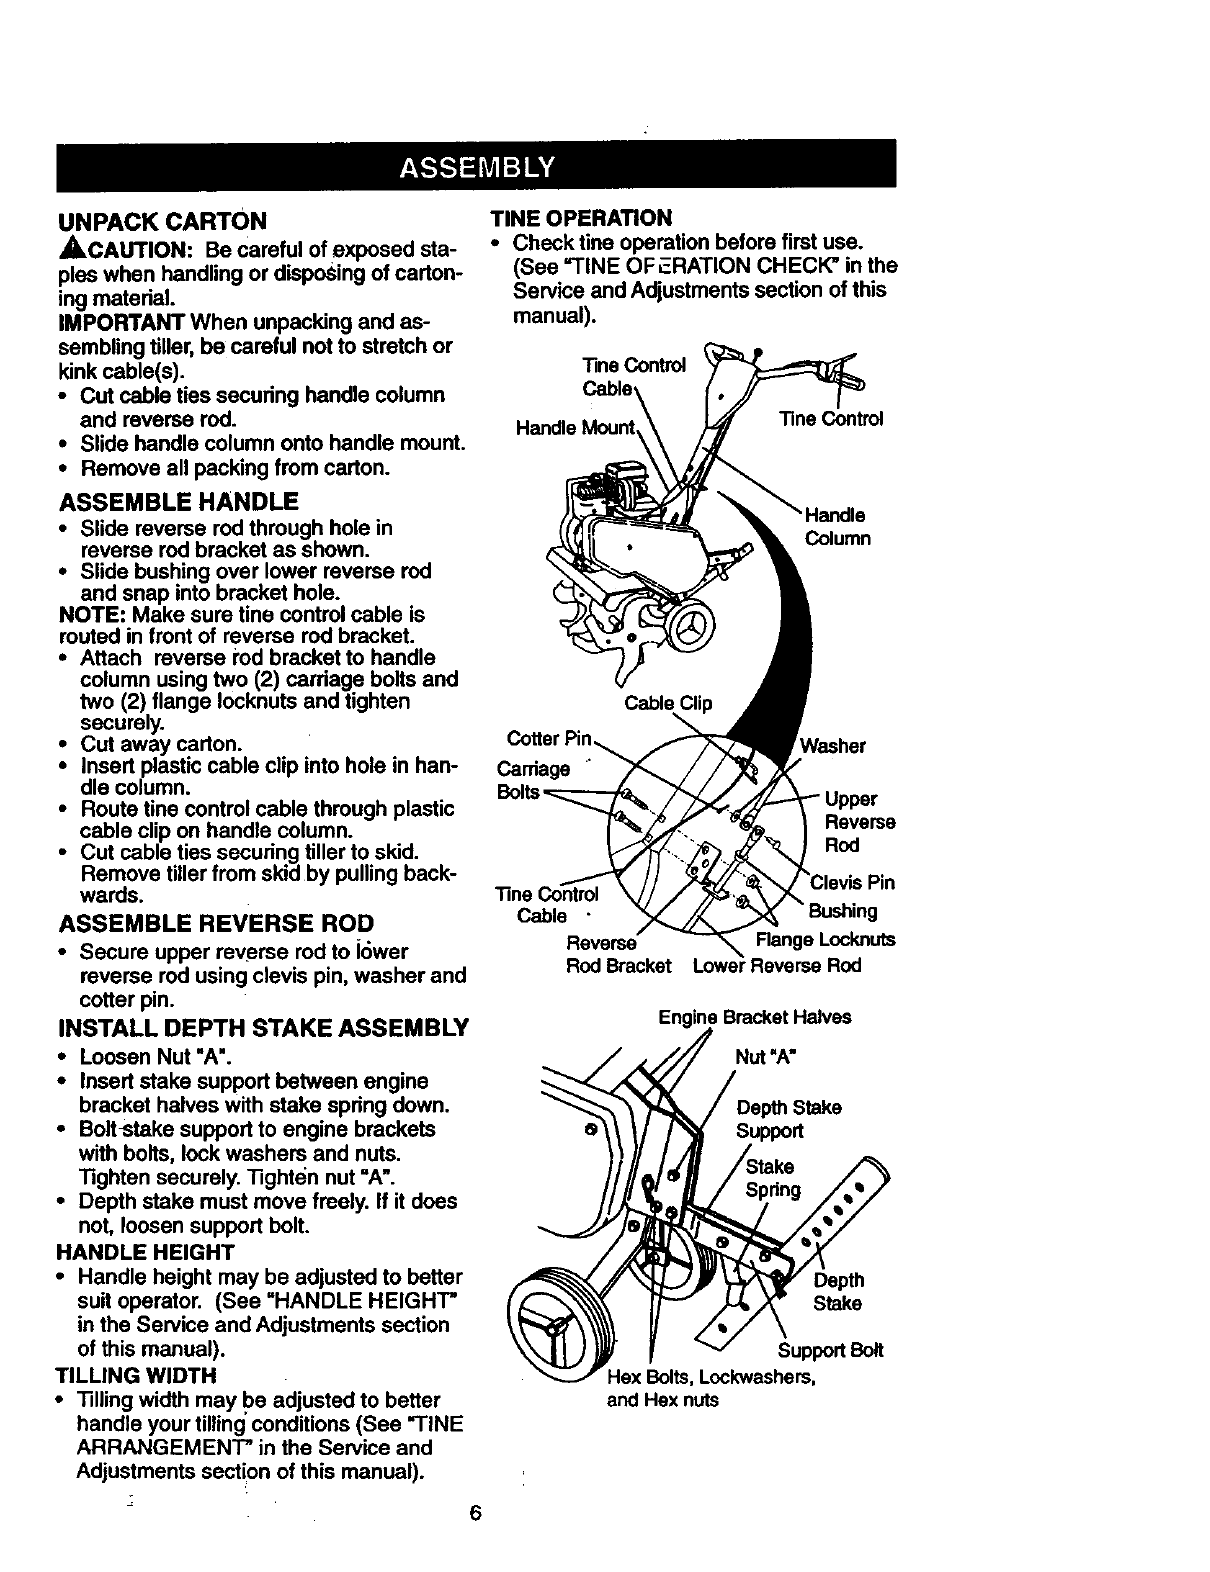
• Slide reverse rod through hole in
reverse rod bracket as shown.
• Slide bushing over lower reverse rod
and snap into bracket hole.
NOTE: Make sure tine control cable is
routed in front of reverse rod bracket.
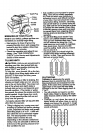
• Attach reverse rod bracket to handle
column using two (2) cardage bolts and
two (2) flange Iocknuts and tighten
securely.
• Cut away carton.
• Insert plastic cable clip into hole in han-
dle column.
• Route tine control cable through plastic
cable clip on handle column.
• Cut cable ties securing tiller to skid.
Remove tiller from skid by pulling back-
wards.
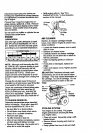
ASSEMBLE REVERSE ROD
• Secure upper reverse rod to J6wer
reverse rod using clevis pin, washer and
cotter pin.
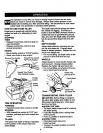
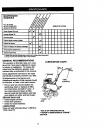
INSTALL DEPTH STAKE ASSEMBLY
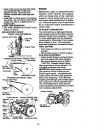
• Loosen Nut "A".
• Insert stake support between engine
bracket halves with stake spring down.
• Bolt_take support to engine brackets
with bolts, lock washers and nuts.
Tighten securely. Tighten nut "A".
• Depth stake must move freely. If it does
not, loosen support bolt.
HANDLE HEIGHT
• Handle height may be adjusted to better
suit operator. (See "HANDLE HEIGHT"
in the Service and Adjustments section
of this manual).
TILLING WIDTH
• Tilling width may be adjusted to better
handle your tilling' conditions (See "TINE
ARRANGEMENT" in the Service and
Adjustments section of this manual).
6
TINE OPERATION
• Check title operation before first use.
(See "TINE OF,:RATION CHECK" in the
Service and Adjustments section of this
manual).
Tine Control
Handle Mount
"lineControl
Column
Cable
Cotter
Cordage
Reverse
Rod
"Rn_
Cable -
Reverse Range Locknuts
Rod Bracket Reverse Rod
Engine Bracket Halves
Nut "A"
Support
Depth
Stake
Support Bolt
Hex Bolts,Lockweshers,
and Hex nuts


