• Slide the auger assembly out of the
bearing assembly on the right side of the
snow thrower.
• Tip the auger assembly enough to allow it
to slide out of the auger housing.
• Install the new auger assembly in reverse
order of removal.
TO REPLACE THE SPARK PLUG
NOTICE: This spark ignition system meets
all requirements of the Canadian Interfer-
ence-Causing Equipment Regulations.
NOTICE: This engine complies with all cur-
rent Australian and New Zealand limitaions
regarding electromagnetic interference.
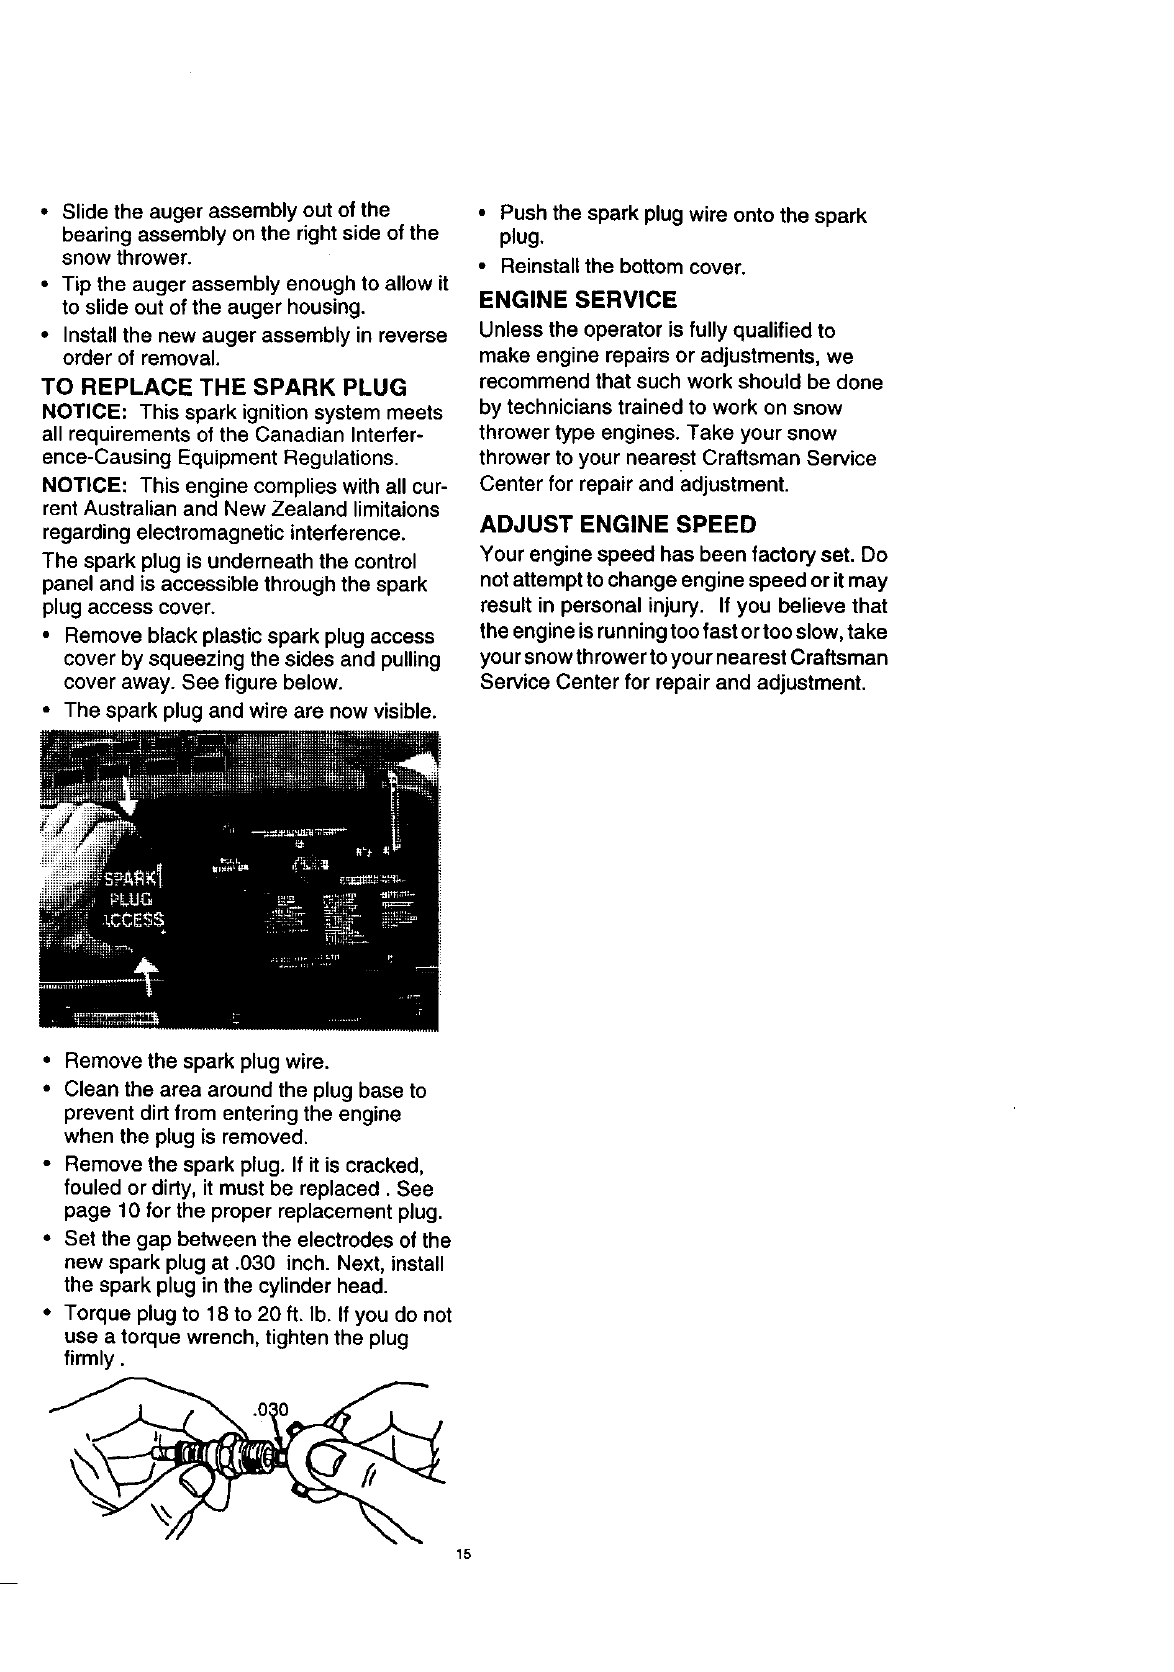
The spark plug is underneath the control
panel and is accessible through the spark
plug access cover.
• Remove black plastic spark plug access
cover by squeezing the sides and pulling
cover away. See figure below.
• The spark plug and wire are now visible.
• Push the spark plug wire onto the spark
plug.
• Reinstall the bottom cover.
ENGINE SERVICE
Unless the operator is fully qualified to
make engine repairs or adjustments, we
recommend that such work should be done
by technicians trained to work on snow
thrower type engines. Take your snow
thrower to your nearest Craftsman Service
Center for repair and adjustment.
ADJUST ENGINE SPEED
Your engine speed has been factory set. Do
not attempt to change engine speed or itmay
result in personal injury. If you believe that
the engine is running too fast or too slow, take
your snow thrower to your nearest Craftsman
Service Center for repair and adjustment.
• Remove the spark plug wire.
• Clean the area around the plug base to
prevent dirt from entering the engine
when the plug is removed.
• Remove the spark plug. If it is cracked,
fouled or dirty, it must be replaced. See
page 10 for the proper replacement plug.
• Set the gap between the electrodes of the
new spark plug at .030 inch. Next, install
the spark plug in the cylinder head.
• Torque plug to 18 to 20 ft. lb. If you do not
use a torque wrench, tighten the plug
firmly.
15


