8. Move away from the i_el tank and melt the ends of
the rope.
9. Allow each melted end to drip once; then while the
rgpe is still hot, pull each melted end through a
dean rag to obtain a smooth, pointed end.
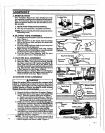
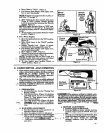
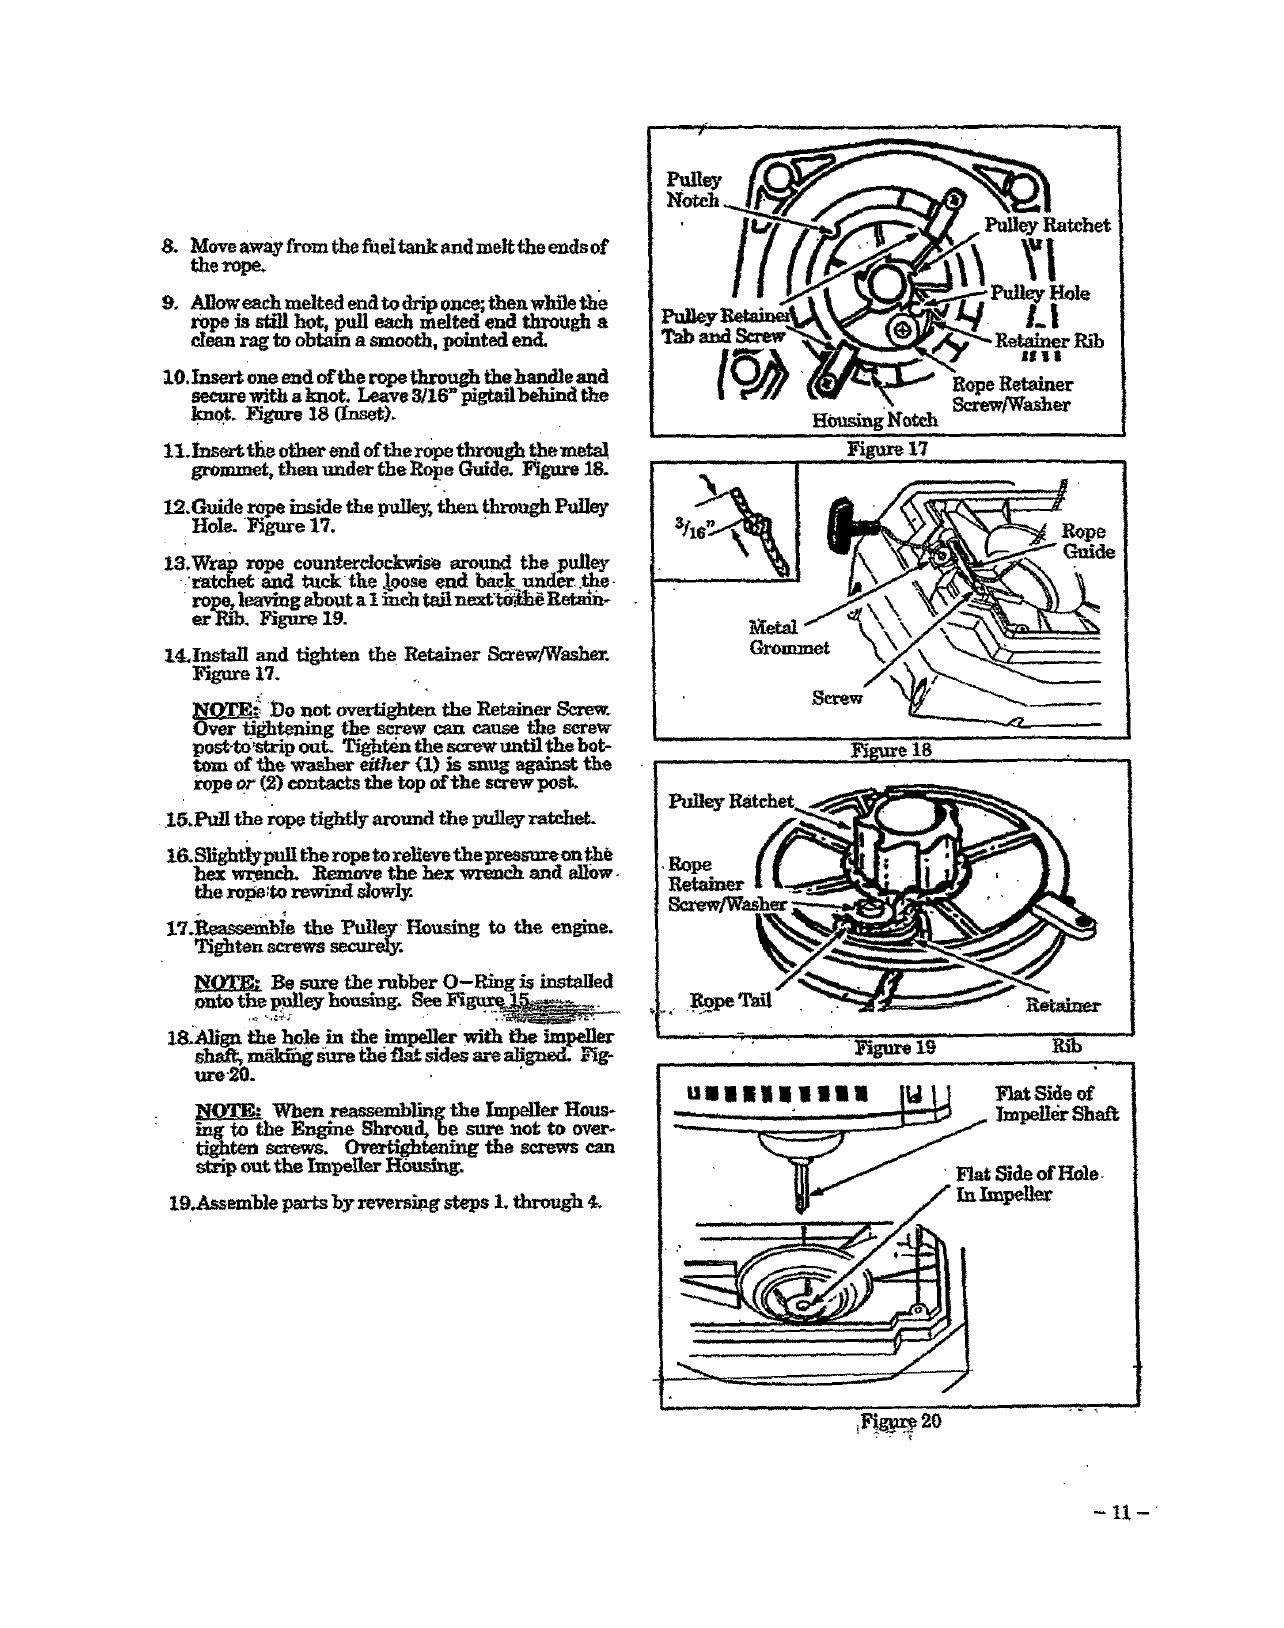
t0. Insert one end of the rope through the handle and
secure with a knot. Leave 3/lb _ pigtailbehind the
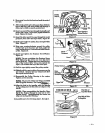
knot. _gure 18 (Inset).
11.insert the other end of the rope through the meta!
grommet, then under the Rope Guide, l_igure 18.
12,Guide He inside the pulley, then through Pulley
Hole. Figure 17.
13,Wrap rope counterciock_se around the pulley
• ra_het and tuck the loose end bac__und_,t_e
rope,leavingaboutaIinchtailnext_ Retain-
er-P_b.Figure19.
14.Install and tighten the Retainer Screw/Washer.
Figure17. .
Do not overtighte_ the Retainer Screw.
Over tightening the s_.ew can cause the screw
post-to_strip ouL Tightdn the screw untilthe bgt-
tom of the washer either (1) is snug againstthe
rope or (2) contacts the top of the screw pest,
IS,Ptfll the rope tightly around the FRlley ratchet.
!6_Sllghfiyp _uI[the rope to relieve the premsuroon the
hex wr#'hch.Remove thehex wr_ch and allow.
the rope_torewi_ slowly.
17,t_assemb_ the _lley Housing to the engine,
Tighten screwssecurely.
_eBe sure tl_erubber O-Ring._ h_talled
_ey housing.See__,,
ls._JJgntheh_i. the._pener_ the_p_er
When _l_ the Impeller Hous-
ing to the Engine Sl_. u_ be sure not to over-
tighten screws. Overtigh_ the screws can
strip out the Impet_r Housing.
19,Assemble parts by reversing steps 1. through 4.
•PulleyRatchet
'Hole
Pulle_ .|
lOt_ lie ! I
Rope Retainer
H0usingNotchScrew/Washer
------_-- 17....
• _ Rope
w
Grommet
Screw
Figure18
,Rope
Retainer
- II-


