


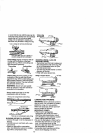
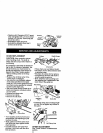
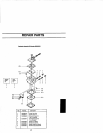
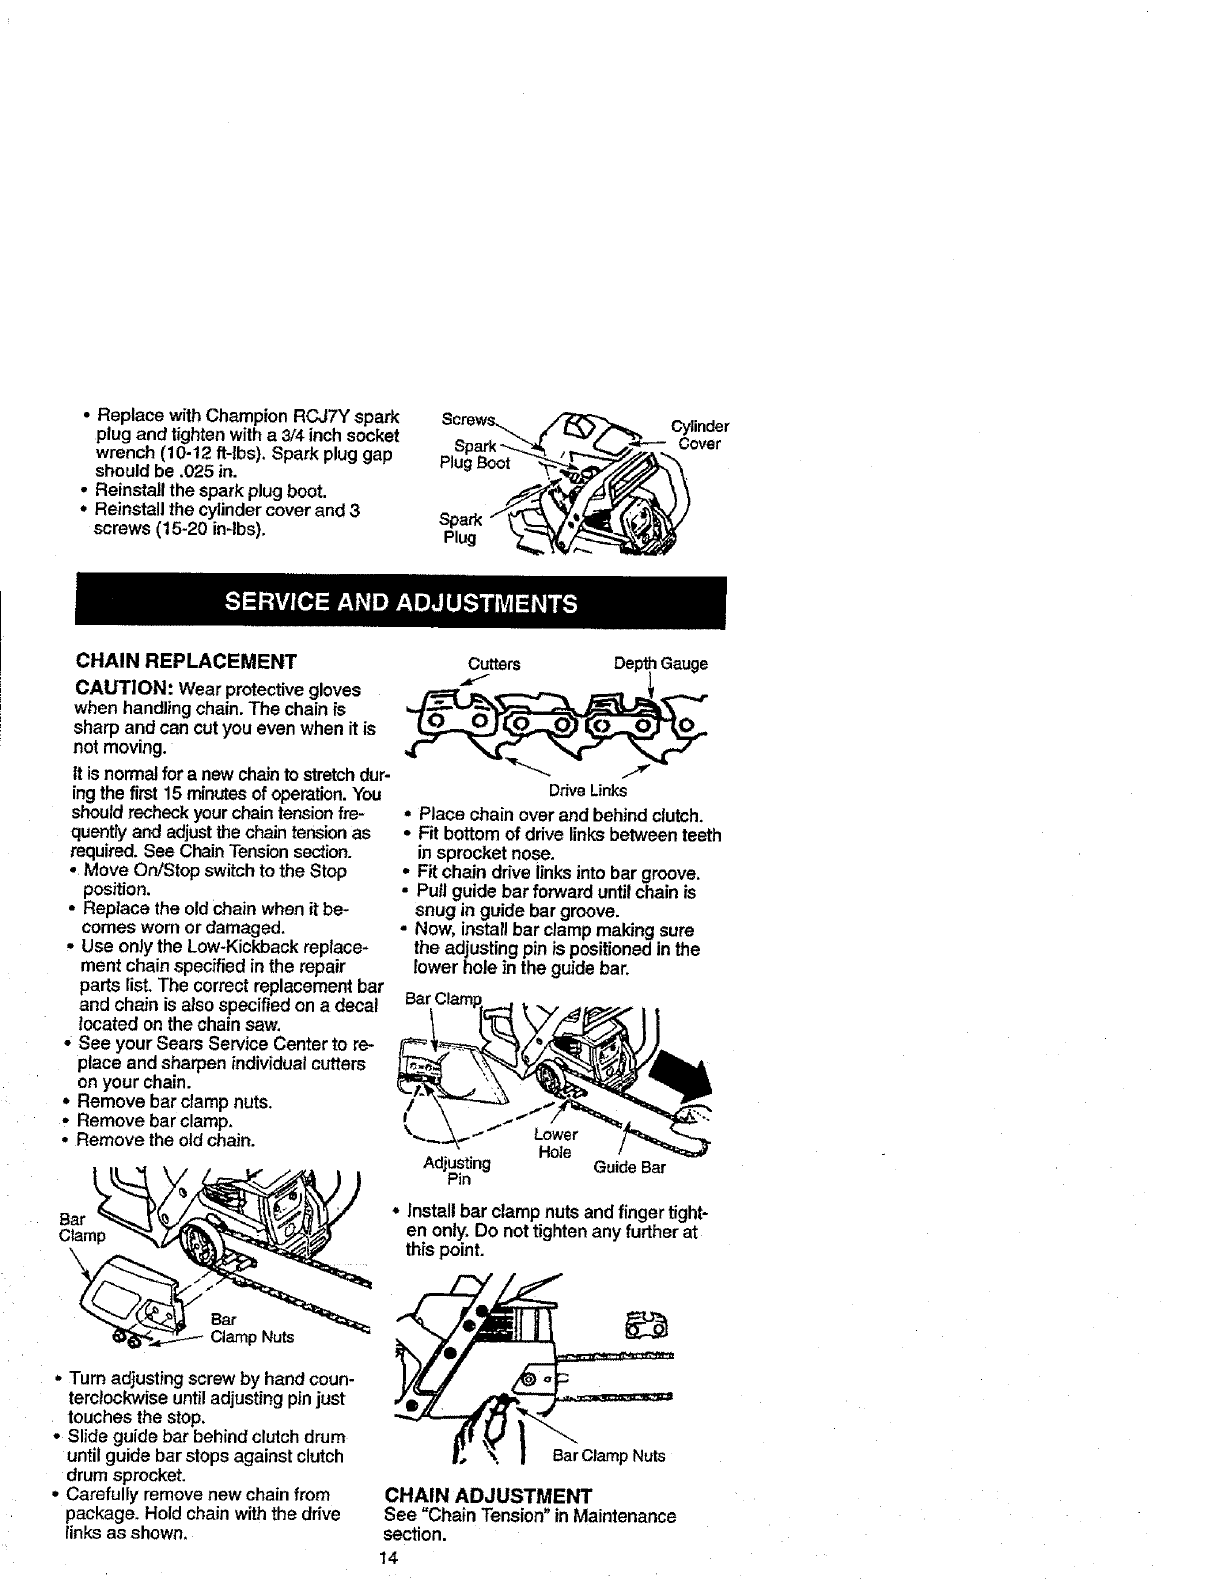
• Replace with Champion RCJ7Y spark
plug and tighten with a 3'4 inch socket
wrench (10-12 ft-lbs). Spark plug gap Plug Boot
should be .025 in.
• Reinstall the spark plug boot.
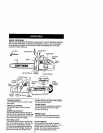
• Reinstall the cylinder cover and 3 Spark
screws (t5-20 in-lbs). Plug
Cylinder
Cover
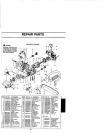
CHAIN REPLACEMENT
CAUTION: Wear protective gloves
when handling chain. The chain is
sharp and can cut you even when it is
not moving.
It is normal for a new chainto stretch dur-
ing the first 15 minutes of operation.You
should recheck your chain tension fre-
quenfiy and adjustthe chain tension as
required. See Chain Tension section.
• Move On/Stop switch to the Stop
position.
• Replace the old chain when it be-
comes worn or damaged.
• Use only the Low-Kickback replace-
ment chain specified in the repair
parts list. The correct replacement bar
and chain is also specified on a decal
located on the chain saw.
• See your Sears Service Center to re-
place and sharpen individual cutters
on your chain.
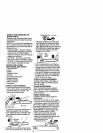
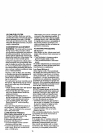
• Remove bar clamp nuts.
• Remove bar clamp.
• Remove the old chain.
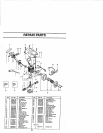
Bar
Clamp
, Turn adjusting screw by hand coun-
terclockwise until adjusting pin just
touches the stop.
• Slide guide bar behind clutch drum
until guide bar stops against clutch
drum sprocket.
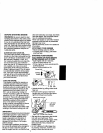
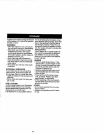
° Carefully remove new chain from
package. Hold chain with the drive
links as shown.
Cutters Dep_ Gauge
Drive Links
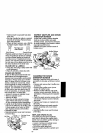
• Place chain over and behind clutch.
• Fit bottom of drive links between teeth
in sprocket nose.
• Fit chain drive links into bar groove.
•Putl guide bar forward until chain is
snug in guide bar groove.
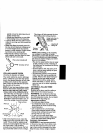
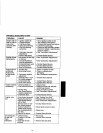
, Now, install bar clamp making sure
the adjusting pin is positioned in the
lower hole in the guide bar.
Lower
Hole
Adjusting GuideBar
Pin
• install bar clampnuts andfinger tight-
en only.Do nottightenany further at
this point.
".f?} o,o No,o
CHAIN ADJUSTMENT
See "Chain Tension"inMaintenance
section.
14