


14
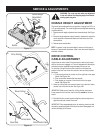
MAINTENANCE
GENERAL RECOMMENDATIONS
1. Always observe safety rules when performing
any maintenance.
2. The warranty on this yard vacuum does not cover items that have
been subjected to operator abuse or negligence. To receive full
value from warranty, operator must maintain the equipment as
instructed here.
3. Some adjustments will have to be made periodically to maintain
your unit properly.
4. Periodically check all fasteners and make sure these are tight.
WARNING: Always stop engine and disconnect
spark plug wire before performing any maintenance
or adjustments. Always wear safety glasses during
operation or while performing any adjustments or
repairs.
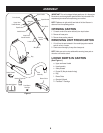
LUBRICATION
1. Wheels- Place a few drops of SAE 30 oil on each shoulder screw
once a season. Refer to Figure 23 on page 18.
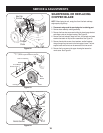
2. Nozzle height adjustment levers- Lubricate nozzle height adjust-
ment levers with light oil. Refer to Figure 9.
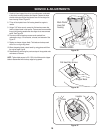
3. Locking Rod- Lubricate the lock rod and compression springs
which attach to the mounting bracket. Refer to Figure 8.
CLEAN EQUIPMENT
1. Clean the Yard Vacuum thoroughly after each use.
2. Wash bag periodically with water. Allow to dry thoroughly in shade.
3. If the flail screen becomes clogged, remove and clean as instructed
in the SERVICE AND ADJUSTMENTS section.
NOTE: Cleaning with a forceful spray of water is not recommended as
it could contaminate the fuel system.
CHECK ENGINE OIL
1. Stop engine and wait several minutes before checking oil level.
With engine on level ground, the oil must be to FULL mark on
dipstick.
2. Remove oil fill dipstick.
3. Check oil level on dipstick. Level should be at FULL mark. (If not,
see “Subsequent Uses” on page 11).
4. Replace oil fill dipstick and tighten.
CHANGE ENGINE OIL
• Only use high quality detergent oil rated with API service classifica-
tion SF, SG, or SH. Select the oil’s SAE viscosity grade according
to the expected operating temperature. Refer to operation section
for viscosity chart.
• Change engine oil after the first five hours of operation, and every
twenty-five hours thereafter.
TO DRAIN OIL
Drain oil while engine is warm. Follow the instructions given below:
1. Drain the fuel from the tank by running the engine until the fuel tank
is empty.
2. Remove oil fill dipstick.
3. Tip unit on its side to drain through the oil fill tube.
4. When engine is drained of all oil, refill with approximately 18 oz. of
fresh oil. Refer to Gas And Oil Fill-Up in OPERATION section.
5. Replace oil fill dipstick and tighten.
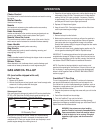
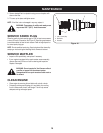
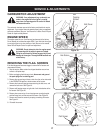
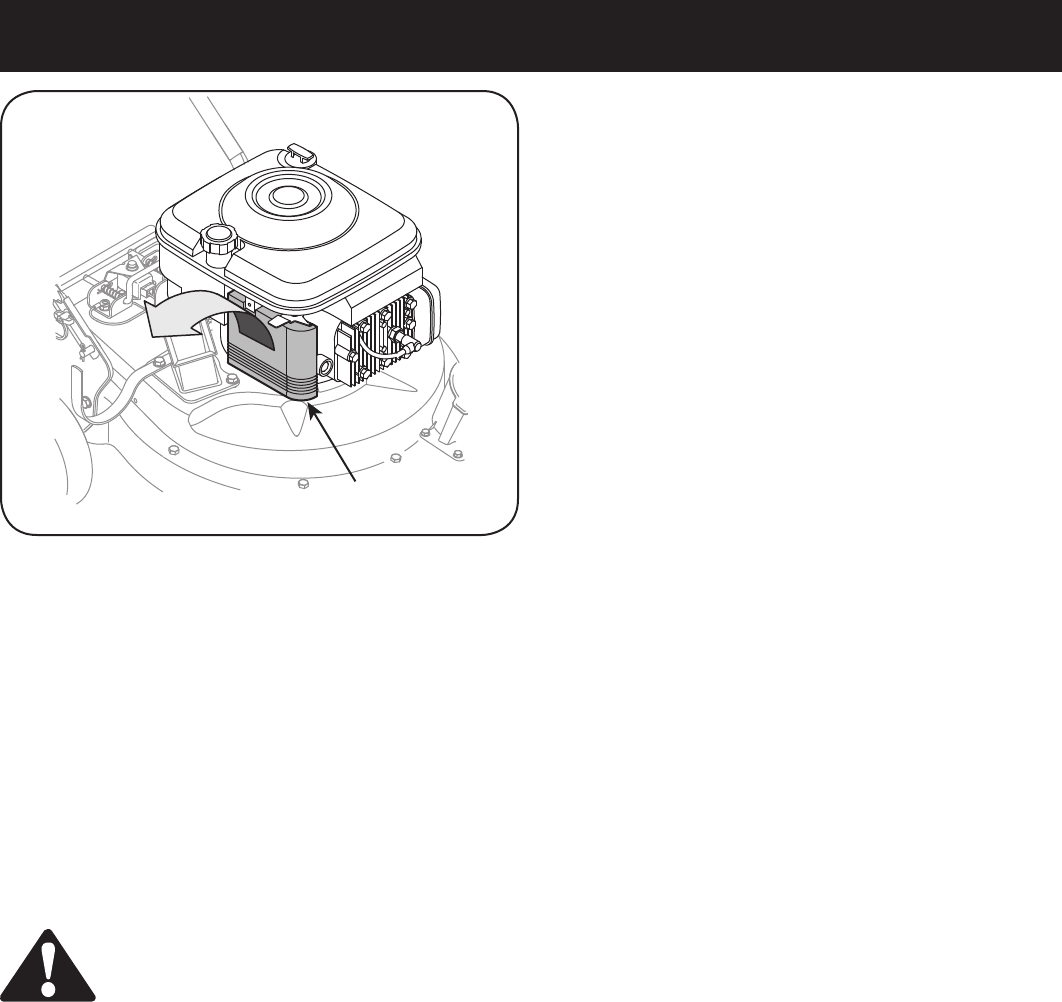
SERVICE AIR CLEANER
The air cleaner prevents damaging dirt, dust, etc., from entering the
carburetor and being forced into the engine and is important to engine
life and performance. The air cleaner consists of a pleated filter. Never
run the engine without an air cleaner completely assembled.
To Service Air Cleaner:
1. Loosen screw and tilt plastic housing cover on side of engine down.
See Figure 15.
Figure 15
!IR#LEANER
(OUSING