


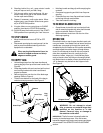
9
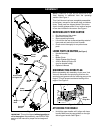
6. Standing behind the unit, grasp starter handle
and pull rope out until you feel a drag.
7. Pull the rope with a rapid, continuous, full arm
stroke. Keep a firm grip on the starter handle.
Let the rope rewind slowly.
8. Repeat, if necessary, until engine starts. When
engine starts, move throttle /choke lever gradu-
ally to START/RUN position.
9. If engine falters, move control lever to CHOKE
position, then back to START/RUN position.
10. ALWAYS keep the throttle control in the START/
RUN position when operating the Yard Vacuum.
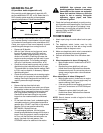
TO STOP ENGINE
• Move throttle control lever to STOP or OFF
position.
• Disconnect spark plug wire and ground it to the
post to prevent accidental starting while the
equipment is unattended.
When moving throttle control lever, be
careful of heated surfaces and sharp
edges on muffler guard.
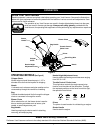
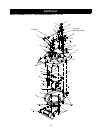
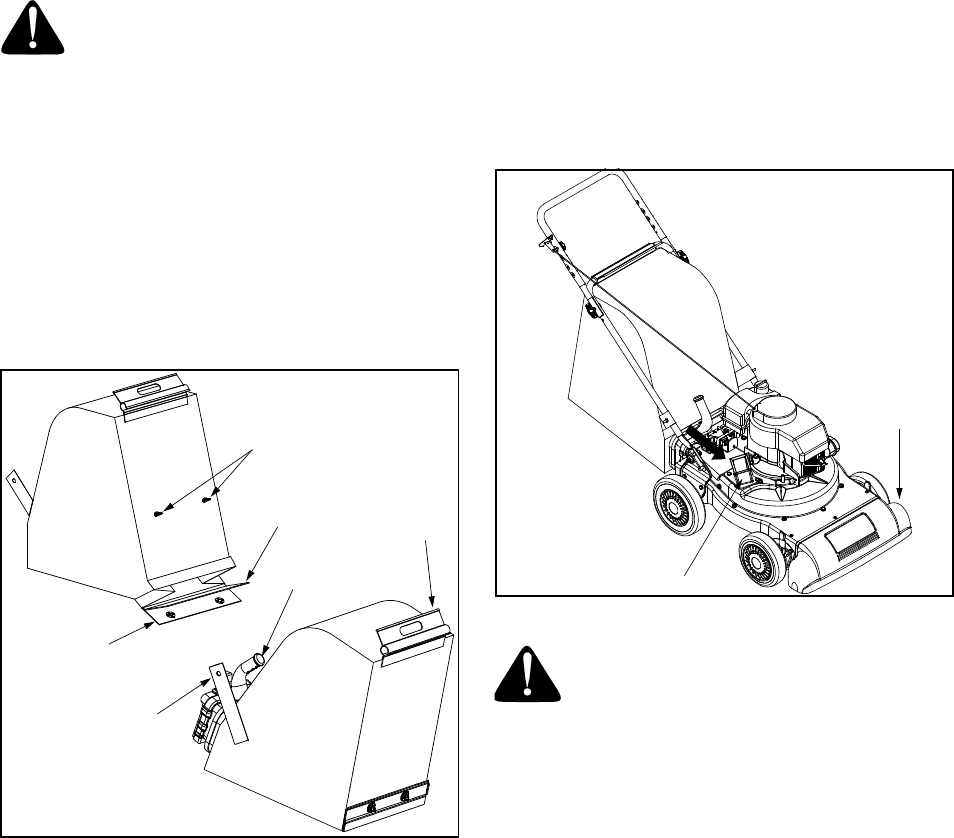
TO EMPTY BAG
• Unhook bag straps from the lower handle and
unsnap bag clip from top of the lower handle. See
Figure 8.
• Grasp bag handle with one hand and pull lock rod
on mounting bracket with other hand toward
engine to release.
• Remove bag from over the rim of the discharge
opening. Refer to Figure 4.
• Twist the two buttons on the back of the bag to
unlock and empty contents. See Figure 8.
Figure 8
• Hold bag handle and bag clip while emptying the
contents.
• Compress bag opening and fold inner flap over
opening.
• Fold outer flap over inner flap and insert buttons
on the bag through metal outlets.
• Twist the buttons to lock bag.
TO REMOVE BLOWER CHUTE
• Grasp blower chute with one hand and pull lock
rod on mounting bracket with other hand toward
engine to release. Refer to Figure 5.
• Remove blower chute from over the rim of the
discharge opening.
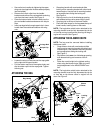
OPERATION
Place both hands on top of upper handle to push unit
over yard waste. Yard waste such as leaves and pine
needles are vacuumed up through the nozzle and
shredded by the flail blades on the impeller assembly
and discharged into catcher bag or through blower
chute. Do not attempt to shred or chip any material
other than vegetation found in a normal yard (i.e.
branches, leaves, twigs, etc.). Avoid fibrous plants
such as tomato vines until they are thoroughly dried
out. Material such as stalks or heavy branches up to 1
1/2" in diameter may be fed into the chipper chute.
See Figure 9.
Figure 9
WARNING: Do not attempt to shred,
chip, or vacuum any material larger than
specified on the machine or in this
manual. Personal injury or damage to
the machine could result.
IMPORTANT:
The flail screen is located inside the
housing in the discharge area. If the flail screen
becomes clogged, stop engine and remove and clean
as instructed in the SERVICE AND ADJUSTMENT
section.
Buttons
Inner Flap
Outer Flap
Bag Handle
Strap
Bag
Clip
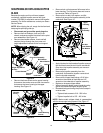
Nozzle
Chipper Chute