SKU 91957 For technical questions, please call 1-800-444-3353. Page 9
Replacing the Fuse
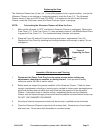
The Ultrasonic Cleaner has a Fuse (10). If everything appears to be in good condition, and yet the
Ultrasonic Cleaner is not working or functioning properly, check the Fuse (10). The Ultrasonic
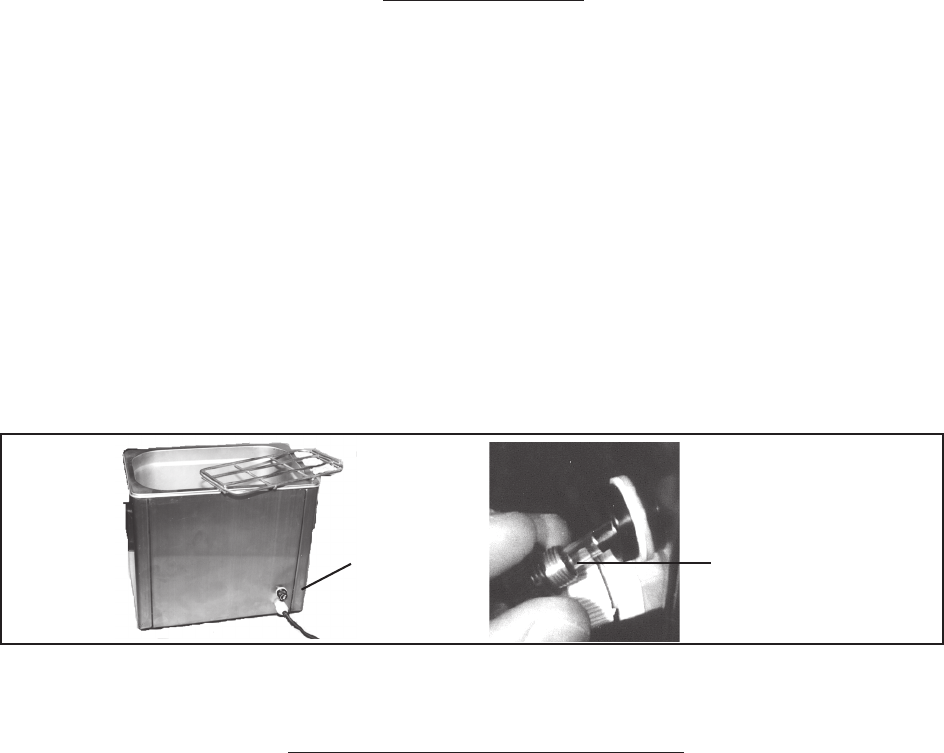
Cleaner uses a 3 Amp up to 250 V fuse (F3A 250V). It is located on the rear of the Ultrasonic
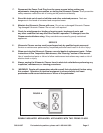
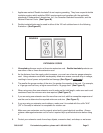
Cleaner, under the Fuse cover, above the Power Cord-see Figure 4 next page.
NOTE: Overheating the Ultrasonic Cleaner will blow the Fuse.
1. Make certain all power is “OFF” and that the Ultrasonic Cleaner is unplugged. Remove the
Fuse Cover (11). If the Fuse Cover (11) does not easily come off, use Needle Nosed Pliers
to grasp the Fuse Cover (11). Turn counterclockwise to loosen and remove.
2. Grasp the Fuse (10) and pull it from its housing and insert a replacement Fuse (10).
Replace the Fuse Cover by installing and turning clockwise until securely in place. Do not
overtighten.
Fuse Cover
Fuse
(10)
Figure 4
Replacing the Fuse
Inspection, Maintenance and Cleaning
1. Disconnect the Power Cord Plug from the power source before making any
adjustments, changing accessories, or storing the tool. Such preventive safety
measures reduce the risk of electric shock.
2. Before each use inspect the general condition of the Ultrasonic Cleaner. Check for loose
screws, misalignment or binding of moving parts, cracked or broken parts, damaged power
plug/Cord and any other condition that may affect the safe operation of the Ultrasonic
Cleaner. If abnormal noise or vibration occurs, immediately disconnect the Ultrasonic
Cleaner form its electrical supply source and have the problem corrected before further use.
DO NOT USE DAMAGED EQUIPMENT.
3. Servicing of internal components should only be done by a qualified service technician.
4. Clean the Ultrasonic Cleaners’ water tank with a damp cloth. Remove any oil and residue
after each use. Do not clean with flammable or corrosive liquids.


