


Cabela’s
®
Gun Dog
®
— Owner’s Manual
13
Cabela’s
®
Gun Dog
®
— Owner’s Manual
12
TRAINING
Always start training your dog with the
lowest stimulation, and increase to a
higher level only if necessary. You will
know when you’ve reached the right level
when your dog responds by twitching his
head, neck, or shoulders, or by perking
up his ears. If the dog vocalizes, you need
to go to a lower level.
When using GS-7001’s Continuous
stimulation button, you control the
duration of the stimulation by the length
of time you press the stim button. For a
short stimulation, press and release the
button. For a longer stimulation, hold the
button down. A maximum of 10 seconds
of stimulation may be applied before the
safety lockout feature (over-stimulation
protection, see below) starts.
When using GS-7001’s Momentary
stimulation button, each Momentary stim
button press produces one short, quick
stim at the Collar Receiver (also called
Nick stimulation or Brief-tap stimulation).
Release the Momentary stim button and
press it again to deliver another
momentary stim.
Over-Stimulation Protection
The Transmitter can transmit continuously
(Tone or Stim) for up to 10 seconds. If you
attempt to transmit continuously for more
than 10 seconds, the transmitter enters a
10 second lockout mode during which
time no transmissions are allowed (hence,
no stimulation allowed).
Training Tone Option
The Tone button causes the collar to
produce a sound. No stimulation is
delivered when the Tone button is
pressed. The tone continues for as long
as the button is held down, up to 10
seconds. A tone can help strengthen a
dog’s response to training. The tone can
be used as a warning tone prior to
pressing the stimulation button; or can be
a reward tone when presented with
praise, play, or food for good behavior.
The use of a training tone is optional. Its
use varies among popular training
methods. Some trainers choose to use
the tone option as a warning tone prior to
stimulation, others prefer to use the tone
option as a reward tone, and still others
prefer to not use it at all. It is imperative
for successful dog training to use the tone
option consistently
through-out the
training process. Whether the tone will
mean reward or warning to your dog is up
to the training method you choose.
Remember: the training tone
CANNOT be both a warning tone
and a reward tone. To learn more about
tone training, consult a qualified dog
training professional.
To program the GS-7001 Transmitter for
Tone operation, (see Program the Stim
Type (Tone Option) on page 7).
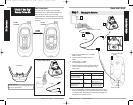
Match the Collar Receiver and
Remote Transmitter
To reset the Collar Receiver to work with a
new Remote Transmitter or to reprogram
a new Collar Receiver to work with your
existing Remote Transmitter:
1. Turn the Collar Receiver off
2. Press and hold the On/Off Button.
The Collar Receiver Indicator Light will
come on, then turn off after 5-6
seconds. If the On/Off Button is
released too early, the Collar Receiver
Indicator Light will begin flashing as
normal. If this occurs, start over and
repeat from 1.
3. After the Collar Receiver Indicator
Light has turned off, release the
On/Off Button.
4. Press and hold the Upper Button on
the Remote Transmitter until the
Collar Receiver Indicator Light flashes
5 times. You may need to hold both
units 2-3 feet from each other before
this occurs. Once the Receiver
Indicator Light has flashed 5 times, the
Collar Receiver has been reset and will
begin flashing as normal. If the
Receiver Indicator Light does not flash
5 times, start over and repeat from 1.
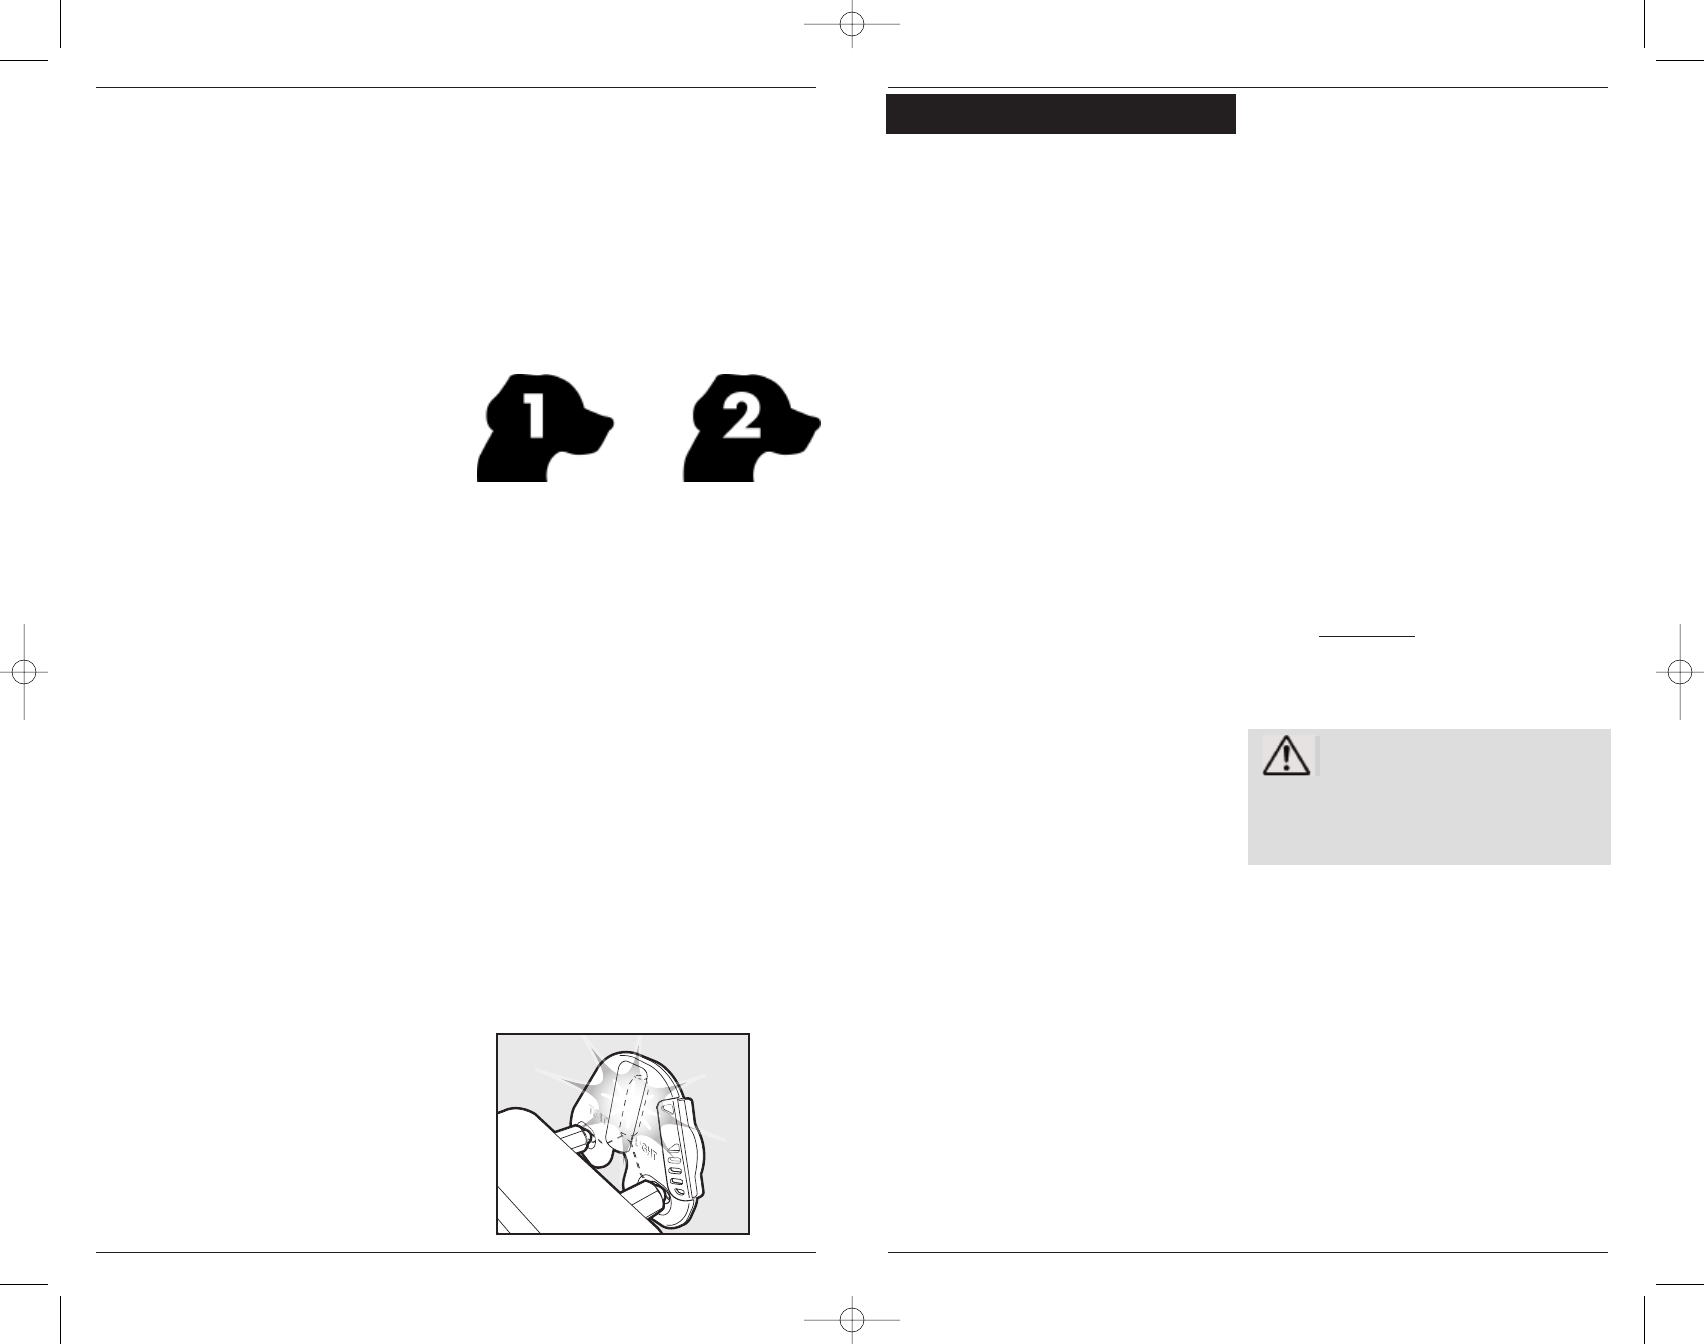
Two Dog Systems
If you wish to add another Collar Receiver
to the training system, accessory Collar
Receivers are available through Cabela’s
catalog, retail stores, or website.
1. Holding the second Collar Receiver,
set your Transmitter to Dog 2 (Dog
Select button), and repeat the above
steps 1-4.
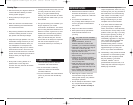
The Transmitter sends signals to the
Collar Receiver of the dog symbol
appearing in the Transmitter display.
To switch between Collar Receivers, press
the Dog Select button until the desired
dog symbol displays.
For information on using Dual Dog mode
(controlling two dogs without using the
Dog Select button), see page 7.
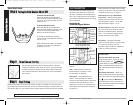
Testing the Collar Receiver
In order to make sure the Collar Receiver
is getting signals from the Transmitter, you
may wish to test the Collar Receiver from
time to time.
To test:
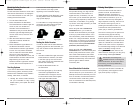
1. Hold the included Test Light across the
Collar Receiver’s contacts. (The holes
in the Test Light go over the contact
tips; make sure the wire inside the hole
touches the contact tip.)
2. Press the Stimulation button on
the Transmitter.
3. The Test Light lights up. The intensity
of the Test Light depends on the
stimulation level. The light is dim for
low stimulation levels and is brighter
with higher stimulation levels.
Dog 1 symbol Dog 2 symbol
400-1139-1.qxp:two column layout for print 9/25/09 4:03 PM Page 12