


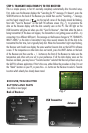

4
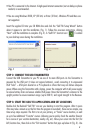
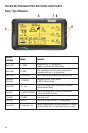
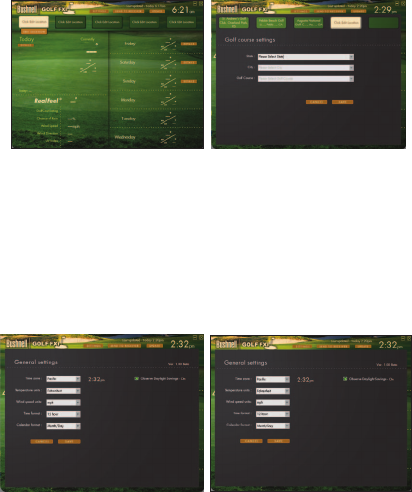
the drop down arrows to select the State, City and Golf Course name from the lists that appear
(Fig. 4). Once you have made the three settings to define your location, click “Save” (if you get
a “Cannot connect to server...” message, wait a minute and try clicking “Save” again). Follow
the same process to set-up additional locations.
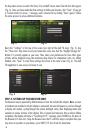
Next click “Settings” at the top of the screen (just right of the Golf FXi logo) (Fig. 5). Use
the “Time Zone” drop down to set your home time zone, also click the “Daylight Savings On”
button if it currently applies in your area. Then select your preferences for how other types
of data will be displayed using the remaining drop downs for temperature units, etc. When
finished, click “Save” to store these settings and return to the main screen (Fig. 6). The Golf
FXi application is now set up and ready to use.
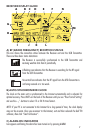
STEP 4: SETTING UP THE RECEIVER UNIT
The Receiver may be powered by 4AA batteries or from the included AC adapter. Note: as soon
as batteries are installed or the AC adapter is connected, the unit will power on, and run through
a display test routine, cycling through the various backlight colors, then displaying letters and
numbers in various sections of the display. This is normal and takes less than a minute. When
completed, the display will show a “Searching for PC” message (press SEARCH on the back of
the Receiver if it does not). Keep the Receiver near the PC until the setup is complete then you
may move it anywhere in your home, up to 300 ft (91.4m) from the Transmitter.
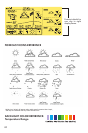
Fig. 3
Fig. 4
Fig. 5
Fig. 6