CAUTON
If the operator is inexperienced with the zero
turn mower lever steering/speed control, he/she
should follow these recommendations:
Disengage the mower blades. Go very slowly
until thoroughly familiar with the machine. Keep
away from fences, buildings, and other obstruc-
tions. While becoming familiar with the machine,
move the Control Levers smoothly and slowly.
Practice until operation is smooth and efficient.
10. A roll-over protection system (ROPS) is installed
on your machine. Operate unit with the ROPS in
the raised and locked position and use seat belt.
There is no roll-over protection when the ROPS
is down. If it is necessary to lower the ROPS, do
not wear seat belt. Raise the ROPS as soon as
clearance permits.
11. TO DRIVE: Adjust seat forward or backward for
operator comfort. Move the Control Levers to the
“IN” position. Move Control Levers forward to
move forward. Move levers slowly forward to
increase speed. To reverse direction, move the
Control Lever on the side to which you want to
turn slightly rearward of the other Control Lever.
To turn on a zero radius axis, go slowly and pull
one Control Lever back and push the other
WARNING
AVOID SERIOUS INJURY OR DEATH:
DO NOT MOVE STEERING LEVERS FROM
FORWARD TO REVERSE OR REVERSE TO
FORWARD POSITION RAPIDLY. A SUDDEN
CHANGE IN DIRECTION MAY CAUSE LOSS OF
CONTROL AND/OR DAMAGE TO EQUIPMENT.
FOR SMOOTH, SAFE OPERATION, MOVE THE
CONTROL LEVERS IN A GENTLE, SLOW
MOTION, ESPECIALLY ON GRADES.
12. BRAKING: To brake mower, gently move
Control Levers in the direction opposite to travel.
If the parking brake is engaged with the Control
Levers in the “IN” position the engine will stop.
13. CUTTING HEIGHT ADJUSTMENT:
1. Stop engine and move the control levers to
the neutral position and engage the parking brake.
2. Disengage the blades.
3. Depress the deck lift foot pedal raising the
deck to the transport position and place the pedal in
the locked position.
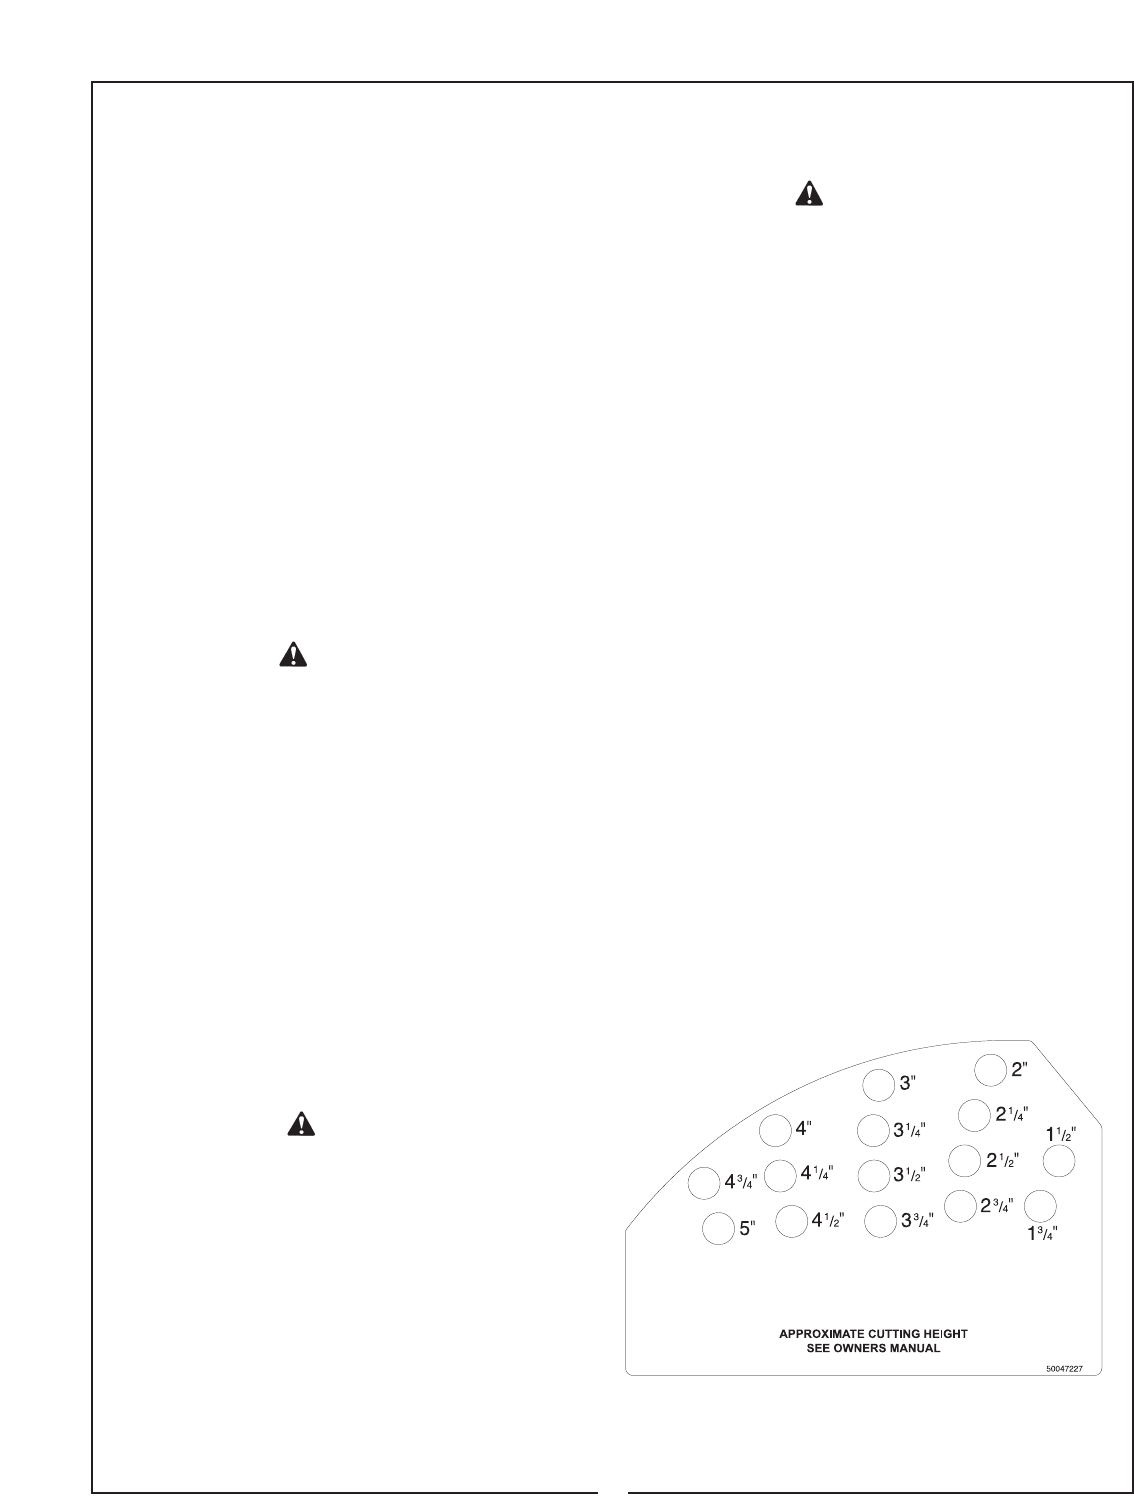
4. Insert height adjustment pin into the hole cor-
responding to the desired cutting height. See
decal on the side of the deck lift plate.
5. Depress the deck lift pedal and lower the deck to
the selected mowing height.
6. To transport, depress the lift foot pedal and lock in
position, then move the height adjustment pin to the 5”
position.
7. The cutting height adjustment is only a recom-
mended guide. During normal mowing cut only 1/3 of the
grass blade. Set cutting height to achieve your desired
results.
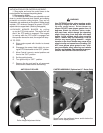
CUTTING HEIGHT ADJUSTMENT DECAL
12
WARNING
MAKE SURE SEAT FRAME RETENTION
CLICK-PINS ARE IN PLACE AFTER LIFT-
ING SEAT PAN FOR SERVICE.
OPERATION
1. OPEN FUEL TANK SELECTOR VALVE left or
right tank.
2. MOVE CONTROL LEVERS TO neutral “OUT”
position by pushing each one straight sideways.
3. SET PARKING BRAKE. Pull rearward to set.
4. DISENGAGE MOWER BLADE CLUTCH by
moving clutch switch to “OFF” (down) position.
5. SET ENGINE CHOKE CONTROL for cold starts
to full position.
6. SET ENGINE THROTTLE TO 1/2 throttle.
7. TURN IGNITION KEY to “START” position and
release to “RUN” as soon as engine starts.
NOTE: Prolonged cranking will damage starter
motor and shorten the battery life.
8. ADJUST ENGINE THROTTLE AND CHOKE for
desired engine smoothness and speed. NOTE:
When mowing, always run engine at full throttle.
9. RELEASE PARKING BRAKE. Push brake lever
forward to release.
Control Lever forward, depending on which
direction you wish to turn.


