


8
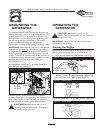
Briggs & Stratton Power Products Home Generator System
Owners Manual
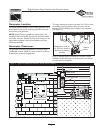
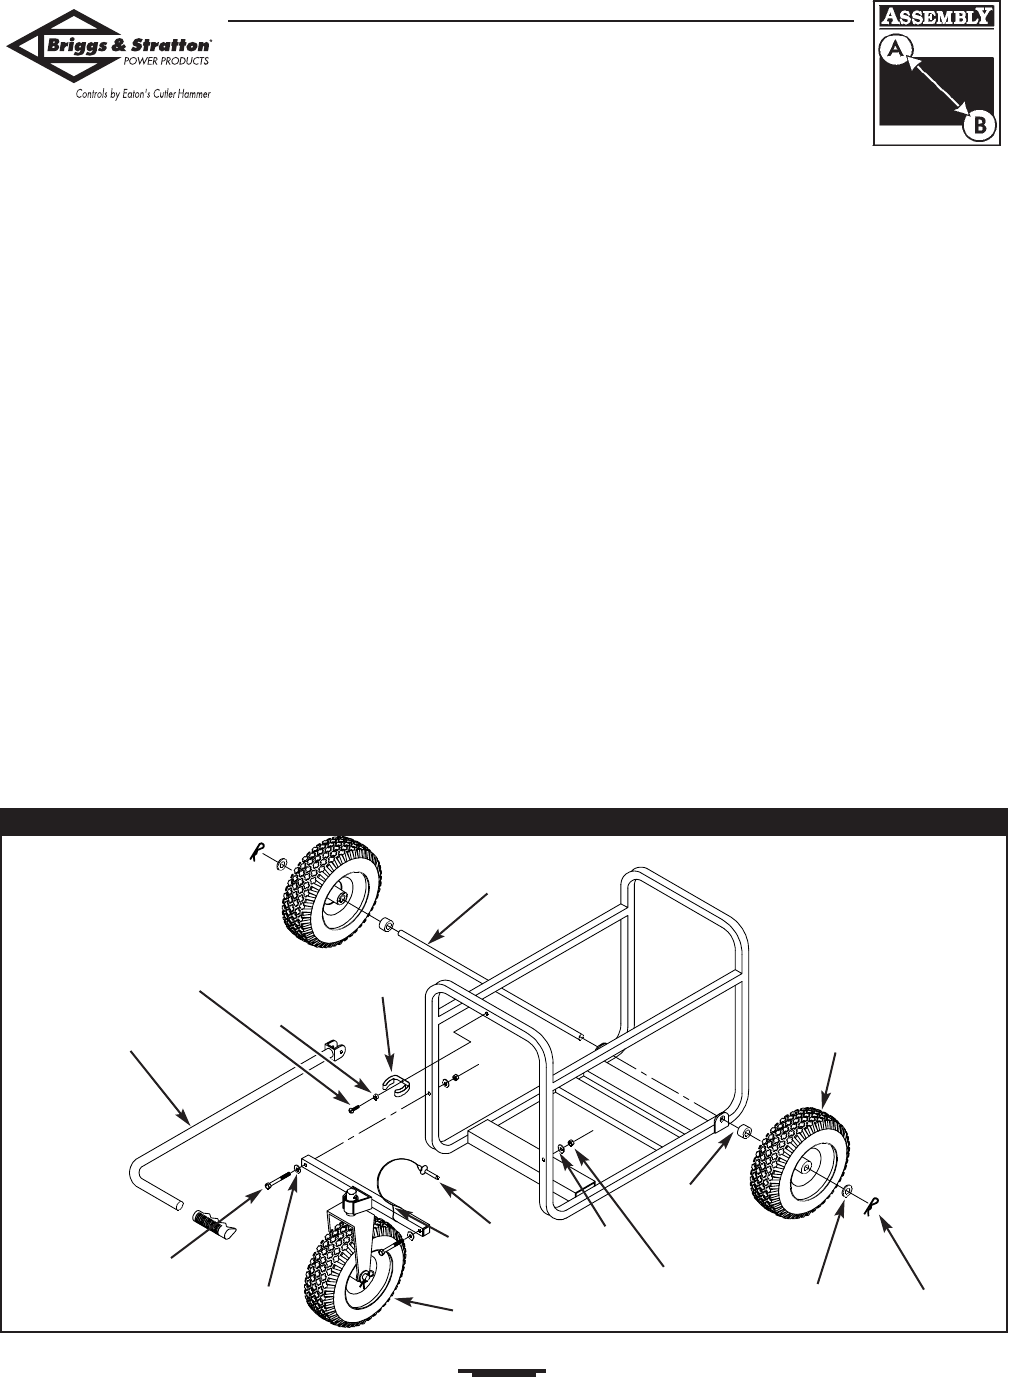
INSTALL WHEEL KIT
To install your wheel kit, you need the following tools:
• Socket wrench with 1/2" or 13mm sockets
• Phillips head screwdriver
• Needle-nose pliers (if equipped with e-ring)
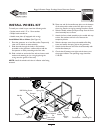
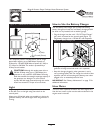
Install Wheel Kit as follows: (See Figure 4)
1. Place the generator on a hard flat surface.Temporarily
raise unit on blocks to ease assembly.
2. Slide the axle through the holes in the brackets
provided on the generator cradle and then add the
two spacers on each protruding end of the axle.
3A. Slide a wheel on each end of the axle and secure with
washer and retaining pin (or e-ring by placing the
e-ring onto the groove in the axle).
NOTE: Install the wheels with the air inflation valve facing
outward.
3B. Place one end of the needle nose pliers on the bottom
of the axle and the other end of the pliers on top of
the e-ring. Seat the e-ring by pressing the pliers closed.
4. Slide the handle release pin lanyard loop onto the front
wheel assembly bar, as shown.
5. Attach the front wheel assembly to the cradle with cap
screws, flat washers and lock nuts. Remove the
temporary blocks.
6. Slide the bumper onto the pre-threaded self drilling
screw and attach the spring clip to the generator.
7. Attach the handle onto the front wheel assembly with
the handle release pin.
8. Check that all fasteners are tight and the tires are at
the proper inflation.The operating range should be
15-40 PSI.
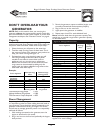
Figure 4 — Assemble Wheel Kit
Handle
Lanyard
Loop
Wheel
Axle
Spring Clip
Self Drilling Screw
Flat Washer
Retaining Pin
Wheel
Spacer
Locking
Nut
Flat
Washer
Flat
Washer
Handle
Release
Pin
Front wheel
Assembly
Cap Screw
Bumper