8
www.briggsandstratton.com
LP Fuel Tank Installation
IMPORTANT: To ensure optimal performance,
use two (2) LP fuel tanks during operation.
This section describes the proper method of installing and
leak testing the generator’s LP fuel tanks. This system is
supplied with an LP fuel tank cover. Always cover the LP
fuel tanks whenever they are connected to the generator.
To Install LP Fuel Tanks:
1. Confirm both LP fuel tank shut off valves are closed
(turned fully CLOCKWISE).
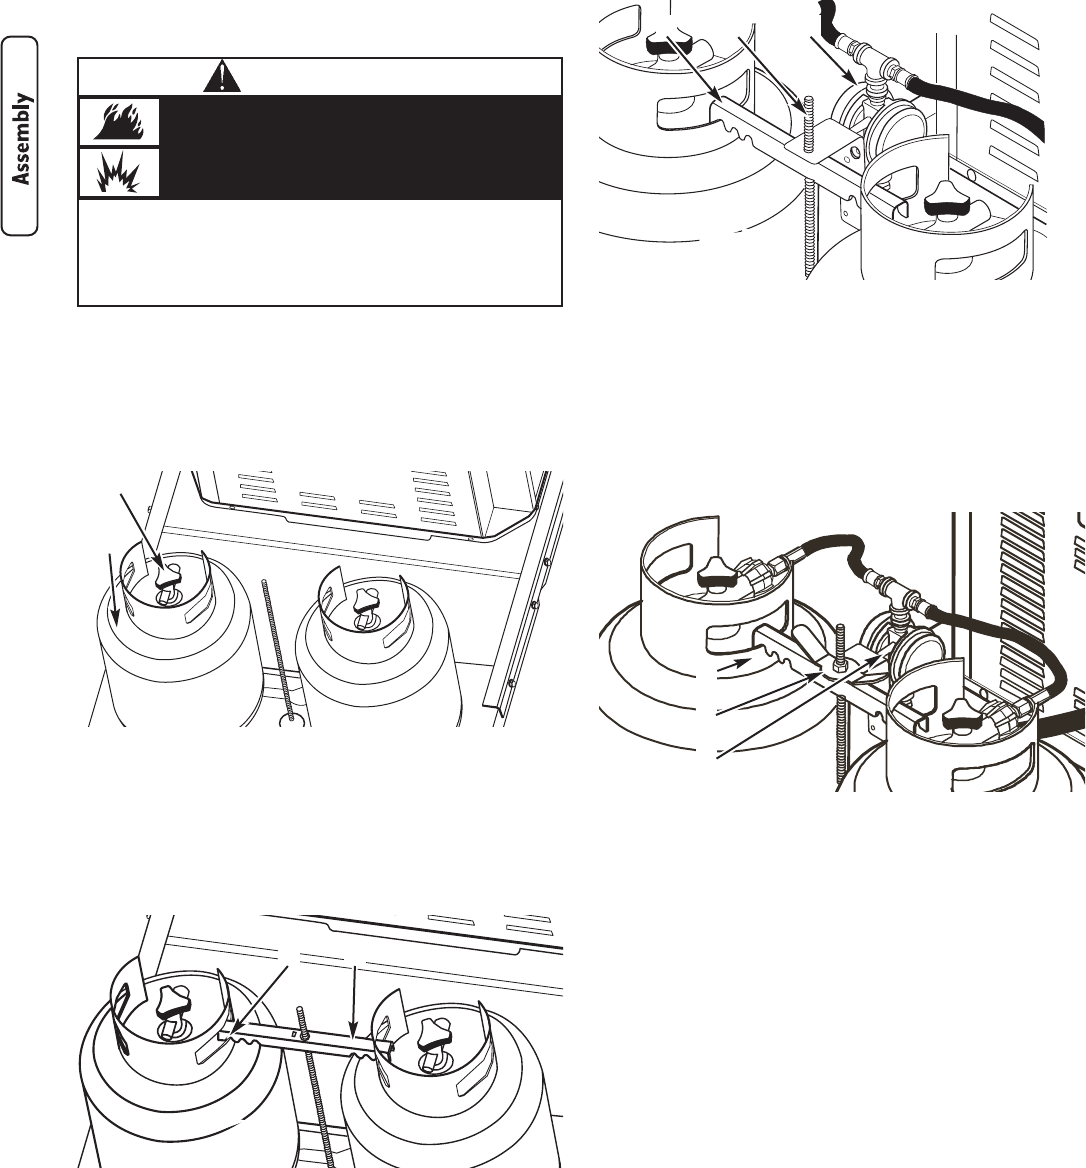
2. Place each LP tank into the LP tank tray with it’s fuel
valve pointing towards the generator (see Figure 5).
3. Slide the LP fuel tank hold-down bracket onto the
threaded rod. Position the bracket so that its notches
are aligned with both LP fuel tank collar holes, as
shown in Figure 6.
It may be necessary to “wiggle” the LP fuel tanks and
the bracket to obtain proper alignment.
4. Slide the fuel hose/regulator assembly over the
threaded rod so that it faces the generator and rests
on the hold-down bracket (see Figure 7).
5. Thread the wing nut CLOCKWISE onto the threaded
rod. Hand tighten wing nut against fuel hose/regulator
assembly, ensuring hold-down bracket notches remain
engaged with LP fuel tank collars and LP fuel tanks are
held firmly. See Figure 8.
6. Remove protective covers from both LP fuel tank shut
off valve connectors. DO NOT discard protective
covers - they should be installed any time the LP fuel
tank is disconnected from the generator.
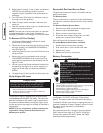
7. Insert the nipple of the left connection device (as you
face the generator and LP fuel tanks) into the left LP
fuel tank valve outlet (see Figure 9). Ensure it is fully
inserted.
• The slightest spark can ignite this fuel and cause an explosion.
• IF YOU SMELL GAS - Shut off gas to the generator at the LP fuel
tank(s).
• If odor continues, leave the area and immediately call your gas
supplier or fire department.
Propane Gas is extremely flammable and
explosive.
Fire or explosion can cause severe burns or
death.
WARNING
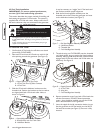
Figure 5 — Proper Position for LP Fuel Tanks
A - LP Fuel Tank Shut Off Valve Connector
B - LP Fuel Tank
B
A
Figure 6 — Properly-Aligned Hold-Down Bracket
A - Bracket Notch over Fuel Tank Collar
B - Hold-Down Bracket
BA
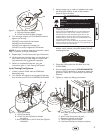
Figure 7 — Fuel Hose/Regulator Assembly Placement
A - Hold-Down Bracket
B - Threaded Rod
C - Fuel Hose/Regulator Assembly
A B C
Figure 8 — Properly-Secured LP Fuel Tanks
A - LP Fuel Tank
B - Wing Nut
C - Fuel Hose/Regulator Assembly
A
B
C


