7
many other useful labor saving tasks in the garden. After
engine is running and appropriate speed set on throttle,
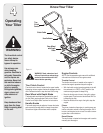
squeeze tine clutch control (see Figure 4-1) against
upper handle to engage the tine drive. Release the lever
to stop the tines from turning.
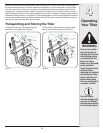
Wheel Position
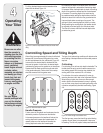
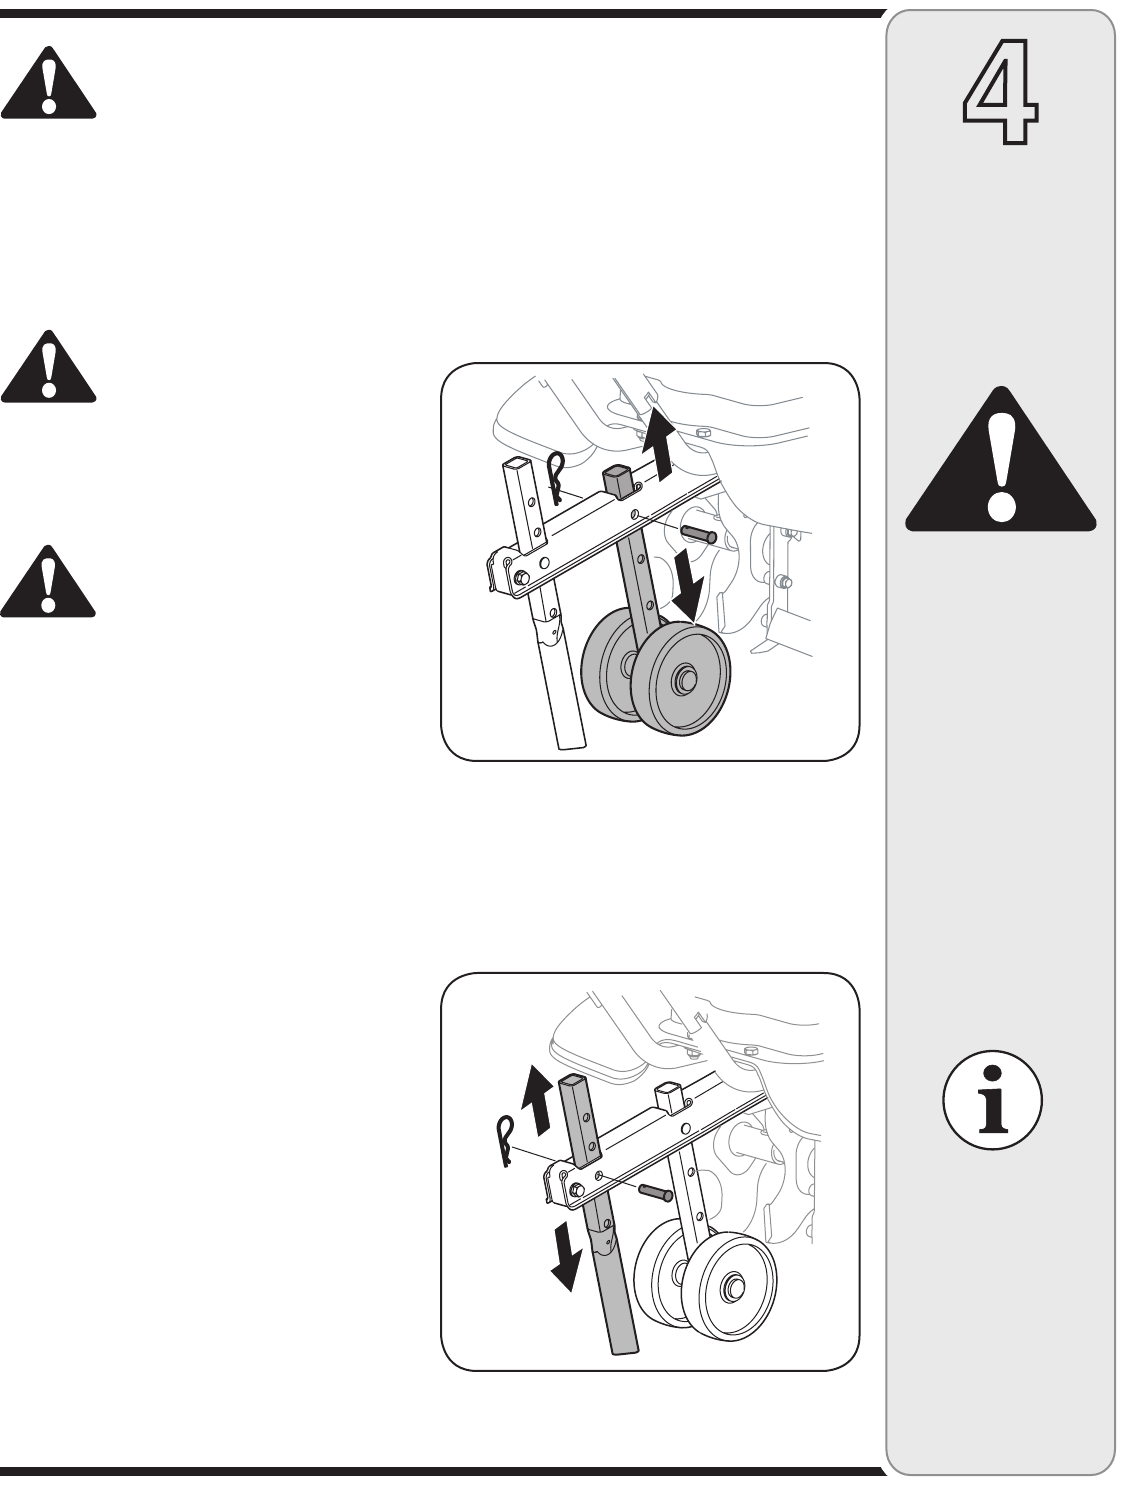
The tiller is shipped with the wheel adjusted such that the
unit sits level. Before tilling, the wheel must be raised. To
do this, remove the clevis and cotter pins, raise the wheel
to the desired position, then reattach pins to secure,
Figure 4-2. For transporting the tiller, reverse the steps to
lower the wheel.
Depth Stake
The depth stake acts as a brake for the tiller and controls
the depth and speed at which the machine will operate,
Figure 4-3. Remove the clevis and cotter pins, raise or
lower the depth stake, then reattach pins to secure.
Using Your Tiller
Your tiller (also known as a cultivator) is a precision built
machine designed for seed bed preparation, cultivating,
furrowing, and mulching. It is engineered to minimize
the hardest work in the vegetable or flower garden, to
till the soil for planting and cultivating, and to perform
4
Operating
Your Tiller
WARNING
Be sure no one other
than the operator is
standing near the tiller
while starting engine
or operating the unit.
Never run engine
indoors or in enclosed,
poorly ventilated
areas. Engine exhaust
contains carbon
monoxide, an odorless
and deadly gas. Keep
hands, feet, hair and
loose clothing away
from any moving parts
on engine and tiller.
See your engine
manual packaged with
your unit for detailed
instructions pertaining
to starting the engine.
WARNING: Read, understand, and
follow all instructions and warnings
posted on the machine and in this
manual before operating.
Before Starting
Gas And Oil Fill-Up
Service the engine with gasoline and oil as instructed in
the separate engine manual packed with your tiller. Read
instructions carefully.
WARNING: Use extreme care when
handling gasoline. Gasoline is ex-
tremely flammable and the vapors are
explosive. Never fuel machine indoors
or while the engine is hot or running.
Starting Engine
WARNING: Be sure no one is standing
in front of the tiller while the engine is
running or being started.
1. Attach spark plug wire to spark plug. Make sure the
metal cap on the end of the spark plug is fastened
securely over the metal tip on the spark plug.
2. Make sure that the tine clutch control is disengaged.
3. Place the throttle control in the FAST position.
4. For first time start-up, firmly press engine primer five
(5) times. For all future starts, press three (3) times.
Wait about two seconds between each press.
5. Place left hand on gas tank. Grasp recoil starter and
pull rope out slowly until engine reaches the beginning
of its compression cycle (rope will pull slightly harder
at this point).
6. Pull rope with a rapid, continuous, full arm stroke.
Keep a firm grip on handle. Let rope rewind slowly. Do
not let recoil starter snap back against engine. Repeat
until engine starts.
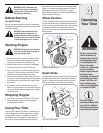
Stopping Engine
1. Move throttle control lever to STOP or OFF position.
2. Disconnect spark plug wire from spark plug and
ground against the engine.
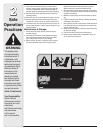
Figure 4-2: Wheel Adjustment
Figure 4-3: The Depth Stake


