


Contact 1-800-762-1142 for assistance.
Do not return to place of purchase.
®
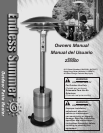
Owner’s manual: model 235000 outdoor patio heater 6/11/04
5
Contact 1-800-762-1142 for assistance.
Do not return to place of purchase.
®
Owner’s manual: model 235000 outdoor patio heater 6/11/04
6
Assembly Instructions
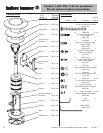
General Components & Features
Familiarize yourself with all components before proceeding. Refer to page 5 for hardware and components, and page 20
for specifications.
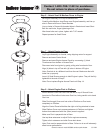
The white ceramic cone in the top of the engine is an important piece. DO NOT REMOVE.
Do NOT attempt assembly unless all components are available. If you believe a component is missing or damaged,
contact 1-800-762-1142 for assistance.
Note: All hardware is mounted on a cardboard pack and numbered to match their assembly step.
Additional Requirements
The following items are not included, but are necessary for the proper assembly of your heater. Do NOT attempt to
assemble without proper tools. A hex (Allen) wrench is necessary and is included in the parts bag.
(1) 7/16” Wrench
(1) 9/16” Wrench
(1) 7/16” Socket Wrench
(1) #2 Phillips Head Screwdriver
(1) Leak Detection Solution (Instructions on how to make solution are included in step 13)
(1) Precision Filled LP Gas Grill Cylinder with Acme Type 1 external threaded valve connection (4-5 gallon size)
Note: You must follow all steps to properly assemble heater.
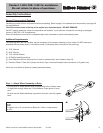
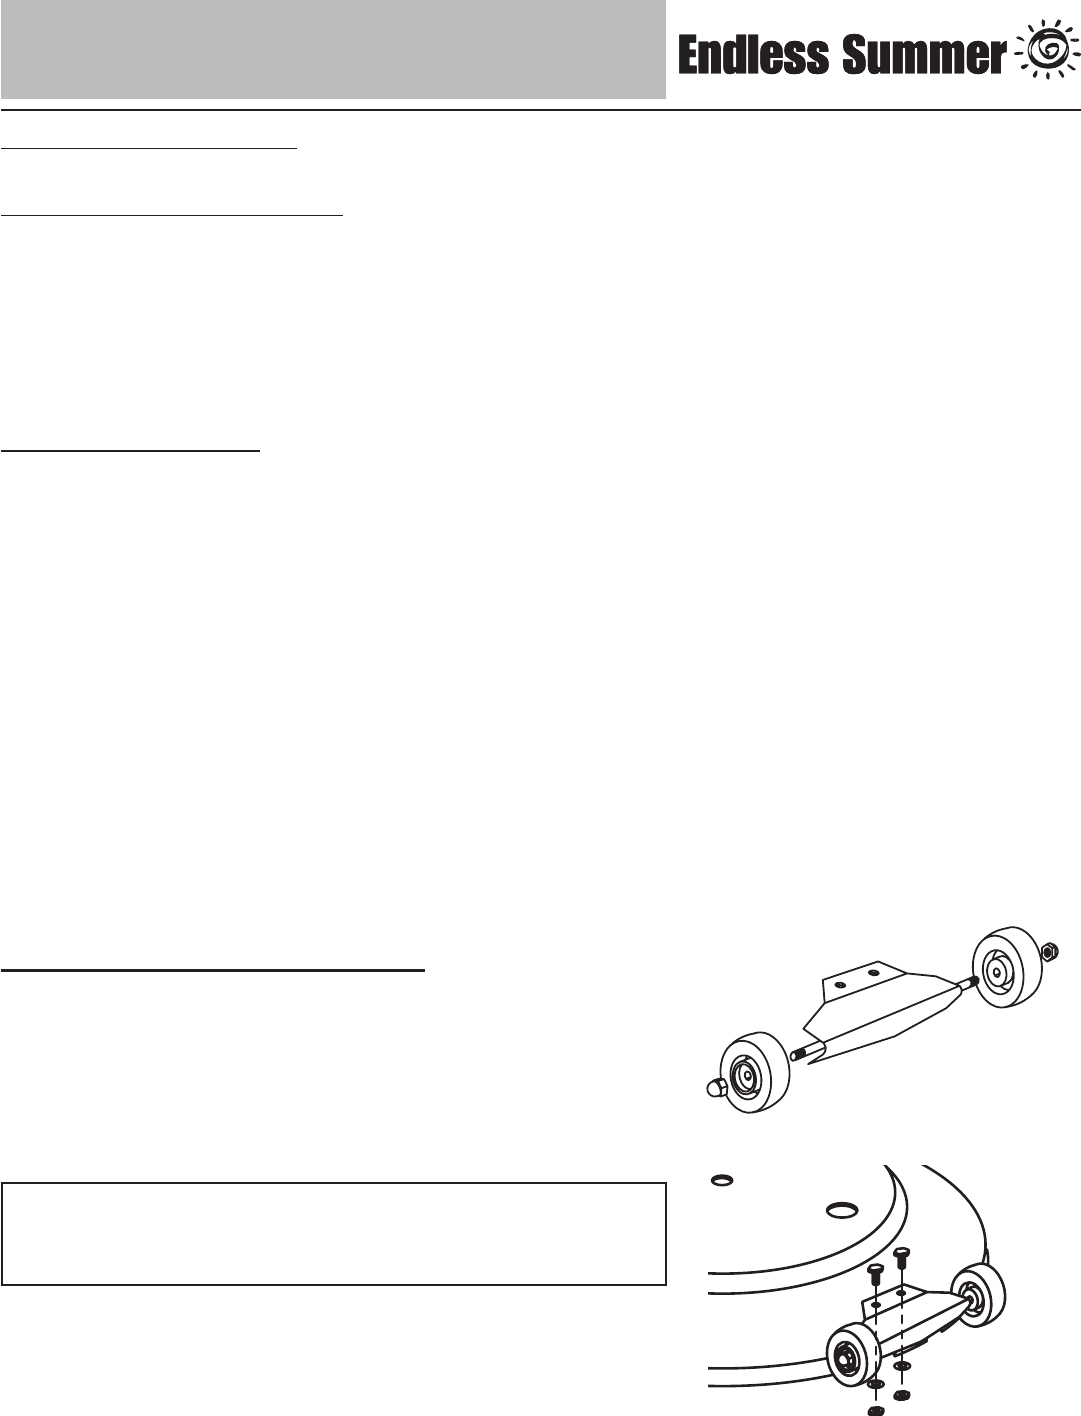
Step 1 – Attach Wheel Assembly to Base
Line up holes in Wheel Bracket with corresponding holes in Base. Insert
2 Large Bolts through holes and 2 Flat Washers, finger tighten 2 small
nuts.
Be sure that the Wheel Assembly is parallel to the base, and fully tighten
bolts.
TIP:
To tighten use a 13 mm wrench on Bolt and a 13mm socket wrench
on Nut.