GB - 11
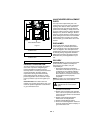
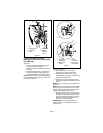
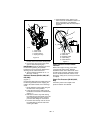
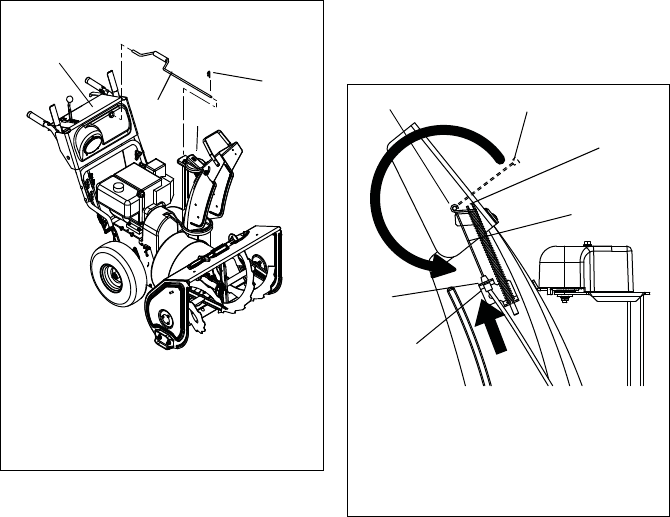
4. Insert the short end of the chute rod into
the hole in the front of the control panel.
5. Connect the chute crank to the pinion
gear on chute with spring clip.
IMPORTANT: Rotate the discharge chute to
the left when tightening the pedestal
hardware to ensure clearance between the
discharge chute and the belt cover.
6. Tighten pedestal hardware to 15 – 31
lbf-ft (20 – 42 N•m).
Deflector Remote (921004, 006, 007,
008, 009)
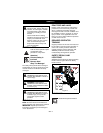
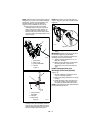
(Figure 11)
Connect the cable end to the cable anchor on
the discharge deflector before clipping the
cable to the cable bracket on the discharge
chute.
1. Route deflector remote cable along the
left side of the chute pedestal.
2. Insert the barrel on the cable end into
the bracket on left side of chute deflector
(Figure 11).
3. Hold seal out of the way while routing
the cable through the bracket on the left
side of the discharge chute, and then
push the cable fitting into the bracket.
4. Push the seal securely over the end of
the cable fitting to prevent water from
entering the cable.
5. Check deflector travel. Adjust nut on
cable end under handlebar to obtain full
travel, if necessary. (see Deflector
Remote (921004, 006, 007, 008, 009) on
page 25).
Check Function of Dual Handle
Interlock
Without the engine running, press down
(engage) both clutch levers. Release
attachment clutch lever. Attachment clutch
should remain engaged until traction clutch
lever is released, then both clutches must
disengage. If they do not, contact your Dealer
for repairs.
Check Tire Pressure (921004, 005,
006)
Check tire pressure and adjust to the
pressure listed on tire sidewall.
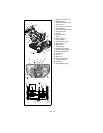
Figure 10
1. Chute Rod
2. Gear Cover
3. Control Panel
4. Spring Pin Clip
1
4
OS7061
3
921005
2
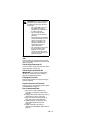
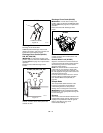
Figure 11
1. Cable Anchor
2. Cable End
3. Deflector Cable
4. Cable Fitting
5. Cable Bracket
1
2
3
5
4
3
OS7070


