GB - 24
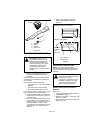
3. Slowly release idler arm until idler pulley
rests firmly against PTO belt.
4. Install belt covers on mower deck.
NOTE: Ensure that belt is still positioned in
the groove of the sheave after belt covers are
installed.
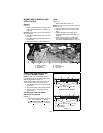
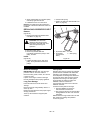
REPLACING HYDROSTATIC BELT
Remove
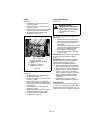
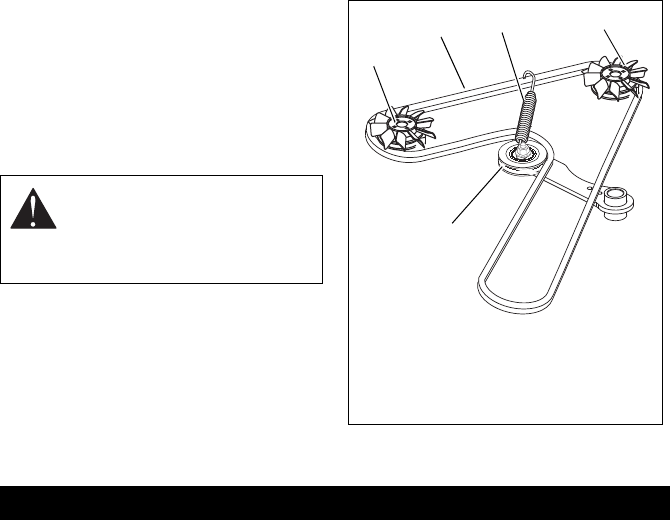
(Figure 20)
1. Remove PTO belt (see REPLACING
PTO BELT on page 23).
2. Disconnect idler spring.
3. Remove hydrostatic belt from
hydrostatic transmission pulleys, drive
pulley, and idler.
Install
(Figure 20)
1. Install hydrostatic belt on idler, drive
pulley, and hydrostatic transmission
pulleys.
2. Connect idler spring.
3. Install PTO belt (see REPLACING PTO
BELT on page 23).
Short Term Storage
IMPORTANT: NEVER clean unit with high-
pressure water or store unit outdoors.
Remove all dirt, grease, leaves, etc. Store in
a clean dry area.
Inspect unit for signs of wear or damage.
Ensure all fasteners are properly tightened.
Long Term Storage
Follow all instructions under Short Term
Storage.
Remove and fully charge battery. Store in a
clean dry area.
Refer to Engine Manual for the proper engine
storage procedures.
Touch up all scratched or chipped paint
surfaces.
Fuel System
Gasoline left in the fuel system for extended
periods without a stabilizer will deteriorate,
resulting in gum deposits in the system.
These deposits can damage the carburetor
and the fuel hoses, filter and tank. Prevent
deposits from forming in the fuel system
during storage by adding a quality fuel
stabilizer to the fuel. Follow the
recommended mix ratio found on the fuel
stabilizer container.
To treat the fuel system for storage:
1. Add fuel stabilizer according to
manufacturers’s instructions.
2. Run engine for at least 10 minutes after
adding stabilizer to allow it to reach the
carburetor.
NEVER store the engine with fuel in the fuel
tank inside of a building with potential
sources of ignition.
CAUTION: Use care when
releasing idler spring tension.
Keep body parts well away from
idler when performing this
operation.
Figure 20
1
1. Hydrostatic Belt
2. Hydrostatic
Transmission
Pulley
3. Idler
4. Idler Spring
2
2
3
4
STORAGE


