MAINTENANCE
PA91 03/09 Maintenance Section 5-5
© 2009 Alamo Group Inc.
MAINTENANCE
CABLE OPERATED ARMHEAD CONTROL VALVE
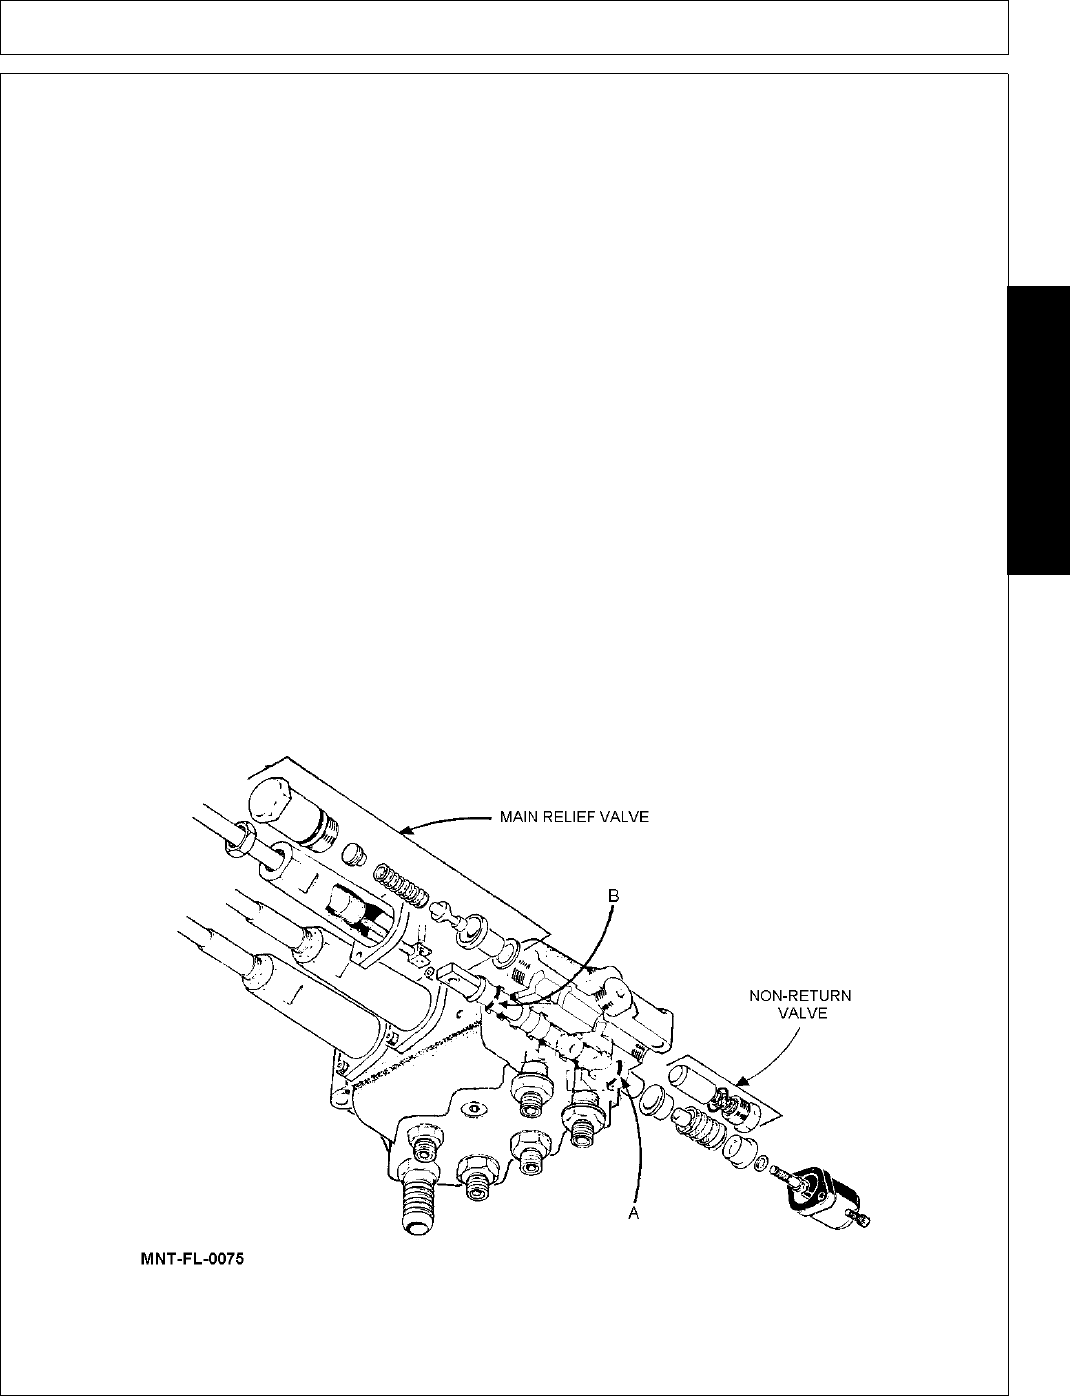
Replacing Damaged or Worn Spool “O” Rings
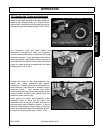
1. Release the locknut located on the cable at the back of the sleeve.
2. Remove the two allen headed capscrews that secure the sleeve to the valve block and screw the sleeve
back down the threaded portion of the cable to reveal the clevis pin which is then withdrawn from the end
of the spool. Take care not to lose the roller in the eye of the spool end.
3. Remove the spring cover at the opposite end of the spool and remove the setscrew to release the return
spring assembly.
4. Pull the spool through the block out of the return spring end.
5. Remove the “O” ring marked “B” and refit a new “O” ring.
6. Lightly oil the spool and replace it in the block from the return spring end, pushing it through just far enough
to clear “O” ring groove at “A”.
7. Fit new “O” ring in groove “A”.
8. Push the spool back through from the cable end far enough to reassemble the return spring assembly and
cover.
9. Replace the clevis pin in the spindle eye and reassemble the sleeve. Adjustment of the threaded section,
being correct when the handle on the control box, is in a vertical position. Retighten the locknut.
NOTE: Owing to the sharp edges in the design of the spool, failure to follow the above procedure could result
in damage to the new “O” rings resulting in external leakage.
10. The spools are selectively assembled, matched with their mating bores in the block and should not be
interchanged.


