8
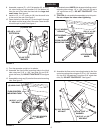
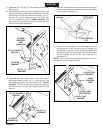
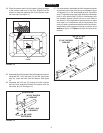
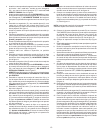
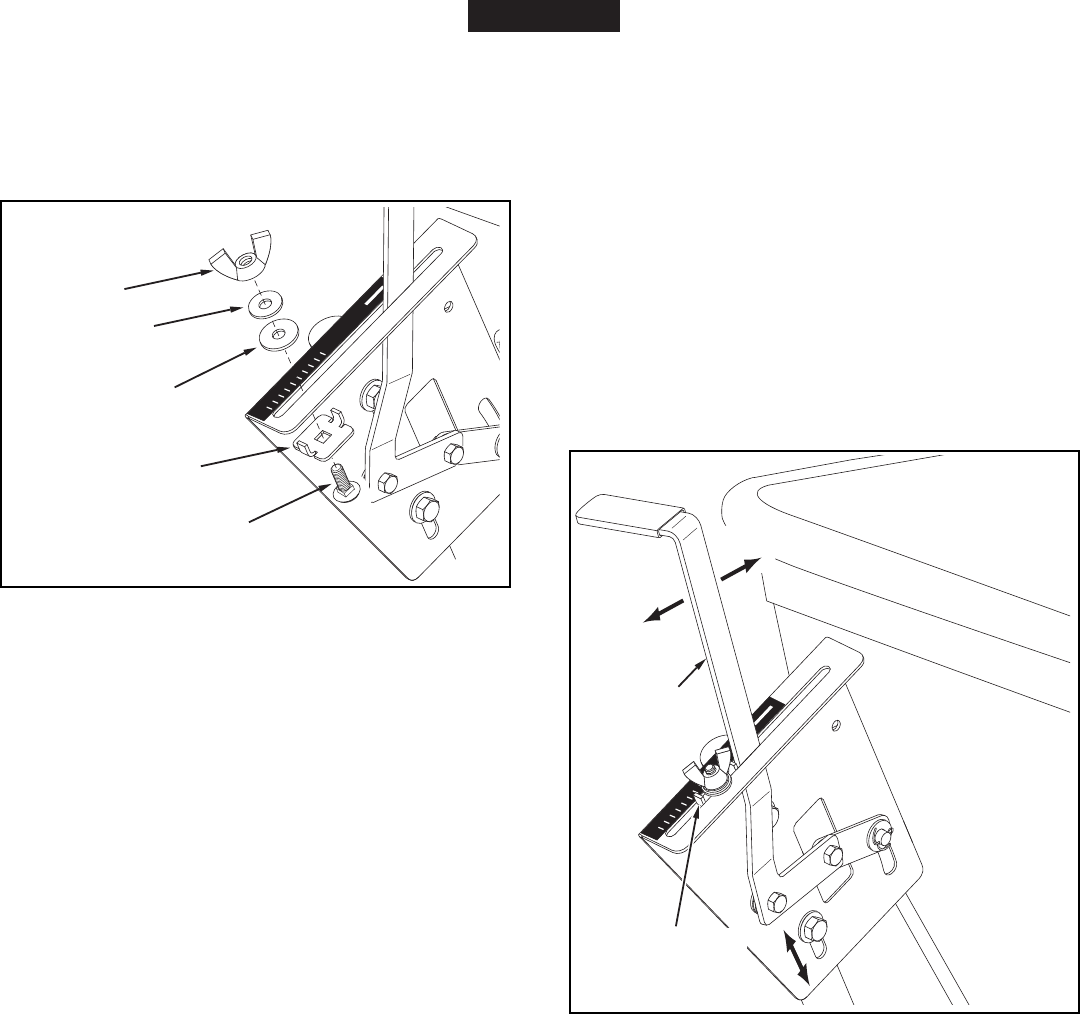
23. Positiontheowcontrolmountingbracket(gure13).
a. Pushon ow controlarm untilitlocksin "OFF"
position.
b. Slideowcontrolmountingbracketalongtubeuntil
closureplateinbottomofhopperjustcloses.
c. Snugthe5/16"nylockhexnutsjustenoughtohold
owcontrolmountingbracketinplace.
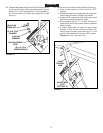
d. Setadjustablestop at"5". Pullowcontrolarm
againststop.Verifythatclosureplatehasopened
abouthalfway.
e. If closure plate does not open half way, adjust
position of ow control mounting bracket until
closureplatewillopenabouthalfwayat"5"and
willstillclosewhenarmislockedin"OFF"position.
Tightenthe5/16"nylockhexnuts.
FIGURE 13
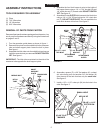
FIGURE 12
FLOW
CONTROL
ARM
OFF
ON
1
2
3
4
6
7
8
9
10
5
ADJUSTABLE
STOP
(SETTING "5")
ON
OFF
(Q) NYLON
WING NUT
OFF
ON
1
2
3
4
6
7
8
9
10
5
(J) 5/16" FLAT
WASHER
(I) NYLON
WASHER
(R) ADJUSTABLE
STOP
(E) 1/4" x 3/4"
CARRIAGE BOLT
ENGLISH
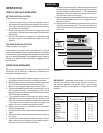
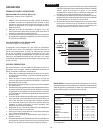
22. Placetheadjustablestop(R)intothe"ON"endoftheslot
inthetopoftheowcontrolmountingbracket.Secure
withthe1/4"x3/4"carriagebolt(E),anylonwasher(I),
a5/16"atwasher(J)andthenylonwingnut(Q).See
gure12.


