Network settings
12
The following is the procedure for configuring network settings.
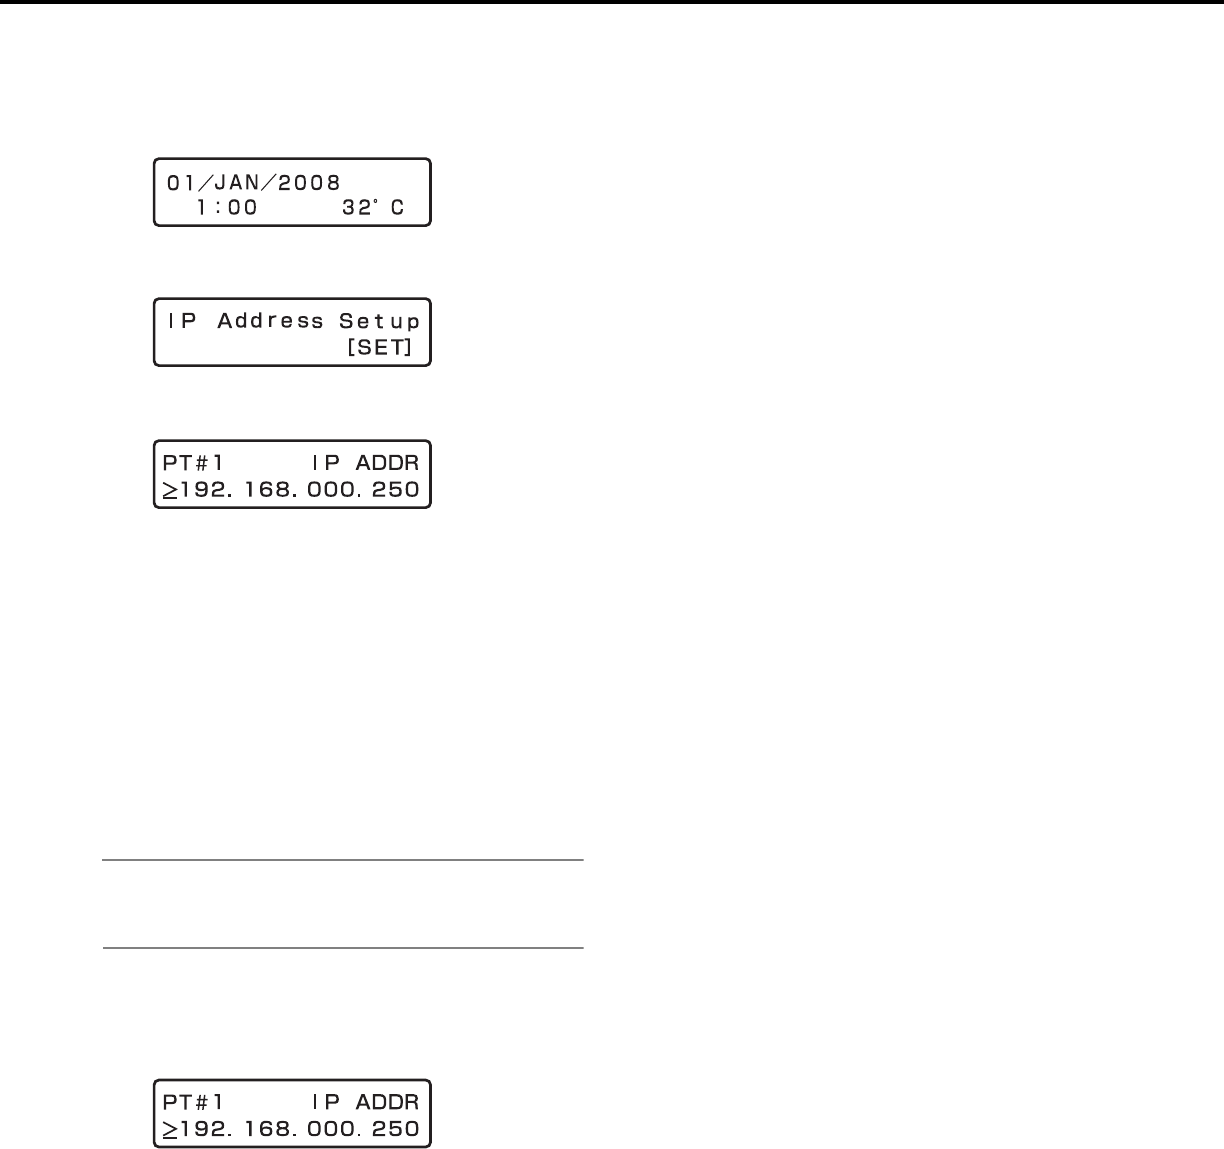
1 Make sure that the Date display screen (standby screen)
is displayed on the LCD.
If display is different, press the [ESC] button to display the
standby screen.
2 Use the arrow buttons (up or down) to display the IP
address settings screen.
3 Press the [SET] button.
This will display the [PT#1 IP ADDR] setting screen.
4 Use the arrow buttons (left or right) to display the
network port setting screen.
5 Use the arrow buttons (up or down) to display the screen
of the item you want to set.
• DHCP
• IP address
• Subnet mask
• Default gateway
• HTTP port
Note:
• You can only set the DHCP, the gateway, and the HTTP port to
PT#2.
6 After confirming that the cursor is [>], press the [SET]
button.
The cursor moves to the number area.
• The cursor is shown as an underscore (_).
7 Use the arrow buttons to change the setting.
8 Press the [ESC] button to move the cursor to ">" and
check the settings.
9 To configure the setting of another item, use the arrow
buttons (up or down) to change the screen.
10 Repeat steps 5 through 8 to configure the settings for
each item.
• PT#1 : Camera port
• PT#2 : Client PC port
• PT#3 : Maintenance port
• To move the cursor : Arrow buttons (left or right)
• To input a value : Arrow buttons (up or down)


