9
STARTING INSTRUCTIONS
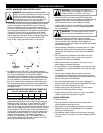
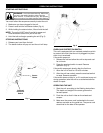
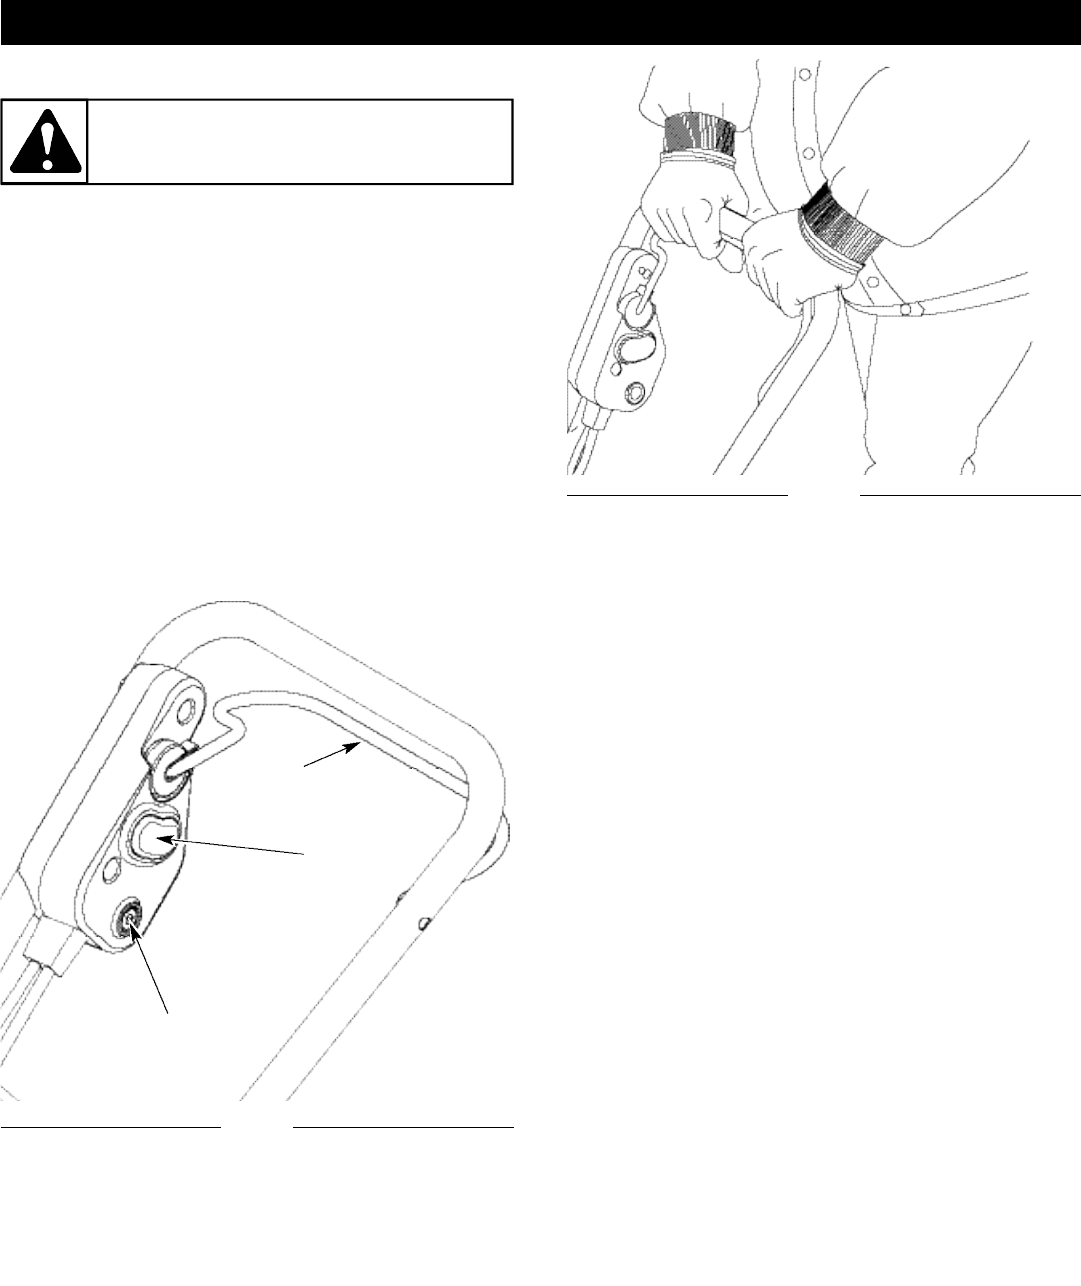
You must follow this sequence correctly to start the unit.
1. Make sure you have plugged in the unit.
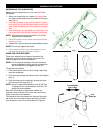
2. Press in and hold the red starter button (Fig. 4).
3. While holding the starter button, lift and hold the bail.
NOTE: The unit will NOT start if you fail to press and
hold the starter button until you lift the bail.
4. Hold the bail and begin operating the unit (Fig. 5).
STOPPING INSTRUCTIONS
1. Release your hand from the bail.
2. The starter button will pop out and the unit will stop.
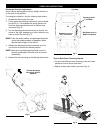
OVERLOAD PROTECTION SWITCH
This unit is equipped with an overload protection switch
to protect the circuit (that the unit is plugged into) from
short circuit overloads.
If the switch pops out:
1. Release the bail and allow the unit to stop and cool
for a minute.
2. Press the overload switch to reset. Resume
operation (Fig. 4).
If the switch pops again shortly after the first time:
1. Allow the unit to cool for 15 to 30 minutes.
2. After the unit has cooled, press the overload switch
to reset. Resume operation.
If the switch does not stay in, or if it continues to pop out
during operation, take the unit to an authorized service
dealer for repair.
Starter
Button
Bail
Overload
Protection
Switch
OPERATING THE UNIT
1. Start the unit according to the Starting Instructions.
The depth and weight of the snow governs the
forward speed.
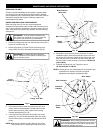
2 . Push the unit so that it rides on the wheels and
s c r a p e r .
3 . Make sure the power cord is attached to the cord
retainer and rests on the guide bar. The power cord
should trail to the side of the operator.
Fig. 5
Fig. 4
OPERATING INSTRUCTIONS
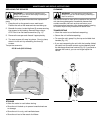
WARNING: Avoid accidental starting. Make sure
you are in the starting position when using the
snow thrower. To avoid serious injury, the operator
and unit must be in a stable position while starting.


