14
Seat Position
The seat position on the rider mower can be adjusted to
maximize the operator’s convenience.
• Stop the mower completely and engage the parking
brake. Turn ignition off.
• Pivot the hood assembly up.
• Loosen the four self-tapping screws on the bottom
of the seat.
• Slide the seat forward or backward in the slot, and
position it as desired. Retighten the four screws.
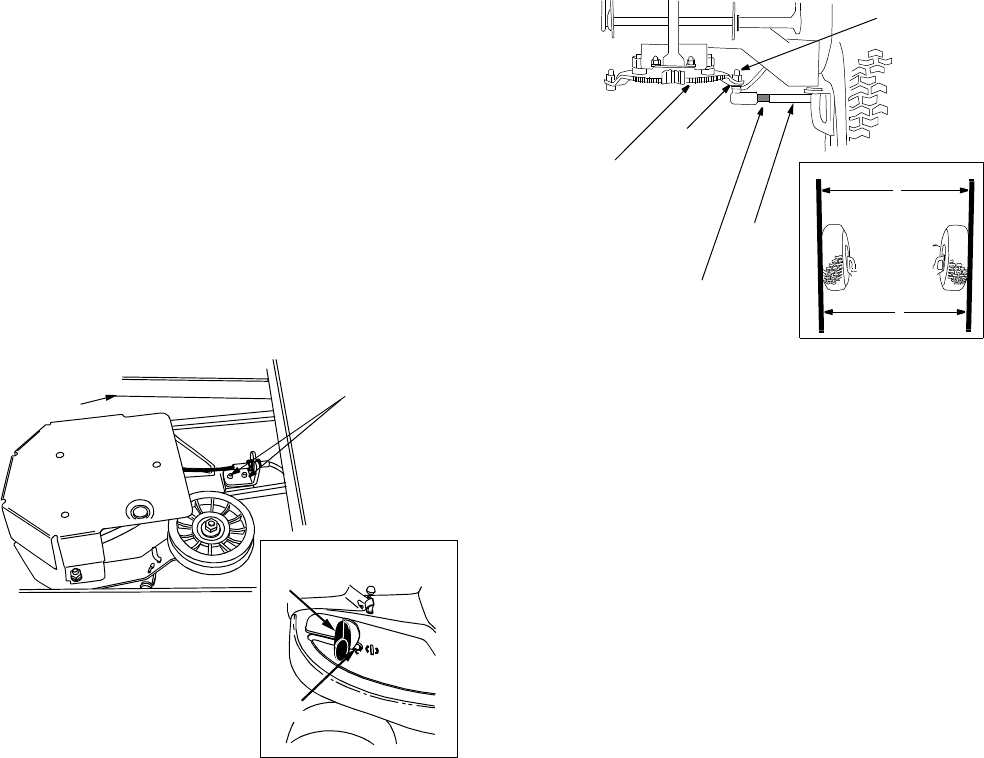
Blade Brake/PTO
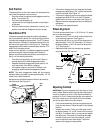
The blade engagement pedal should be adjusted so
that if you depress it about 3/4” from the front of the slot,
it should start engaging the deck belt. The PTO (power
take off) switch is located in the blade brake slot on the
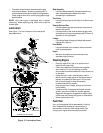
left side of the upper frame. See Figure 10 . The brake
engagement pedal needs to make contact with the PTO
switch for the engine to start.
Under normal operation, the blade engagement pedal
should not require frequent adjustment. However,
perform the following test periodically and make sure
that it is in fine working condition.
• Pivot the hood assembly up and check if there is
enough slack on the deck engagement cable.
• Depress the blade engagement pedal (about 3/4
inch) and check if the belt is engaging.
• If the cable is tight or too loose or the belt is not
engaging, adjust the deck engagement cable.
NOTE: The deck engagement cable will be correctly
adjusted when the cable moves approximately 1/2” off
center line in both directions.
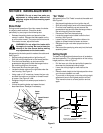
Adjustment to the blade brake will have to be made at
the cable end. See Figure 10.
Figure 10
• If the belt is slipping when you depress the blade
engagement pedal about 3/4”, loosen the two hex
nuts on the cable. See Figure 10.
• If the belt is engaging sooner than when the blade
engagement pedal is 3/4” from the PTO switch,
tighten both hex nuts on the cable. See Figure 10.
• Repeat the blade engagement test and readjust if
necessary.
• Pivot the hood assembly back.
Wheel Alignment
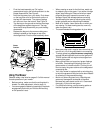
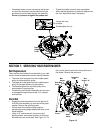
The front wheels should toe-in 1/16-5/16 inch. To adjust
toe-in, follow these steps:
• Remove the 3/8’’ hex nut which holds the ball joint
to the steering segment. See Figure 11.
• Adjust the ball joint in or out until the wheels toe-in
approximately 1/16-5/16" (Dimension ‘‘B’’ should
be approximately 1/16-5/16" less than dimension
‘‘A’’). See Figure 11.
• Replace the ball joint into the steering segment,
and replace the 3/8’’ hex nut.
Figure 11
Adjusting the Deck
IMPORTANT:
Perform adjustments to the deck on a flat,
level surface. Before continuing with deck adjustment,
check air pressure in all four tires. Recommended air
pressure is 12 psi. Please note that the valve stems on
this rider mower are on the inside of the front wheels
and on the outer side of the rear wheels.
• Lift the hood assembly and remove grass catcher
from the rider mower. Place the deck in the highest
position.
• Inspect rear of deck. The front of the deck should
be approximately 1/4” to 3/8” lower than the rear of
the deck. To maintain that, you may have to adjust
the deck pitch. If the deck is contacting the cable
bracket on the front of the transmission, you will
have to adjust the rear deck height. Follow the
steps on next page for adjustments.
Deck
Hex
Nut
PTO
Switch
Blade Engagement
Pedal
Engagement
Cable
Steering
front
B
1/16-5/16’’ less than A
A
Segment
Washer
Lock
Tie
Rod
Ball
Joint
Hex Nut


