


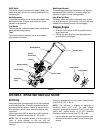
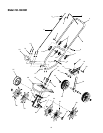
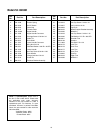
8
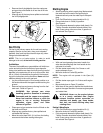
• With one hand grasping the starter handle, the
other hand should grasp the front handle on the
cultivator for a brace.
• Pull the starter rope briskly 3 to 5 times or until
engine starts.
• Move choke lever to Open (C) position.
• With tines off the ground, depress the throttle lever
against the upper handle to increase engine speed
and rotate tines.
Using Your Cultivator
WARNING: Never pick-up or carry the unit
while the engine is running. Serious
personal injury could result.
• Move the cultivator to the work area prior to starting
the engine. The cultivator may be transported by
pushing it on the wheels or carrying it by the
handles.
• Start the engine referring to Starting Engine.
• With both hands on the upper handle and
squeezing the throttle control, slowly lower the
cultivator until the tines make contact with the
ground.
• Once the tines are in the ground, continue to
cultivate at a moderate pace until you are familiar
with the controls and the handling of the cultivator.
• To adjust the cultivating depth, adjust the wheel
support bracket. See Adjusting The Wheel Bracket.
For cultivation, a two to three inch depth is desirable.
When laying out plant rows, be sure to allow enough
width to permit cultivation between the rows. In growing
corn or similar crops, check-row planting will permit
cross cultivation and practically eliminate hand hoeing.
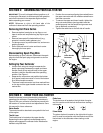
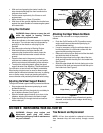
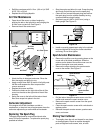
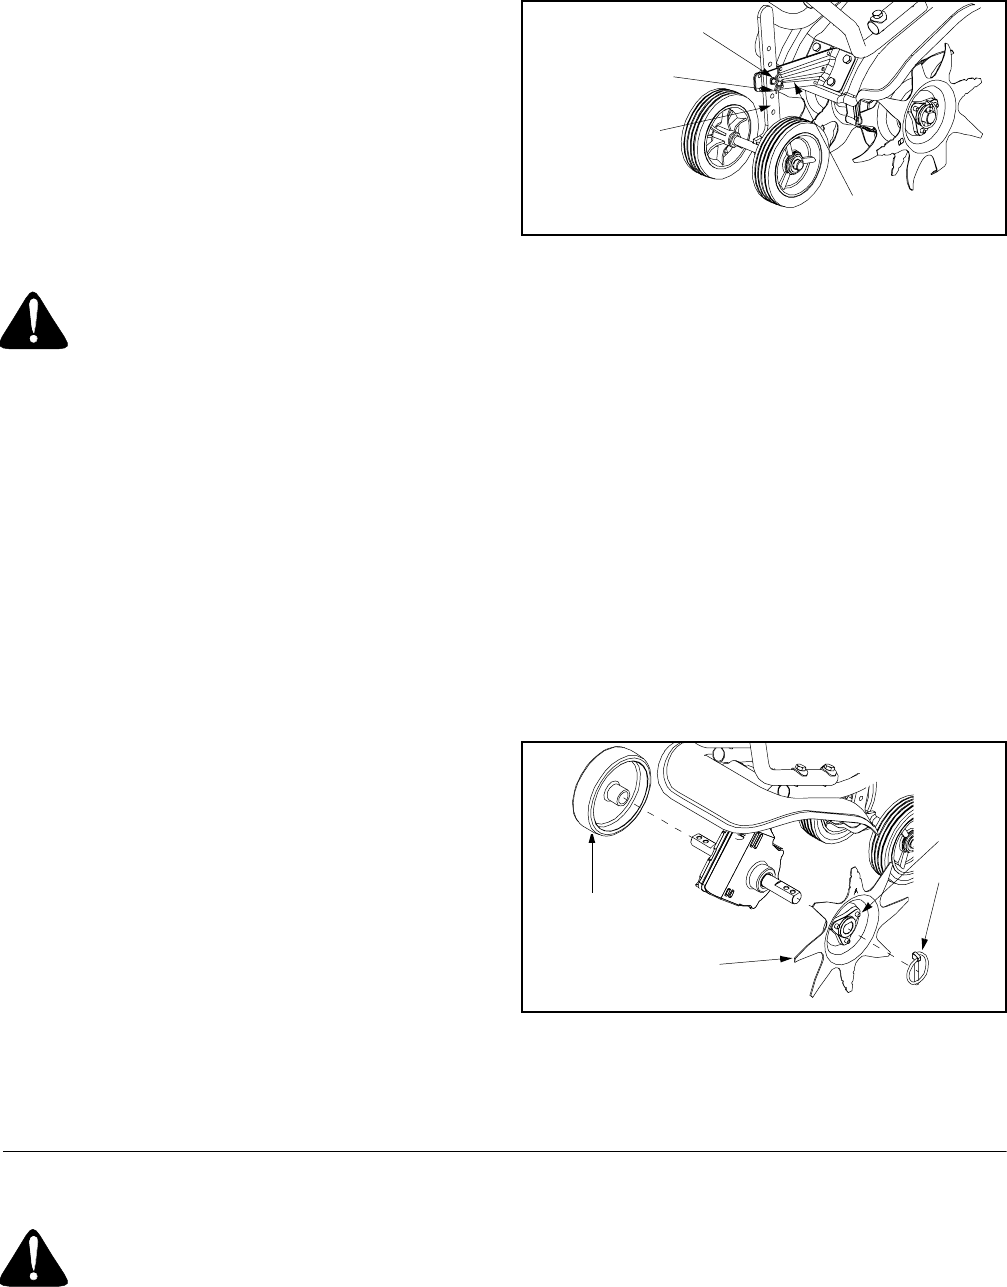
Adjusting the Wheel Support Bracket
To adjust the wheel support bracket proceed as follows:
• Stop engine and disconnect spark plug to avoid
accidental starting.
• Remove cotter pin from the clevis pin and slide pin
out of tailpiece bracket. See Figure 5.
• Slide the wheel support bracket up or down in the
tailpiece, aligning the holes to the desire height.
• Place the clevis pin through the hole and secure
with a cotter pin.
Figure 5
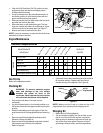
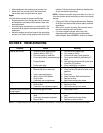
Attaching the Edger Wheel And Blade
To convert the cultivator to an edger proceed as
follows:
• Push the On/Off switch to Off (O) position to stop
engine and tines and disconnect spark plug to
avoid accidental starting.
• It may be necessary to lay the cultivator back in a
horizontal position on a flat level surface with the
upper handle touching the ground.
• Remove the click pin from each end of the tine shaft
and slide the tines off the shaft.
• Slide the edger wheel on the right side of the tine
shaft and secure with the click pin in the inside hole.
See Figure 6.
• Slide the edger blade with the hub facing out on the
left side of tine shaft and secure with the click pin in
the inside hole. See Figure 6.
Figure 6
• Guide cultivator/edger along a flowerbed, garden,
sidewalk, or driveway with the edger wheel along
the outside edge.
SECTION 5: MAINTAINING YOUR CULTIVATOR
WARNING: Always stop engine and
disconnect spark plug wire before
cleaning or doing any kind of maintenance
on your cultivator.
Tine Removal and Replacement
NOTE: All four tines should be replaced at the same
time, because they will wear evenly through normal
use.
Clevis Pin
Cotter Pin
Tailpiece Bracket
Wheel Support
Bracket
Edger Wheel
Edger Blade
Hub
Click Pin