9
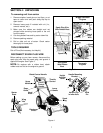
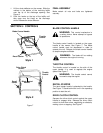
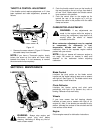
1. Lift the chute deflector on the mower. Slide the
notches in the bottom of the mulching baffle
over the lip of the discharge opening. See
Figure 6.
2. Push the hooks on the top of the baffle until
they snap over the hinge on the discharge
chute. Release the chute deflector.
FINAL ASSEMBLY
Make certain all nuts and bolts are tightened
securely.
SECTION 5: CONTROLS
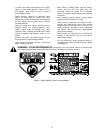
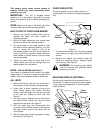
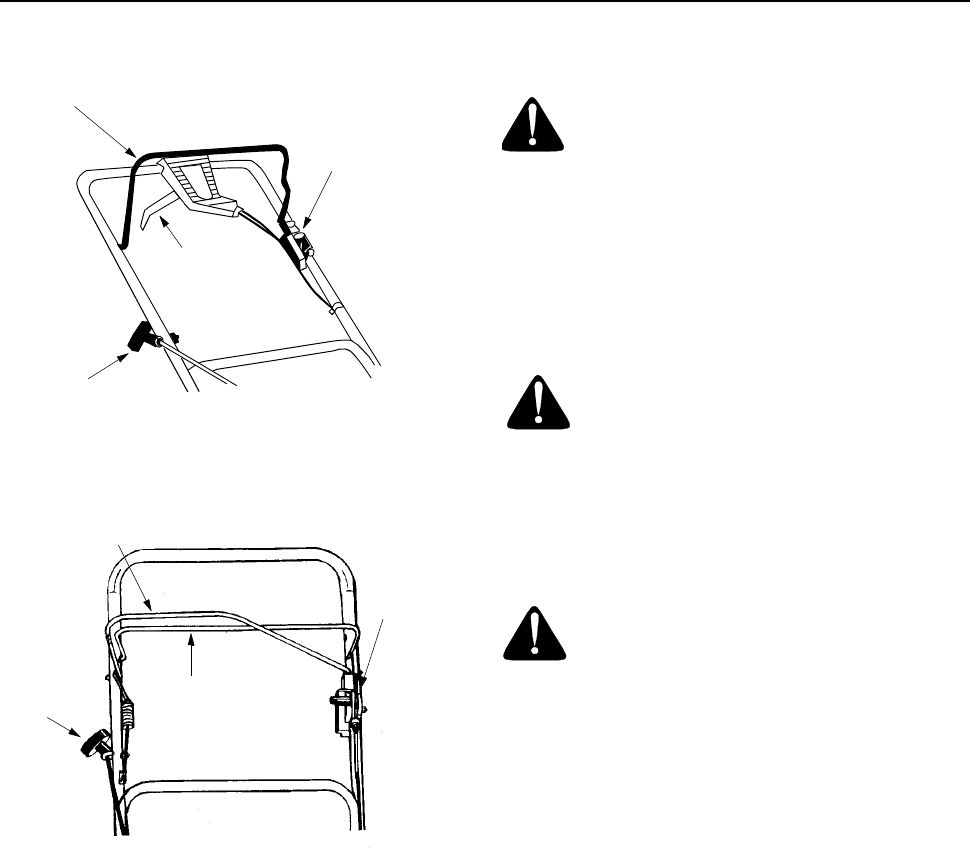
Figure 7
BLADE CONTROL HANDLE
WARNING:
This control mechanism is
a safety device. Never attempt to bypass
its operations.
The blade control handle is located on the upper
handle of the mower. See Figure 7. The blade
control handle must be depressed in order to
operate the unit. Release the blade control handle
to stop the engine and blade.
WARNING: The blade will be rotating
whenever the engine is running.
THROTTLE CONTROL
The throttle control is located on the side of the
upper handle. It is used to regulate the engine
speed. See Figure 7.
WARNING: The throttle control cannot
be used to stop the engine.
RECOIL STARTER
The recoil starter handle is attached to the handle.
See Figure 7. Stand behind the unit in the operating
position to start the unit.
DRIVE CLUTCH CONTROL
Squeeze the drive clutch control against the upper
handle to engage drive. Release the drive clutch
control to slow down when negotiating an obstacle,
making a turn or stopping. See Figure 7.
Style 1
Style 2
Blade Control Handle
Throttle
Control
Drive Clutch
Control
Recoil Starter
Blade Control
Handle
Drive Clutch
Control
Throttle
Control
Recoil
Starter


