


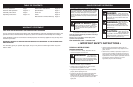


109
OPERATING INSTRUCTIONS
Your Shredder has been designed for a low level of main-
tenance, involving routine cleaning and inspection. The
motor of the Shredder is maintenance free and requires
no attention. For the best results the blades must be kept
sharp at all times. The blades have dramatically less cut-
ting power when blunt.
The Shredder will tear rather than cut when the blades
are blunt. When this occurs rotate the double sided
blades or replace the blades immediately.
V-CUTTER MAINTENANCE
1. Switch the machine off and disconnect the power cord
ensuring all moving parts are completely stopped.
2. Wear gloves when attempting any maintenance to the
cutting blades.
JAMMING if blades become jammed r
otate knob under
motor. If blades can not be worked loose refer to disas-
sembly instr
uctions (Item 1) and then remove obstruction.
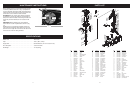
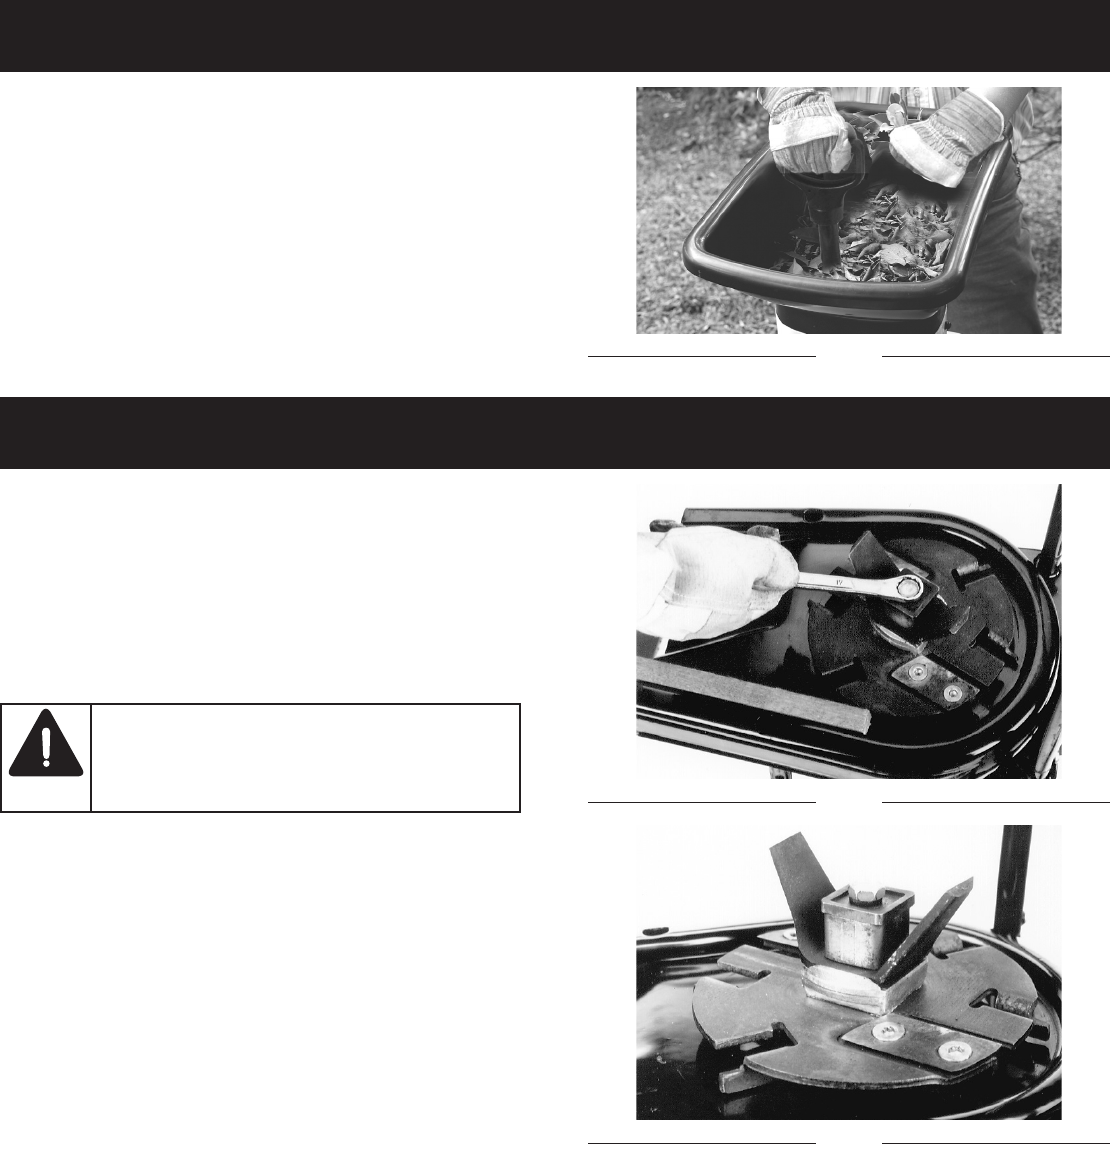
DISASSEMBLY
1. Loosen caging knobs and remove the top cover
assembly.
2. Rotate the cutter base anti clockwise and place a piece
of wood between the cutter base and cutting chamber
wall so as to stop the cutting base retating. (Fig. 11)
3. Remove the center hold down bolt by turning it anti
clockwise using a 17 mm spanner
.
4. Remove the square washer, square bush, V-cutter to
expose cutter base.
SHREDDING BLADES MAINTENANCE
To inspect or renew the double sided shredding blades
there is no need to remove the cutter base. To remove
simply undo the counter sunk screws with the 6mm hex
wrench supplied with the machine and turn them through
180 These blades are double ground and can be used on
both sides. When blunt on both sides renew and ensure
they are screwed in tightly.
ASSEMBLY This is carried out in the reverse sequence to
that of disassembly but with careful inspection of all
components. Ensure that cutter base is assembled with
the scraping plates facing down towards the motor and
that the spring washer is situated under the head of the
centre hold down bolt. (Fig. 12)
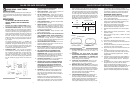
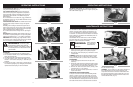
OPERATING INSTRUCTIONS
ATTACHING MULCH BAG Place a heavy duty trash bag
using the mulch bag strap. (Fig. 6)
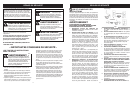
TOP HOPPER-FRONT CHUT The large sloping front
chute of the Top Hopper is designed to accept leaves
and small garden clippings. Shredding and mulching is
achieved by natural suction of the debris thr
ough the
blade chamber.
Do not overfeed and do not feed wet, soggy material into
the Shredder as this may clog the blade chamber and the
discharge chute. (Fig. 7)
TOPHOPPER-BLACK CHUTE The smaller back chute of
the top Hopper accepts medium to larger size garden
clippings.
Shredding and mulching is achieved through the same
action as the front chute. If a finer type mulch is required
than is initially achieved, re-feed the mulch through again
until the desired result is obtained. (Fig. 8).
Do not feed solid branches through the two Top Hopper
chutes.
SIDE CHUTE The elongated chute located at the rear of
the machine is specially designed to accept solid garden
clippings and branches up to 1-1/2" (38mm) in diameter.
IMPORTANT: When feeding long, large diameter materi-
al, control the rate of feed by pulling back on the material
so as not to stall or overload the motor. (Fig. 9)
UNPACKING
1. Carefully remove all parts from the shipping carton.
2.
Do not discar
d material until you have identified all the
parts using the parts list.
3. If all parts have been included proceed to assembly.
4.
If you are missing a parts, contact the retailer you pur-
chased it for
m befor
e attempting to assemble your
Shredder.
5.
Examine all the parts to make sure no break age has
occur
r
ed during shipping. Any damaged par
t should be
replaced before attempting to use the Shredder.
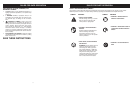
Fig. 6
Do not under any cir-
cumstances, place
hands inside the geeding chutes while the
machine is operation. Force feeding of debris is
not necessary due to the natural suction action
of the shredder.
WARNING:
Fig. 7
Fig. 11
Before attempting
any maintenance
switch the machine off and disconnect the
power cord.
WARNING:
Fig. 12
Fig. 8
MAINTENANCE INSTRUCTIONS
Fig. 9
MATERIAL PUSH STICK User material push stick sup-
plied to push remaining material into hopper opening. DO
NOT USE HANDS. (Fig. 10)
Fig. 10