This unit is shipped WITH OUT GAS O LINE or OIL.
Af ter as sem bly, ser vice en gine with gas o line and oil
as in structed in the sep a rate en gine man ual packed
with your unit.
NOTE: Ref er ence to right or left hand side of the
mower is ob served from the op er at ing po si tion.
This owner’s man ual cov ers var i ous mod els of
lawnmowers. The units il lus trated may vary slightly
from your unit. Fol low only those in struc tions which
per tain to your model lawnmower.
Tools Re quired for As sem bly
(1) 9/16" Wrench (1) 3/4" Wrench
(re quired only if wheels are un as sem bled)
Set-Up
• Re move the lawn mower and all parts from the car -
ton. Make cer tain all parts and lit er a ture have been
re moved from the car ton be fore the car ton is dis -
carded.
• Dis con nect the spark plug wire and ground it as in -
structed in the sep a rate en gine man ual packed with
your unit.
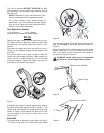
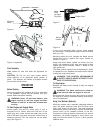
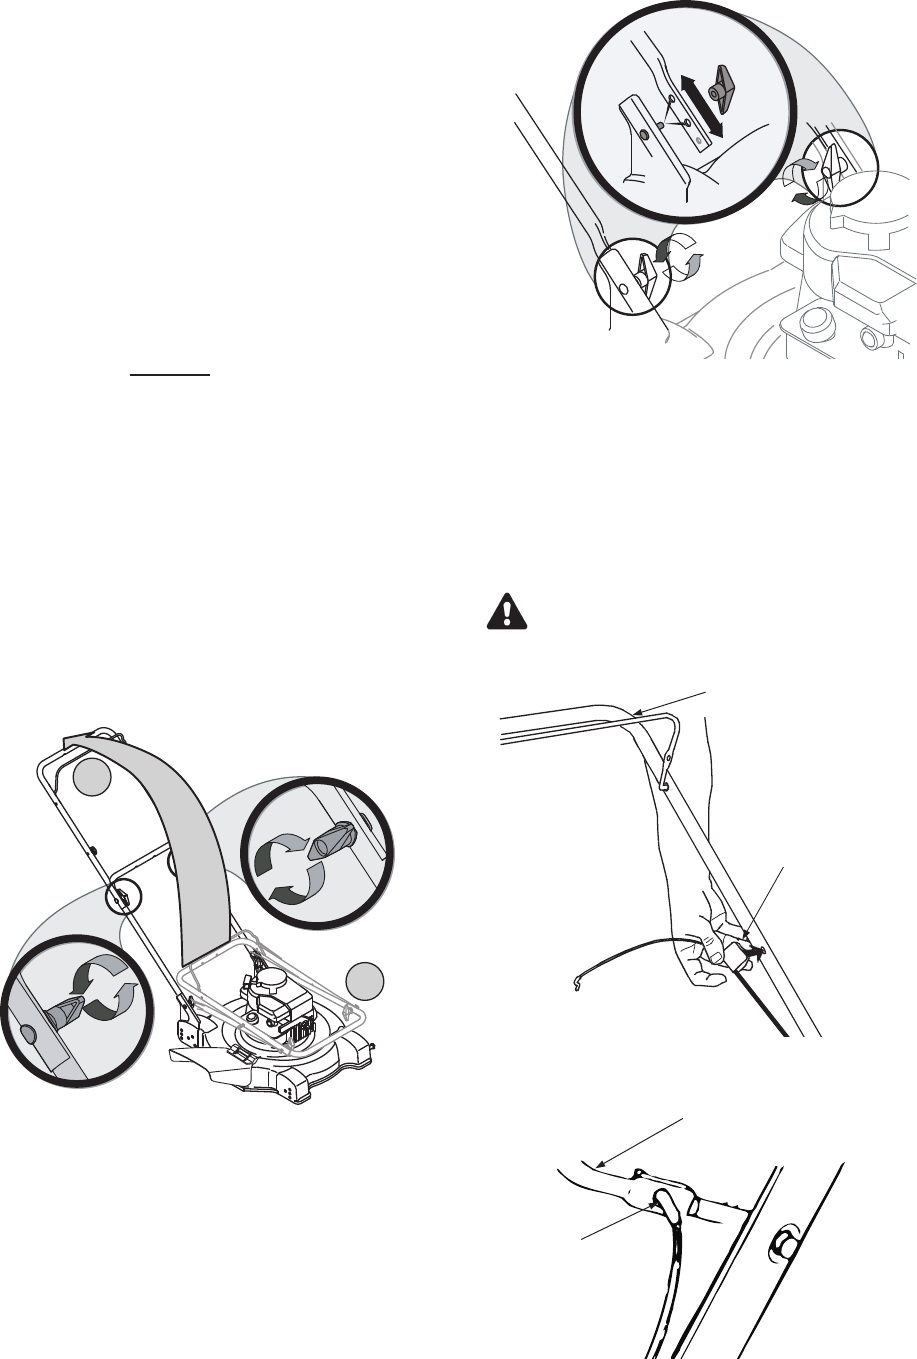
• Pull up and back on the up per han dle to raise the
han dle into the op er at ing po si tion. Make cer tain the
lower han dle is seated se curely into the han dle
mount ing brack ets. Tighten the large wing nuts on
each side of the han dle. See Fig ure 1.
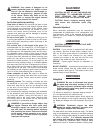
• If sat is fied with height of han dle, tighten wing nuts at
the ends of the lower han dle shown in Fig ure 2. The
han dle may be ad justed by re mov ing the wing nuts
shown in Fig ure 2 and plac ing the weld pin on the
han dle bracket in the up per or lower hole in the
lower han dle.
Brake Cable
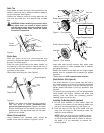
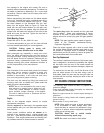
• The brake ca ble is at tached to the en gine, and has a
“Z” fit ting on the loose end. Route the brake ca ble
over the lower han dle. Snap the plas tic fit ting into the
hole on the in side of the up per han dle as shown in
Fig ure 3.
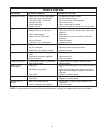
• Move the blade con trol han dle away from the up per
han dle. Hook the “Z” end of the brake ca ble into the
hole in the blade con trol han dle from the out side to
the in side as shown in Fig ure 4.
WARN ING: Brake ca ble must be as sem bled
as shown for proper blade brake op er a tion.
7
A
B
Fig ure 1
Fig ure 2
Fig ure 3
Plastic Fitting
Blade Control Handle
Fig ure 4
Blade Control Handle
“Z” Fitting


