Assembly 45
MAN0764 (11/5/2008)
Shredder Installation (Optional)
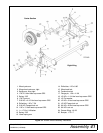
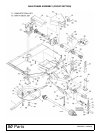
Crossbar Installation - Right Wing
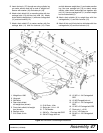
(Figure 41 & Figure 44)
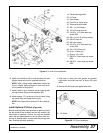
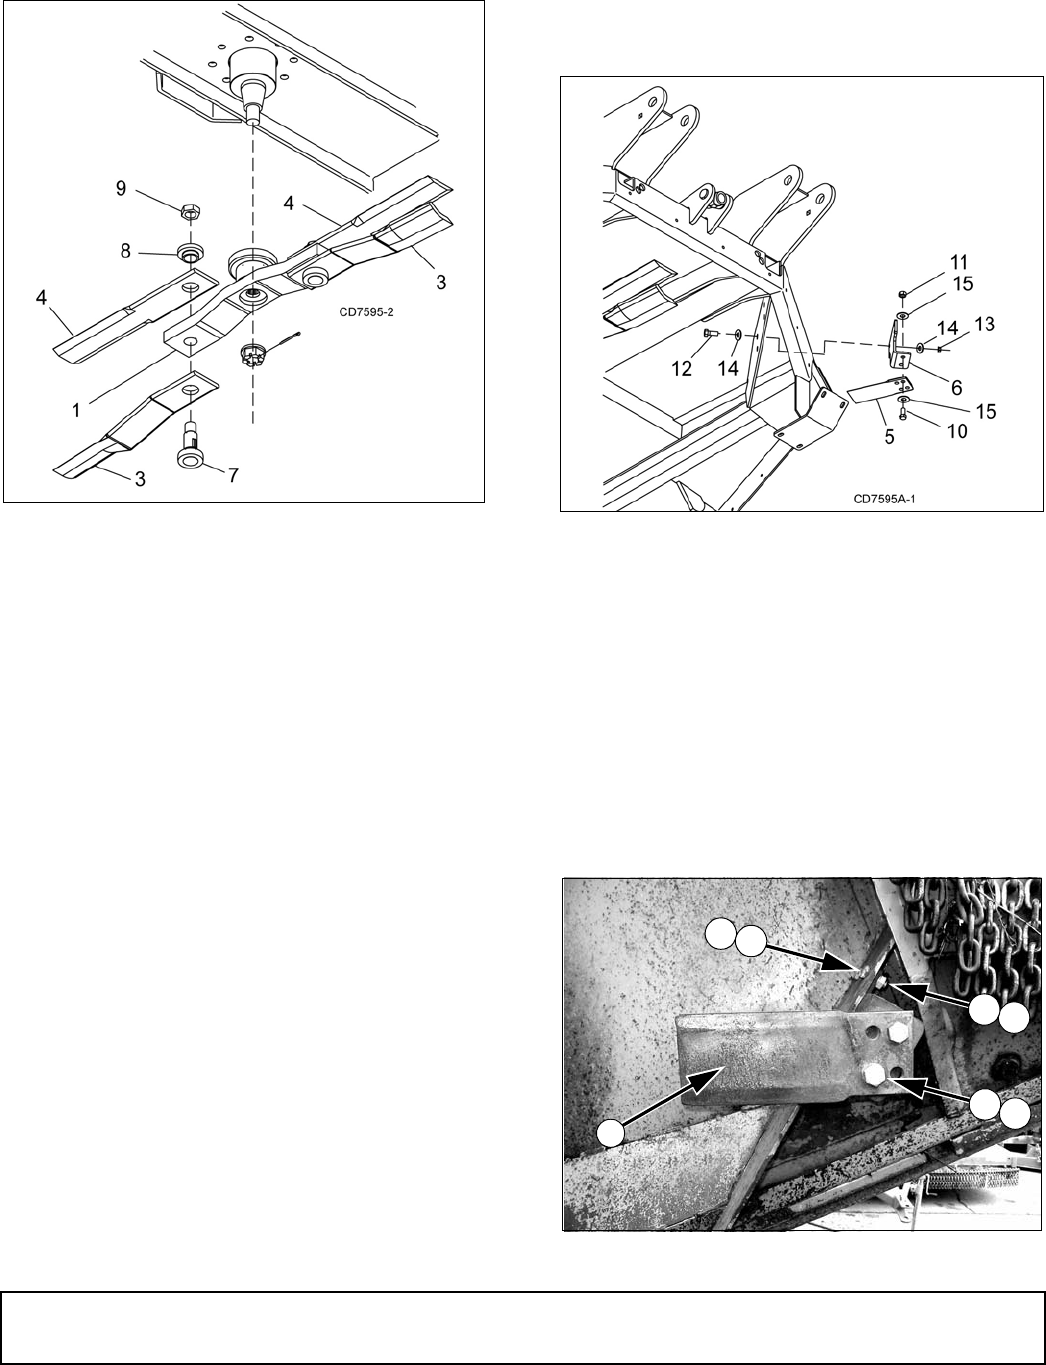
Figure 41. Right Crossbar and Blade Installation
1. Install wing crossbar (1) on splined shaft. Use
flanged castle nut and cotter pin previously
removed. Torque nut to 450 lbs-ft.
2. Place CCW blade (3) over blade pin (7) and insert
blade pin through crossbar. Make sure blade offset
is to the bottom.
3. Place blade (4) over blade pin with flat surface on
the top.
4. Install bushing (8) over pin and blade and secure
with jam nut (9). Torque nut to 664 lbs-ft.
Crossbar Installation - Left Wing
1. Repeat steps for left crossbar and blade
installation.
2. Use wing crossbar (1) and offset CW blades (2)
and flat blades (4).
Crossbar Installation - Center Section
1. Repeat steps for center crossbar and blade
installation.
2. Use crossbar (1) and offset CCW blades (3) and
flat blades (4).
Install Stationary Blades - Center Section
1. Remove left skid shoe if needed.
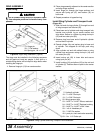
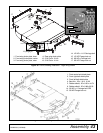
2. Place stationary blade mounting bracket (6) on the
backside (outside) of the front left baffle. Mounting
bracket leg should point to the outside.
3. Secure mounting bracket into position using four
cap screws (12), eight hardened flat washes (14)
and flange lock nuts (13).
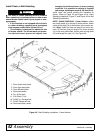
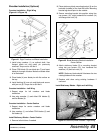
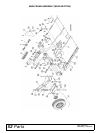
Figure 42. Blade Mounting Bracket Installation -
Center Section
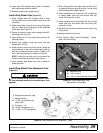
4. Attach stationary blade (5) to mounting bracket
using two cap screws (10), four hardened flat
washers (15) and lock nuts (11).
NOTE: Stationary blade should fit between the two
rotating blades on the crossbar.
5. Replace skid shoe using existing hardware if
removed.
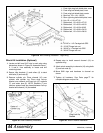
Install Stationary Blades - Right and Left Wing
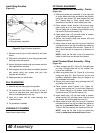
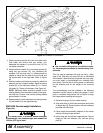
Figure 43. Stationary Blade Installed - Right Wing
5
15
10
13
14
12
14
(Rev. 2/6/2009)


