Apx-10
Appendices
E.2. Mounting Buttons
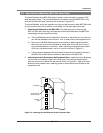
The Mounting Buttons allow MPC-20V series (vertical) units to be mounted in any
equipment rack that includes mounting button holes, as shown in Figure E.4.
Depending on the location of the mounting button holes in your equipment rack, this
can allow the MPC-20V to be mounted on the posts at the rear of the equipment rack, or
in some cases, even mounted on the outside of the rack corner posts.
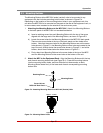
1. Attaching the Mounting Buttons to the MPC-20V: Attach four Mounting Buttons
to the back panel of the MPC-20V unit as described below:
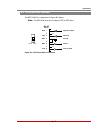
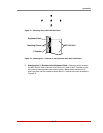
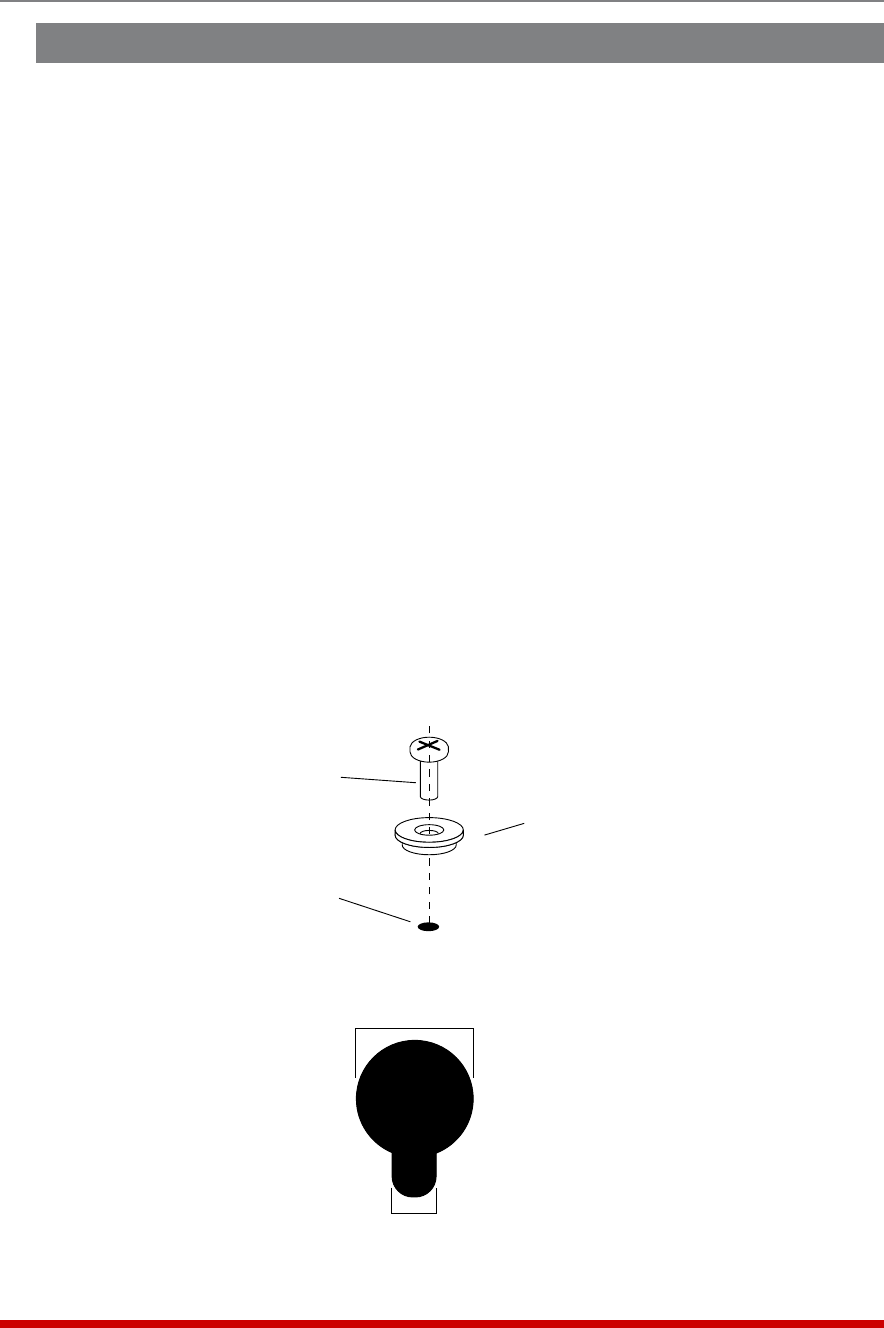
a) Insert a retaining screw into each Mounting Button with the top of the screw
aligned with the large end of the Mounting Button, as shown in Figure E.3.
b) Locate the screw holes for the Mounting Buttons on the MPC-20V back panel.
There are two screw holes at the top of the back panel and two holes at the
bottom. Note that the screw holes for the Mounting Buttons are not the same
holes shown in Figure E.1; the Mounting Button screw holes are located at the
top of the unit, directly above the screw holes shown in Figure E.1, and at the
bottom, about three inches below the holes shown in Figure E.1.
c) Firmly attach two Mounting Buttons to the screw holes at the top of the MPC
and two Mounting Buttons to the screw holes at the bottom of the unit.
2. Attach the MPC to the Equipment Rack: Align the Mounting Buttons with the top
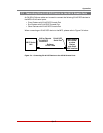
end of each mounting button hole (see Figure E.4.) Press the mounting buttons
into the mounting button holes, and then slide the unit downwards, so each
Mounting Button seats firmly in the lower end of each corresponding mounting
button hole.
Retaining Screw
Mounting Button
Screw Hole on
MPC-20V Back Panel
Figure E.3: Attaching Mounting Buttons to MPC-20V (Vertical) Units
Approx. 3/4 Inch
Approx. 3/8 Inch
Figure E.4: Mounting Button Holes


