


- 6 -
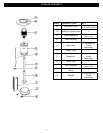
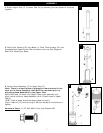
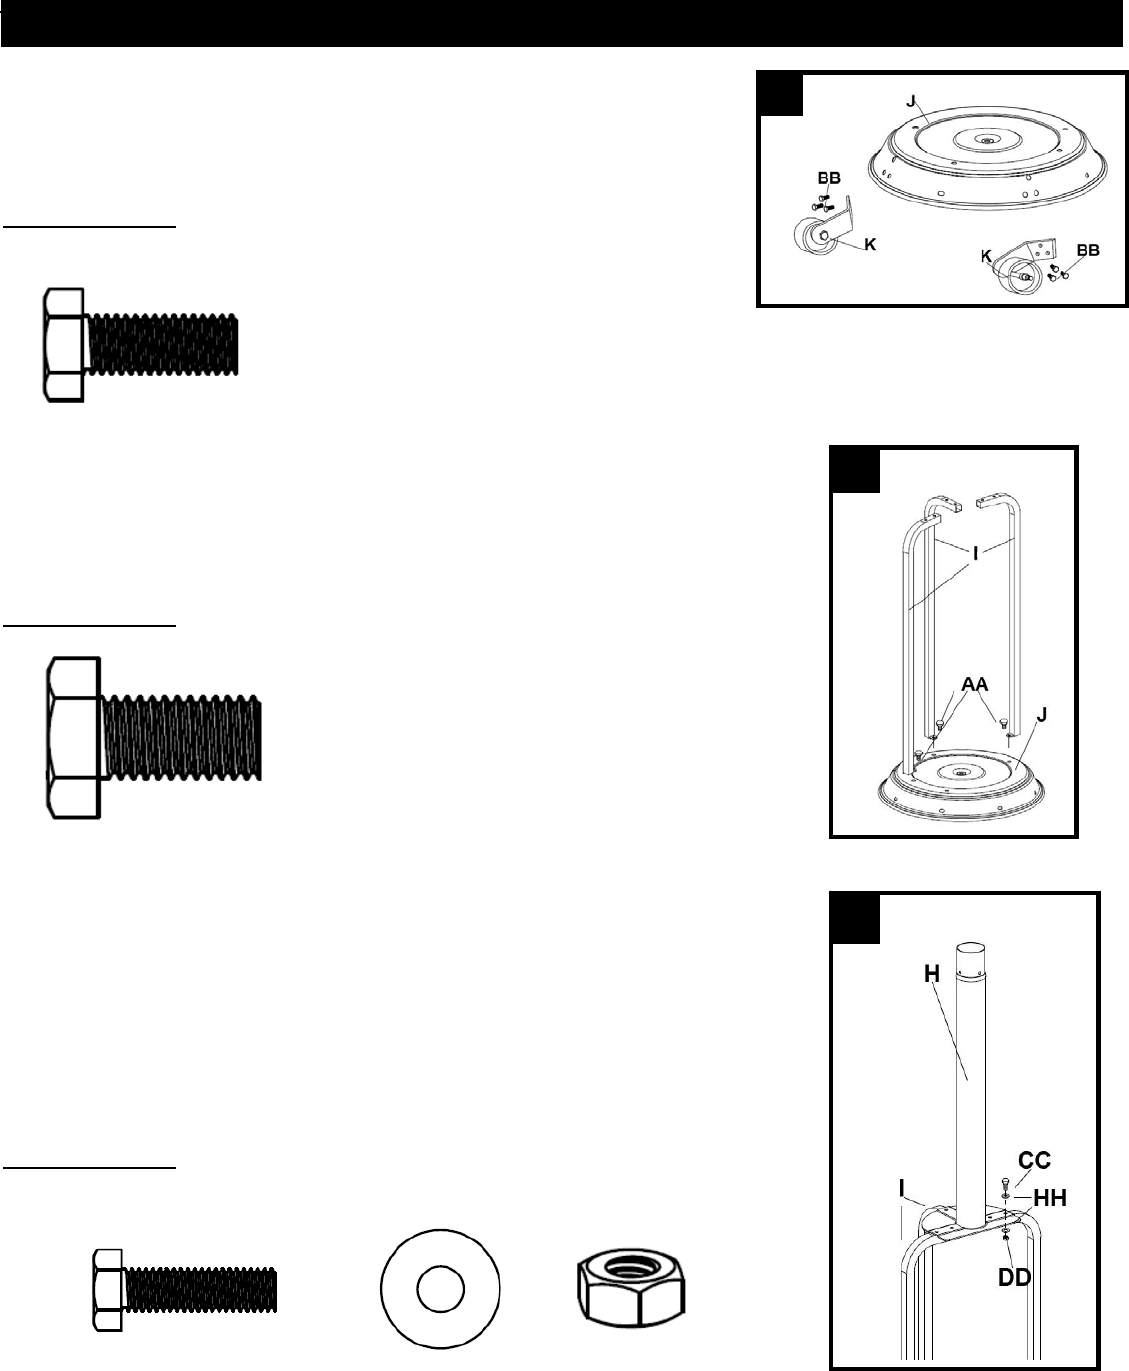
1. Attach Wheels (K) to Base (J). Align holes in Wheel bracket with
corresponding holes in Base, and insert 3 M6x16 (BB) bolts through holes
and finger tighten. Repeat with second wheel. Tighten with wrench once
both wheels have been attached.
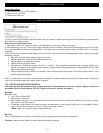
Hardware Used
: 6 x BB, Bolt M6x16
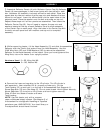
2. Attach the Post Supports (I) to the Base (J). Align the holes in the
bottom of each Post Support with the hole on the Base.
Insert 1 M8x16 (AA) bolt through the hole in the support and into the
Base and hand tighten. Repeat with the other 2 Post Supports and
then tighten all bolts with a wrench.
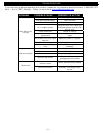
Hardware Used: 3 x AA, Bolt M8x16
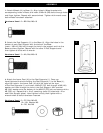
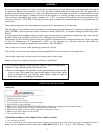
3.
Attach the Lower Post (H) to the Post Supports (I). Once you
have tightened the bolts holding the Post Supports (I) to the Base (J),
align the holes in the Lower Post (H) with the holes on the tops
of the Post Supports (I) and insert a M6x22 (CC) bolt through a M6 (HH)
washer and then through the hole in the Post Support. Affix another
M6 (HH) washer onto the bottom of the M6x22 (CC) bolt and secure with a
M6 (DD) nut. Repeat this in the 5 remaining holes (6 holes total—2 for
each Post Support piece). Hand tighten initially then tighten with a
wrench when all bolts have been inserted.
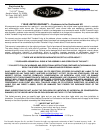
Hardware Used: 6 x CC, Bolt M6x22
12 x HH, Washer M6
6 x DD, Nut M6
ASSEMBLY
1
2
3