9
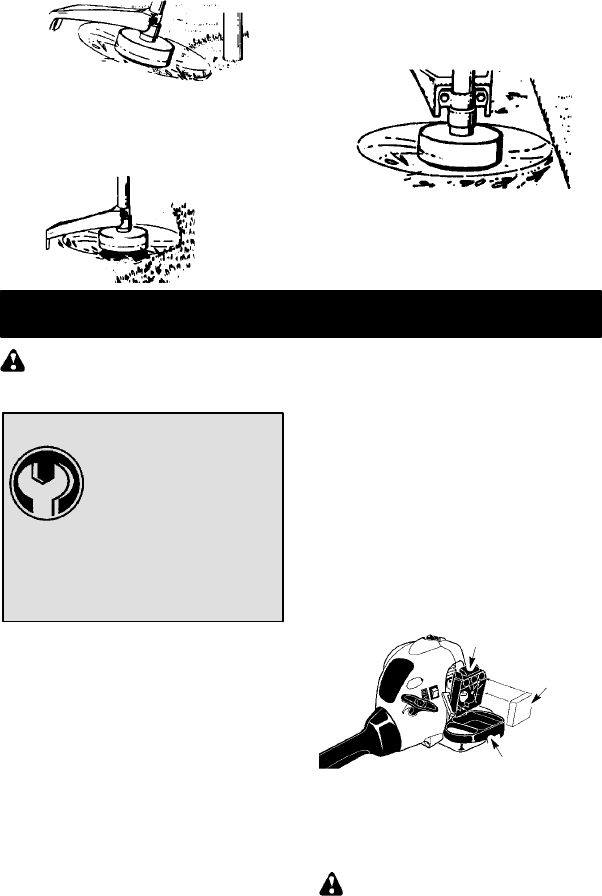
Scalping
MOWING -- Your trimmer i s ideal for mowing
in places conventional lawn mowers cannot
reach. In the mowing position, keep the line
parallel to the g round. Avoid pressing the
head into the ground as this can scalp the
ground and damage the tool.
Mowing
SWEEPING -- The f anningactionof therotat-
ing line can be used for a quick and easy
clean up. Keep the line parallel to and above
the surfaces being swept and move the tool
from side to side.
Sweeping
MAINTENANCE
WARNING: Disconnect t he spark
plug before performing maintenance except
for carburetor adjustments.
HELPFUL TIP
IMPORTANT: Have all
repairs other than the rec-
ommended maintenance
described in the instruction
manual performed by an
authorized service dealer.
If any dealer other than an authorized
service dealer performs work o n the
product,WEED EATER may notpay for
repairs under warranty. I t is your re-
sponsibility to maintain and perform
general maintenance.
CHECK FOR LOOSE
FASTENERS AND PARTS
S Spark Plug Boot
S Air Filter
S Housing Screws
S Assist Handle Screws
S Debris Shield
CHECK FOR DAMAGED OR
WORN PARTS
Contact an authorized service dealer for re-
placement o f damaged or worn parts.
S STOP Switch -- EnsureSTOP switch func-
tions properly by pushing and holding the
switch inthe STOP position. M ake sureen-
gine stops. Restart engine and continue.
S Fuel Tank -- Discontinue use of unit if fuel
tank shows signs of damage or leaks.
S Debris Shield -- Discontinue use of unit if
debris shield is damaged.
INSPECT AND CLEAN UNIT AND
LABELS
S After each use, inspect complete u nit for
loose or damaged parts. Clean the unit and
label s using a damp cloth with a mild deter-
gent.
S Wipe of f unit with a clean dry cloth.
CLEAN AIR FILTER
A dirty air filter decreases engine perform-
ance and increases fuel consumption and
harmful emissions. Always clean after every
5 hours of operation.
1. Clean the air filt er cover and the area
around it to keep dirt from falling into the
carburetor chamber when the c over is
opened.
2. Open air filter cover by pushing button
(see illustration). Rem ove air filter.
NOTE: To avoid creating a fire hazard or
producing har mfulevaporative e m issions, do
not clean filter in gasoline or other flammable
solvent.
3. Wash the filter in soap and water.
4. Allo w filter to dry .
5. Replace air filter and close cover.
Air Filter Cover
Air Filter
Button
MUFFLER AND SPARK ARREST-
ING SCREEN
WARNING: The muf fler on this prod-
uct contains chemicals known to the State of
California to cause cancer.
As your unit isused, carbondeposits buildup
on the m uffler and spark a rresting screen.
For normal homeowner use, however , the
muffler andspark arresting screen will not re-
quire any service. After 50 hours of use, we
recommend that your muffler be serviced or
replaced by your auth orized service dealer.


