


12
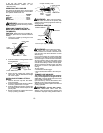
MAINTENANCE
WARNING:
Disconnect the spark
plug before performing maintenance except
for carburetor adjustments.
CHECK FOR LOOSE
FASTENERS AND PARTS
S
Spark Plug Boot
S
Air Filter
S
Housing Screws
S
Assist Handle Screw
S
Debris Shield
CHECK FOR DAMAGED OR
WORN PARTS
Contact an authorized service dealer for re-
placement of damaged or worn parts.
S
ON/OFF Switch -- Ensure ON/OFF switch
functions properly by moving the switch to
the OFF position. Make sure engine stops;
then restart engine and continue.
S
Fuel Tank -- Discontinue use of unit if fuel
tank shows signs of damage or leaks.
S
Debris Shield -- Discontinue use of unit if
debris shield is damaged.
INSPECT AND CLEAN UNIT AND
LABELS
S
After each use, inspect complete unit for
loose or damaged parts. Clean the unit and
labels using a damp cloth with a mild deter-
gent.
S
Wipe off unit with a clean dry cloth.
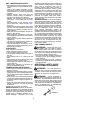
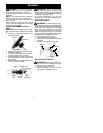
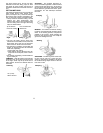
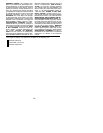
CLEAN AIR FILTER
A dirty air filter decreases engine perform-
ance and increases fuel consumption and
harmful emissions. Always clean after every
5 hours of operation.
1. Clean the cover and the area around it to
keep dirt from falling into the carburetor
chamber when the cover is removed.
2. Remove parts by pressing button to re-
lease air filter cover.
NOTE:
To avoid creating a fire hazard or
producing harm ful evaporative emissions, do
not clean filter in gasoline or other flammable
solvent.
3. Wash the filter in soap and wat er.
4. Allow filter to dry.
5. Add a few drops of oil to the filter;
squeeze the filter to distribute oil.
6. Replace parts.
Air Filter
Air Filter
Cover
Button
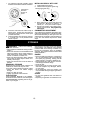
REPLACE SPARK PLUG
Replace the spark plug each year to ensure
the engine starts easier and runs better. Set
spark plug gap at
0.025 in. Ignition timing is fixed and
nonadjustable.
1. Twist, then pull off spark plug boot.
2. Remove spark plug from cylinder and
discard.
3. Replace with Champion RCJ-6Y spark
plug and tighten securely with a 3/4 in.
socket wrench.
4. Reinstall the spark plug boot.
SERVICE AND ADJUSTMENTS
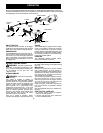
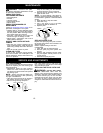
LINE REPLACEMENT
Pre--wound spools offer the most convenient
method for r eplacing line and ensuring opti-
mum performance.
S
Replacement spools are color--coded to
ensure use of the correct spool with your
unit. Be sureto usethe same color spool as
the existing spool.
NOTE:
Always clear dirt and debri s from
cutting head components when performing
any type of maintenance.
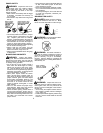
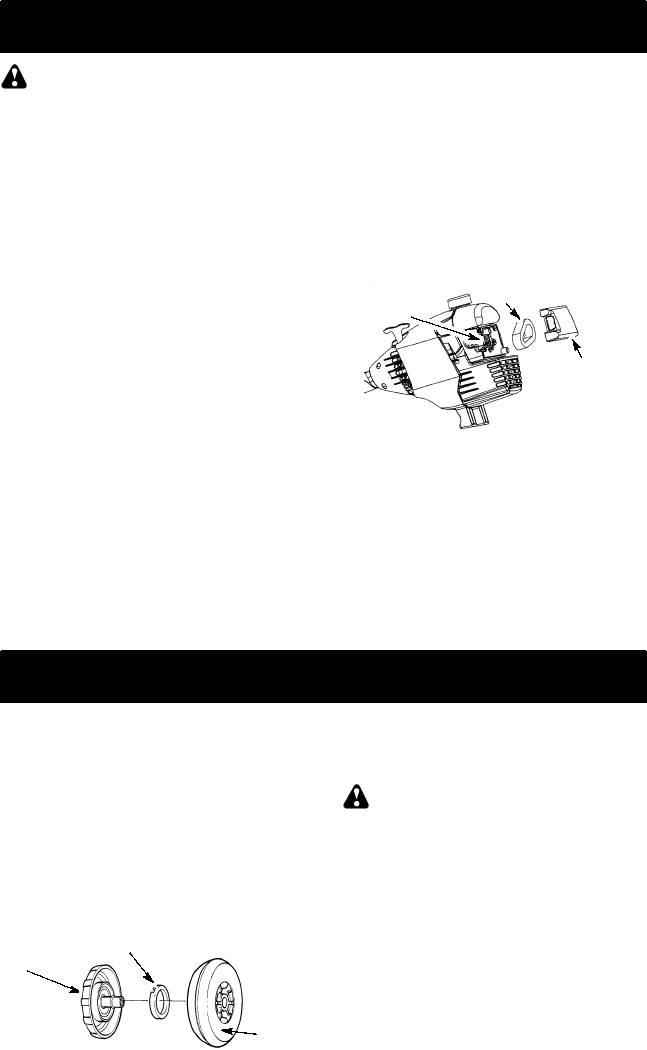
S
Hold spool and unscrew cap by t urning in
the direction shown on top of the cap.
S
Remove l ine guide ring and spool.
Cap
Spool
Line guide ring
Use a pre--wound spool or refill spool with
line. If using apre--wound spool, remove tape
strip from line and spool.
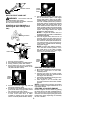
REFILLING THE SPOOL WITH LINE
WARNING:
Use only .080” (2 mm)
diameter round line.
Other sizes and
shapes of line will not advance properly and
will result in improper cutting head function or
can cause serious injury. Do not use other
materials such as wire, string, rope, etc. Wire
can break off during cutting and become a
dangerous missile that can cause serious in-
jury.