


Assembly Instructions
22
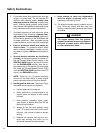
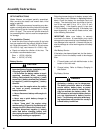
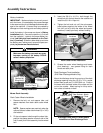
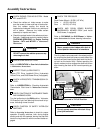
Battery Installation
IMPORTANT: Make sure battery is securely mount-
ed in the frame. A loose battery may cause damage
to the case resulting in acid leakage and severe dam-
age to the machine. A hazard may be created by
damage to critical working parts and safety systems.
Install the battery in the mower as shown in Battery
Installation photo. Connect the positive (+) first and
then the negative (-) cable to the proper battery ter-
minal [red cable and boot connects to the Posi-
tive (+) terminal]. Slide the rubber boot up and over
the battery post, making sure it covers the post com-
pletely to prevent an electrical short.
Battery Installation
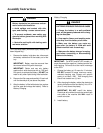
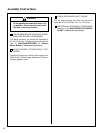
Mower Deck Assembly
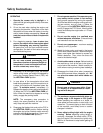
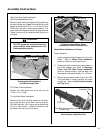
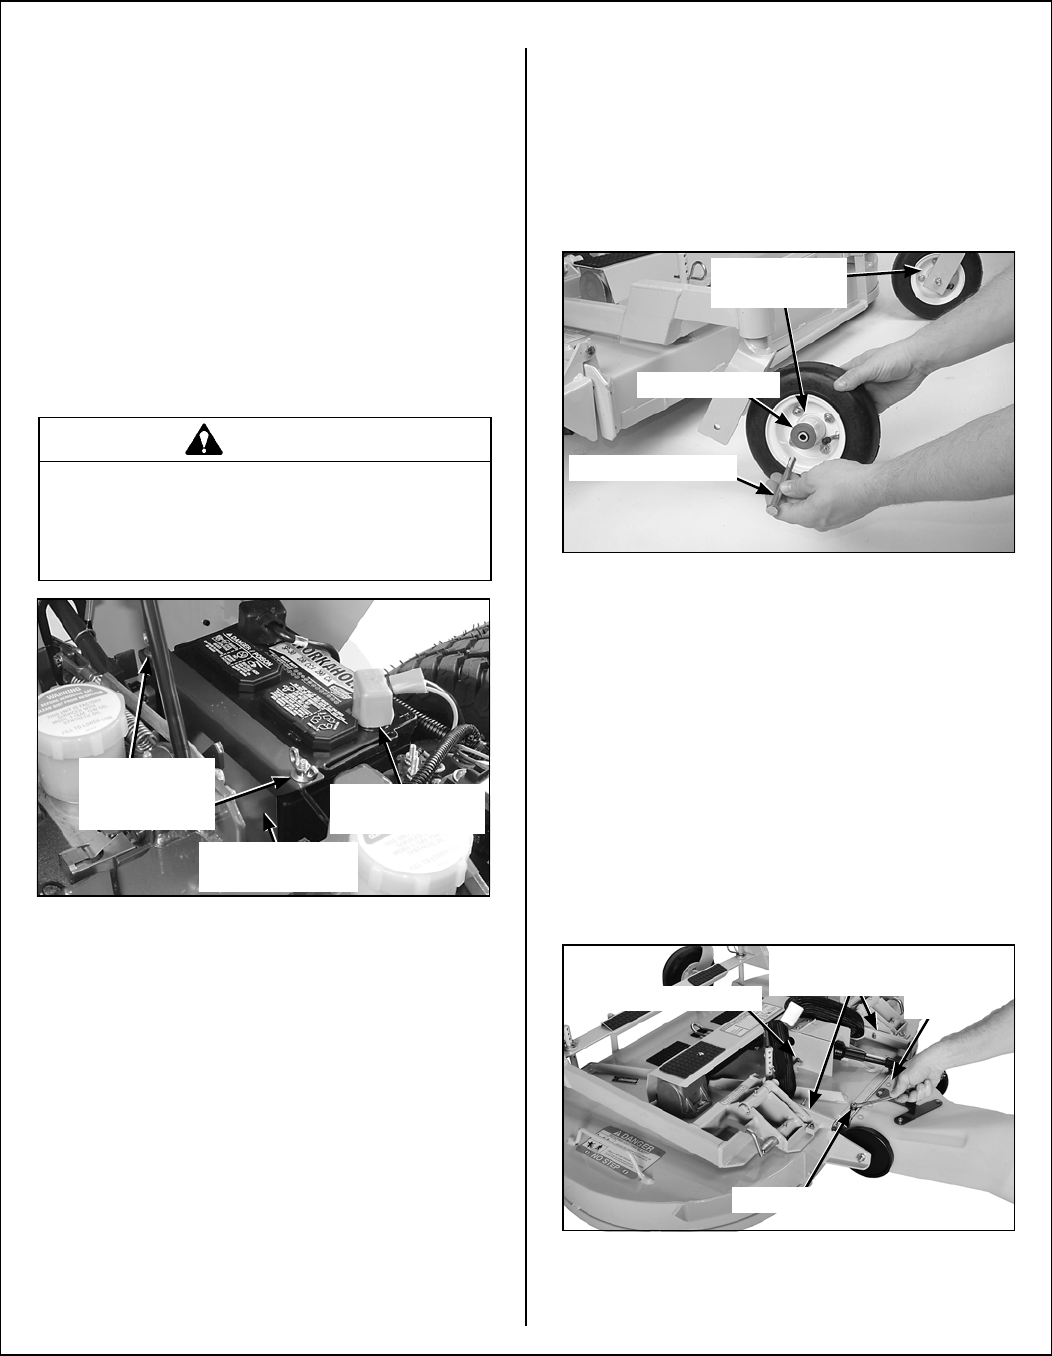
Deck Caster Wheels Installation
1. Remove the bolt, nut, axle spacer tube, and
spacer washers from each deck caster wheel
fork.
NOTE: Spacer washers are used only when the
optional foamed rubber deck wheels (8 x 3.00)
are installed.
2. Fit the axle spacer tube through the wheel hub,
position the spacer washer on each side of the
hub (if used), and fit the assembly into the wheel
fork.
3. Insert the 3/8-16 x 4-1/2 in. bolt through the
wheel fork with the bolt head to the outside and
install the 3/8-16 in. Keps nut.
4. Tighten the bolt and nut until the axle spacer
tube bottoms against the inside of the wheel
fork (will not turn) while the wheel and spacer
washers (if used) spin freely without binding.
Deck Caster Wheel Installation
5. Grease the caster wheel bearings and caster
pivot bearings - one grease fitting for each
wheel and each pivot.
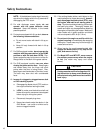
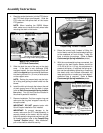
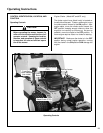
Deck Discharge Chute Installation
(GHS Rear Discharge Models Only)
Mount the discharge chute hinge on top of the deck
discharge opening using the 1/4-20 x 1/2 in. socket
button head screw and 1/4-20 ESNA nut. Position
the screw with the head inside of the chute and the
nut on the outside. Attach spring for tilt-up action
from chute to bracket on deck.
Discharge Chute and PTO Shaft Guard
Installation on Rear Discharge Deck
WARNING
Make sure the battery cap vents are open.
Improper venting of the battery COULD
cause a battery explosion.
Battery Clamp
Secured by
Wing Nut(s)
Battery Protector
Plate in Place
(+) Battery Cable
Connection
Spacer Washer
Axle Spacer Tube
Grease Fitting
Locations
Attach Guard
Attach
Chute
Nut on Top
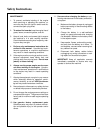
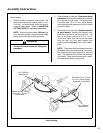
Carrier Frame
Tube Sockets