22 Section 5: Maintenance
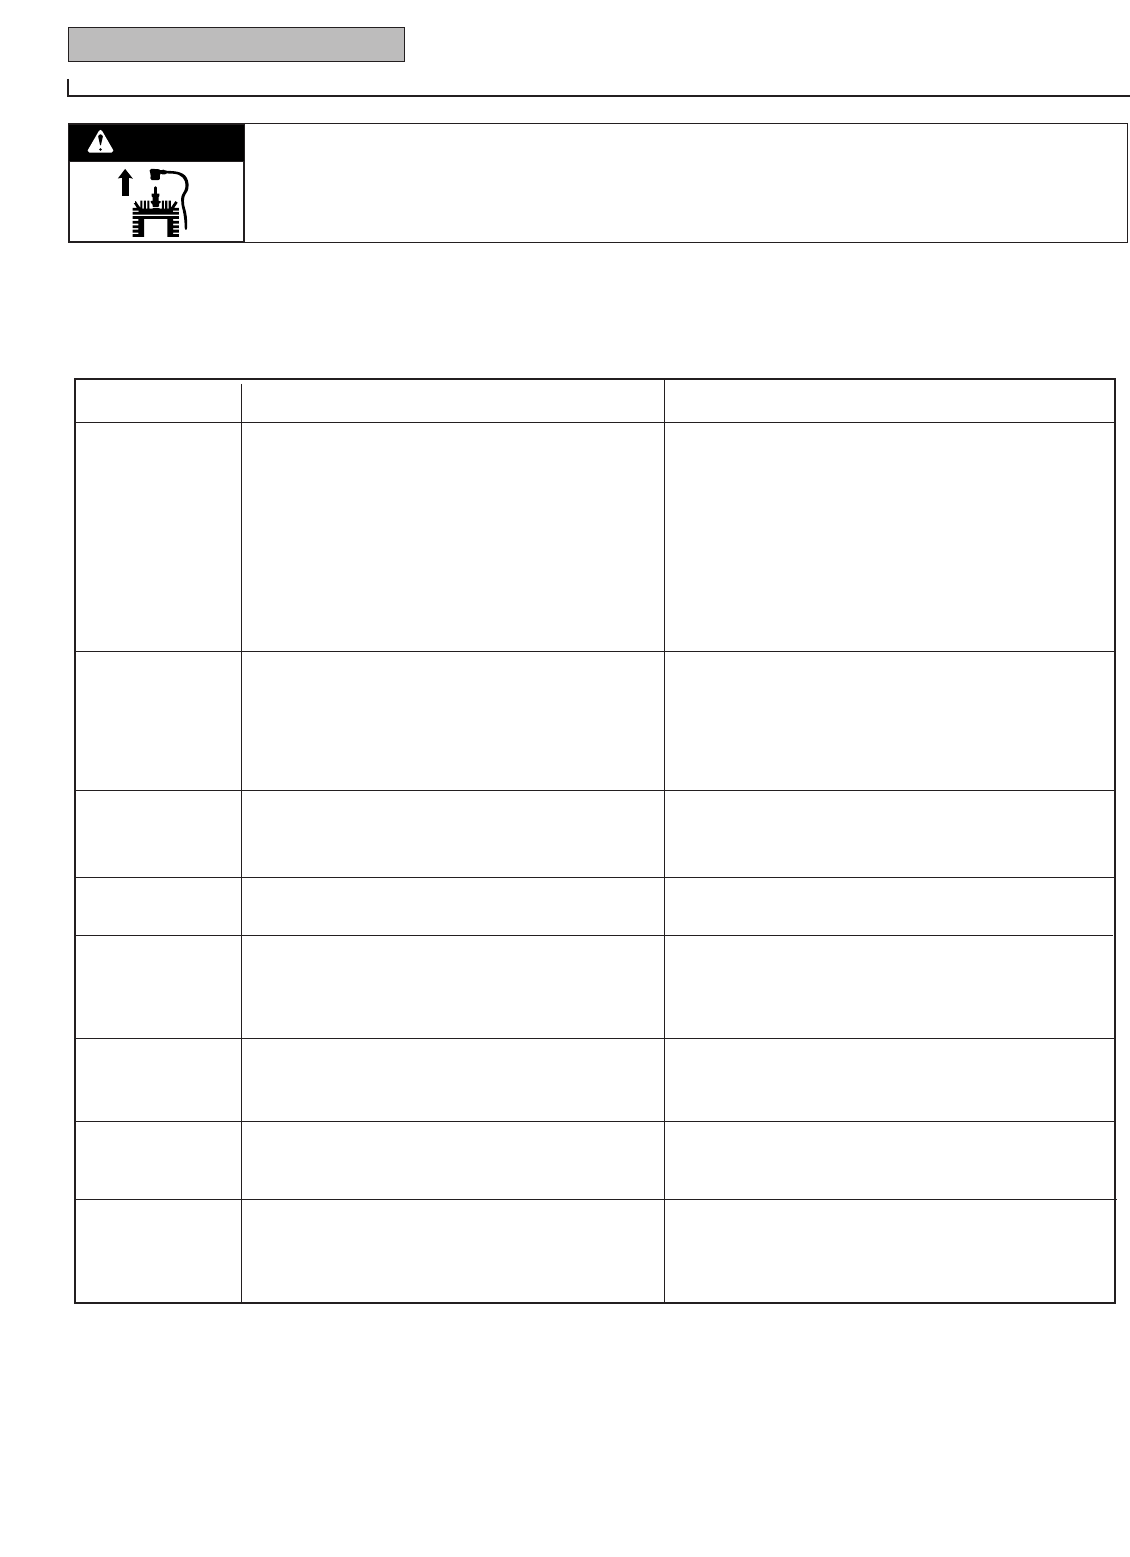
Before inspecting, cleaning or servicing the machine, shut off engine, wait for all moving parts to
come to a complete stop, disconnect spark plug wire and move wire away from spark plug.
Failure to follow these instructions can result in serious personal injury or property damage.
WARNING
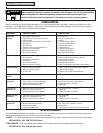
TROUBLESHOOTING
Before performing any troubleshooting procedures, refer to the appropriate safety, operating or maintenance instructions in this
Manual or in the Engine Owner’s Manual. Contact your authorized engine service dealer for engine service. Contact your autho-
rized tiller dealer or the factory for all other service problems.
PROBLEM POSSIBLE CAUSE CORRECTION
Engine does 1. Spark plug wire disconnected. 1. Reconnect wire.
not start. 2. Engine Throttle Control Lever incorrectly set. 2. Put lever in START position.
3. Fuel tank empty. 3. Add fuel.
4. Choke control (if so equipped) in incorrect position. 4. See Engine Owner’s Manual.
5. Stale gasoline. 5. Drain fuel and add fresh fuel.
6. Dirty air filter(s). 6. Clean or replace filter(s).
7. Defective or incorrectly gapped spark plug. 7. Inspect spark plug.
8. Carburetor out of adjustment. 8. See Engine Service Dealer.
9. Misadjusted throttle control. 9. See Engine Service Dealer
10.Dirt or water in fuel tank. 10. See Engine Service Dealer.
Engine runs poorly. 1. Defective or incorrectly gapped spark plug. 1. Inspect spark plug (see Engine Owner’s Manual).
2. Dirty air filter(s). 2. Clean or replace (see Engine Owner’s Manual).
3. Carburetor out of adjustment. 3. See Engine Service Dealer.
4. Stale gasoline. 4. Replace with fresh gasoline.
5. Dirt or water in fuel tank. 5. See Engine Service Dealer.
6. Engine cooling system clogged. 6. Clean air cooling system (see Engine Owner’s Manual).
Engine overheats. 1. Engine cooling system clogged. 1. Clean air cooling area (see Engine Owner’s Manual).
2. Carburetor out of adjustment. 2. See Engine Service Dealer.
3. Oil level is low. 3. Check oil level (see Engine Owner’s Manual).
Engine does not 1. Misadjusted throttle control or ignition switch. 1. See Engine Owner’s Manual or Engine Service Dealer.
shut off.
Wheels and Tines 1. Improper use of controls. 1. Review Sections 3 and 4.
will not turn. 2. Worn, broken, or misadjusted drive belt(s). 2. See “Checking Drive Belt Tension,” Section 5.
3. Internal transmission wear or damage. 3 Contact local dealer or the factory.
4. Bolt loose in transmission pulley. 4. Tighten bolt.
Tines turn, but 1. Wheel Drive Pins not in WHEEL DRIVE. 1. See “Wheel Drive Pins” in Section 3.
wheels don’t. 2. Bolt loose in transmission pulley. 2. Tighten bolt.
3. Internal transmission wear or damage. 3. Contact local Dealer or the Factory.
Wheels Turn, but 1. Tine holder mounting hardware missing. 1. Replace hardware.
Tines Don’t. 2. Bolt loose in transmission pulley. 2. Tighten bolt.
3. Internal transmission wear or damage. 3. Contact local Dealer or the Factory.
Poor tilling 1. Worn tines. 1. See “Bolo Tines” (Section 5).
performance. 2. Improper Depth Regulator setting. 2. See “Tilling Tips & Techniques,” Section 4.
3. Incorrect throttle setting. 3. See Section 4.
4. Forward Drive Belt slipping. 4. See “Checking Forward Drive Belt Tension,” Section 5.
TILLER ATTACHMENTS
The attachments listed below are available for your tiller. The information is the most current at the time this manual was printed.
Contact your authorized dealer or the factory for current information.
BUMPER – The tubular steel bumper surrounds the engine to protect the air cleaner, starter assembly and fuel tank from damage.
OEM-290-256 fits Tuffy, OEM-290-254 fit Bronco
FRAME WEIGHTS – Solid steel weights attach to the sides of the tiller frame to provide added traction to the wheels.
OEM-290-265 fits Tuffy, Bronco & Super Bronco


