


Operation
5
10
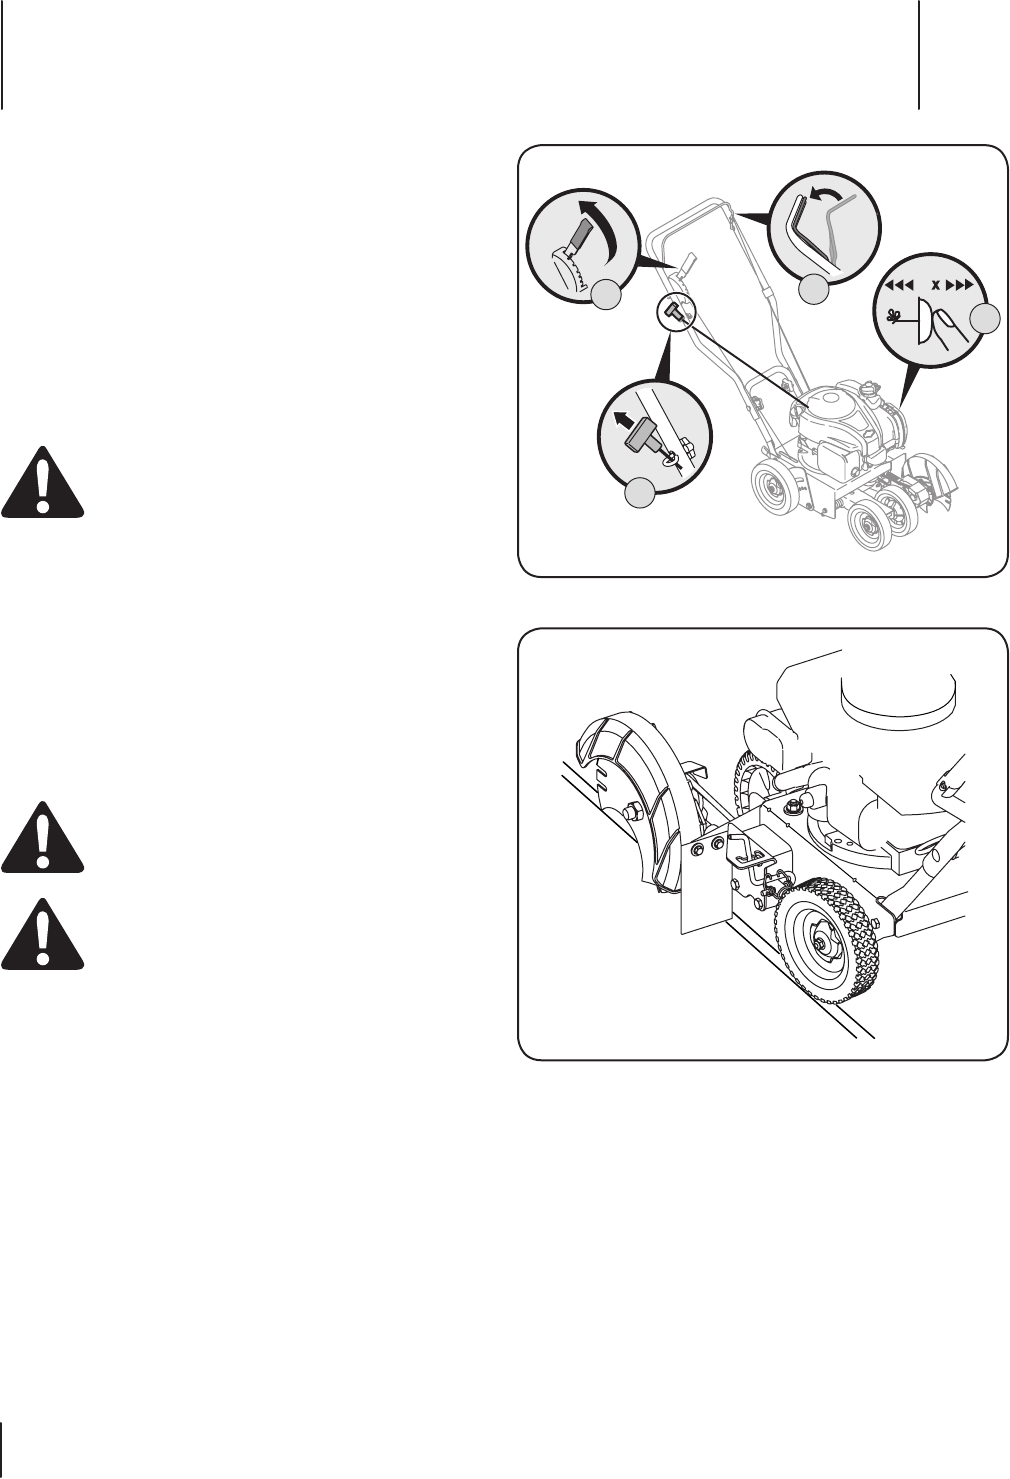
Starting the Engine
To start the edger’s engine, proceed as follows:
1. Move the blade depth control lever back to the START
position in the adjacent (top) notch.
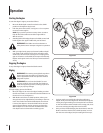
2. Push the primer three times. See Figure 5-1. Do not prime
to restart a warm engine.
NOTE: If you push the primer too many times, excessive
fuel will flood the carburetor and the engine will be
difficult to start.
3. Standing behind the edger, depress the blade control and
hold it against the upper handle with your left hand.
WARNING! This blade control mechanism is a
safety device. Never attempt to bypass its operation.
4. With your right hand, grasp recoil starter handle and pull
rope slowly until resistance is felt, then pull with a rapid,
continuous, full arm stroke. See Figure 5-1. Keeping a firm
grip on the starter cord handle, let the rope rewind slowly.
Repeat until engine cranks. Let the rope rewind each time
slowly.
Stopping The Engine
To stop the edger’s engine, release the blade control.
Edging
WARNING! The rotating cutting blade may throw
objects and cause personal injury. Keep the area
clear of bystanders and do not operate it without
the guards in place.
WARNING! Do not lower the blade if it is over
concrete, asphalt, rocks or the like. The blade can
strike the supporting surface, resulting in personal
injury or property damage.
To begin edging, proceed as follows:
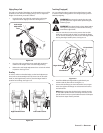
1. Move the edger to an area to be edged, making sure that
the left rear wheel is on a hard surface and the blade is over
the area to be cut. See Figure 5-2.
2. With blade control lever in START position, make a pass
along the area to be edged before proceeding to the next
notch. The further forward the blade depth control lever
is moved, the deeper or lower the blade will cut into the
ground. Several passes may be necessary to obtain the
desired depth of cut. Do not lower the blade more than
one depth notch at a time without making a pass.
3
3
4
2
1
Figure 5-1
Figure 5-2
3. For best results, proceed slowly along the path being
edged. Slowly move the edger back and forth through the
cutting area, again making sure to keep the left rear wheel
on the hard surface and the blade in the cutting path, close
to but not touching the edge of the hard surface.
4. Once you have finished edging the selected area, raise the
blade control lever back into the START position, move to
the next area to be edged, and proceed again from step 1.