


throw. Such items could be covered by snowfall and remain
unnoticed.
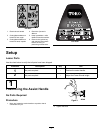
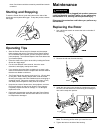
Starting and Stopping
To start the Power Shovel, push the button on the side of the
handle grip and squeeze the trigger. To stop the product, release
the trigger.
Figure 6
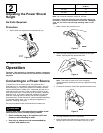
Operating Tips
• Start the Power Shovel and tilt it forward until the scraper
blade contacts the ground. Push the Power Shovel forward
at a comfortable rate of speed, yet slow enough to clear the
path completely. The width and depth of the snow determines
your forward speed.
• Direct the snow to the right or to the left by holding the Power
Shovel at a slight angle.
• For the most efcient snow removal, throw the snow
downwind, and slightly overlap each swath.
• If you need to clear snow from crushed rock or gravel, push
down on the handle to raise the scraper clear of loose material
that the rotor blades could throw.
• The Power Shovel can remove snow up to 6 in. (15 cm) deep
in one pass. When clearing deeper drifts, hold the Power
Shovel by the upper and lower handles and use a swinging or
sweeping motion. Remove a maximum of 6 inches (15 cm)
with each pass and repeat as many times as required.
• Keep the cord clear of obstructions, sharp objects, and rotor.
Do not pull sharply on the cord or abuse it in any manner.
Frequently inspect the cord for damage. If it is damaged,
replace the cord.
• Disconnect the extension cord after using the Power Shovel.
Hang the extension cord with the Power Shovel so it will not
be misplaced or damaged.
Maintenance
WARNING
If the extension cord is plugged into product, someone
could accidentally operate it while you are performing
maintenance on it, causing serious personal injury.
Disconnect the extension cord before you perform any
maintenance.
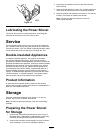
Replacing the Rotor
1. Use a 9/16-inch wrench to remove the bolt on the side of
the housing.
Figure 7
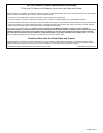
2. Remove the old rotor from the housing.
Figure 8
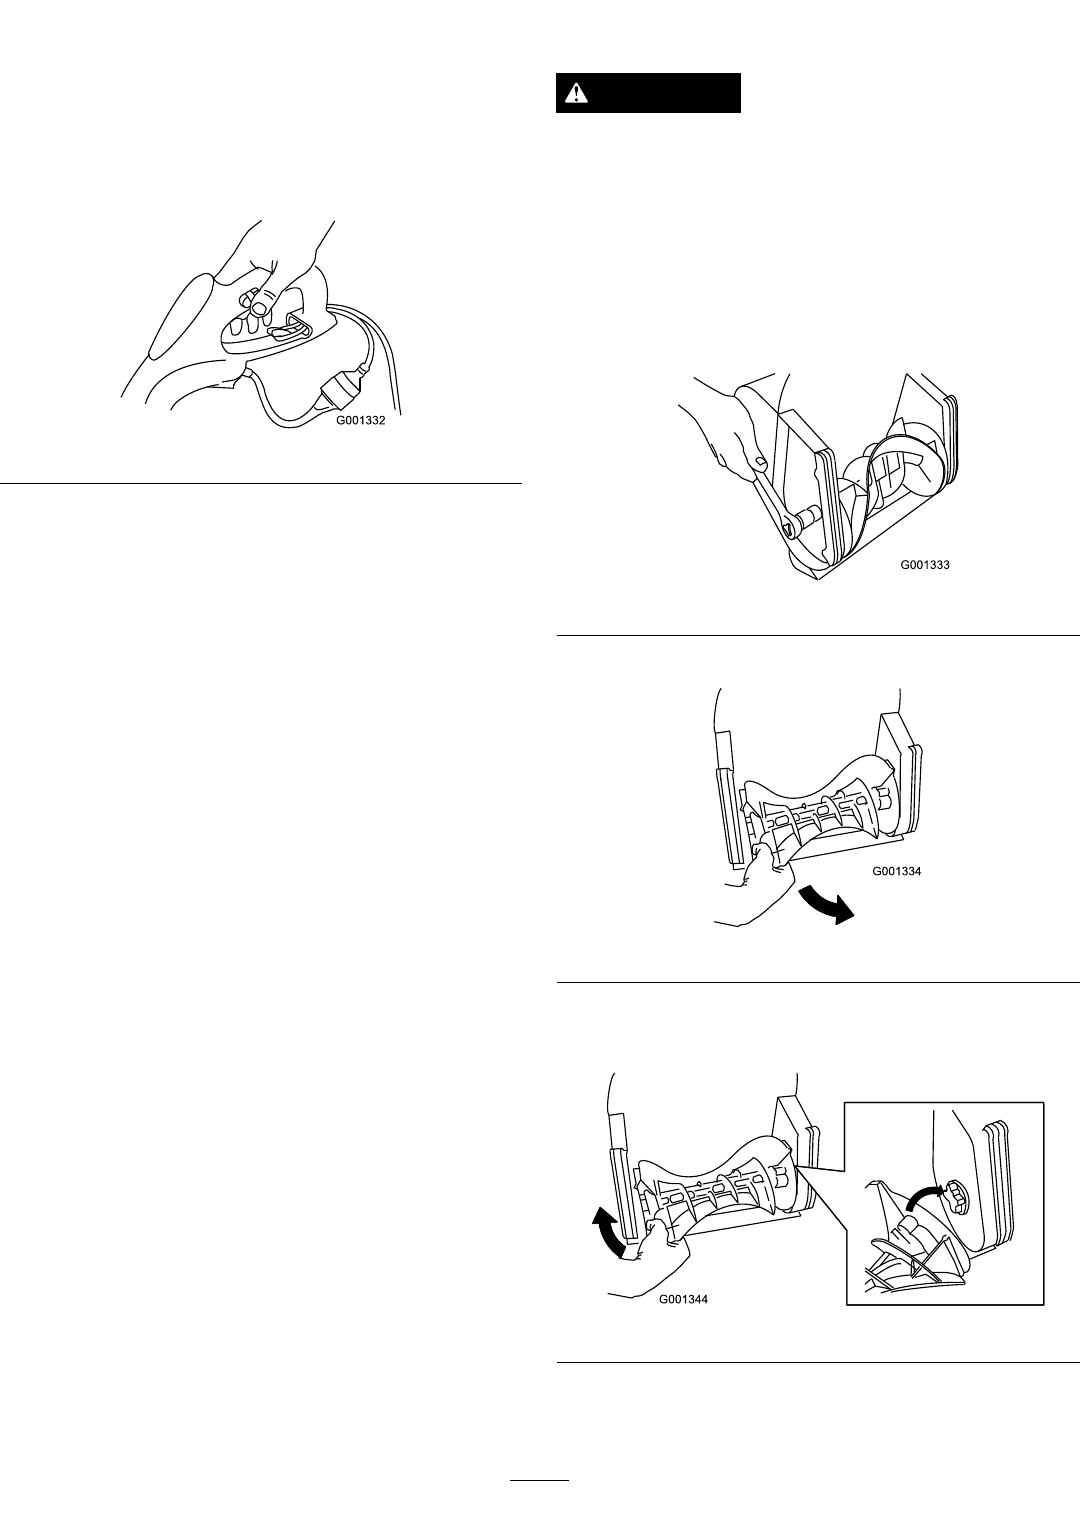
3. Install the new rotor in the housing by inserting the end of
the rotor onto the tted end in the housing and rotating the
rotor until it snaps into position.
Figure 9
Note: The housing will ex when you install the rotor.
4. Tighten the bolt on the side of the housing.
5