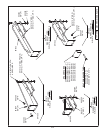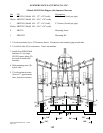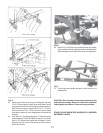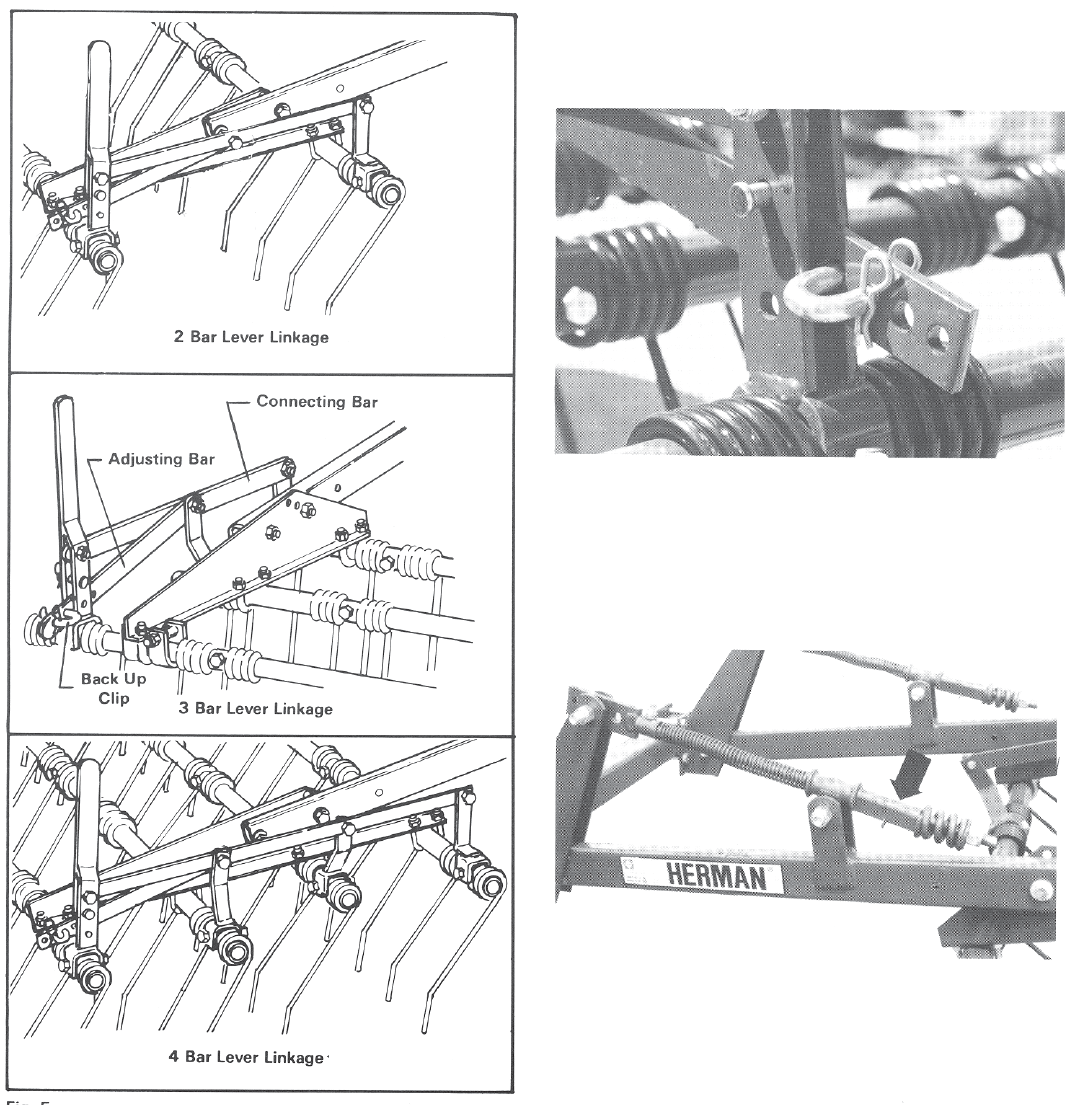
Fig. 5.
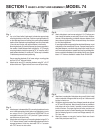
5a. Attach levers to bars be removing the existing bolts and using
1/2 x 3-3/4” bolts supplies. Discard harrow tooth washer. Secure
using original locknut. Attach connecting bar and adjusting bar on
sides of levers as shown in fi gures. Use a 7/16 x 1-1/4” bolt on
the front levers and 7/16 x 1-3/4” bolt on the rear levers. Repeat
exact same procedure for lever linkage system on the other end
of section.
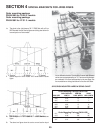
5b. 2 bar levers for 2 bar attachments have a 3” offset and must be
ordered separately. Order PN 8H0200 for one pair. 3 bar levers
have a 1-3/4” offset and are supplied with all brackets. 4 bar at-
tachments use 2 bar levers on the front bar and 3 bar levers on
the 2nd and 3rd bars.
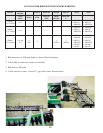
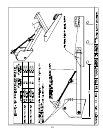
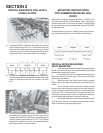
Fig. 6.
6a. Install 7/16 x 1-3/4” clevis pin in top hole and back-up clip in adjust-
ing bar as shown. Back-up clip allows implement to be backed up
without damage to harrow teeth if they do not clear the ground.
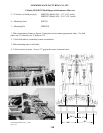
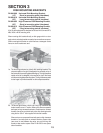
Fig. 7.
7a. Lock-up clip shown installed (see arrow) to hold harrow up in a
raised position.
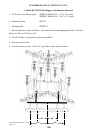
CAUTION: After harrows are securely mounted, slowly
fold implement wings. Watch for interference between
folding parts and correct if there are any problems.
STAND CLEAR WHENEVER RAISING OR LOWERING
IMPLEMENT WINGS.
17


