


43
ENGLISH
GB
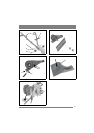
4.9 Handle height adjustment (1:G)
Slacken off the knobs and set the handle to a com-
fortable height.
Then retighten the knobs again.
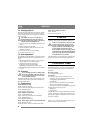
4.10Oil filling/draining
Always check the oil level before start-
ing the engine.
Plug for oil filler and checking the oil level.
To drain the oil, the machine must be tilted so that
the oil runs out from the same hole.
The plug is shown according to the table below:
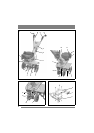
4.11 Auxiliary wheel (1:T)
The auxiliary wheels are designed to facilitate
transportation of the machine.
The wheels must be removed before work com-
mences.
Remove the auxiliary wheels as follows:
1. Slacken off the knob (4:R).
2. Pull the auxiliary wheels with the mounting
downward and remove from the depth skid
(4:Q).
Reassemble in reverse order.
4.12Rotors (1:K)
Nobody must be close to the dangerous
rotors during operation.
The rotors are made of special steel and work
the soil at the same time as the machine is pro-
pelled forwards.
4.13Cutting disc (1:L).
Nobody must be close to the dangerous
cutting discs during operation.
The cutting discs are on respective rotor
axles and are designed to border the working area
and facilitate control of the machine.
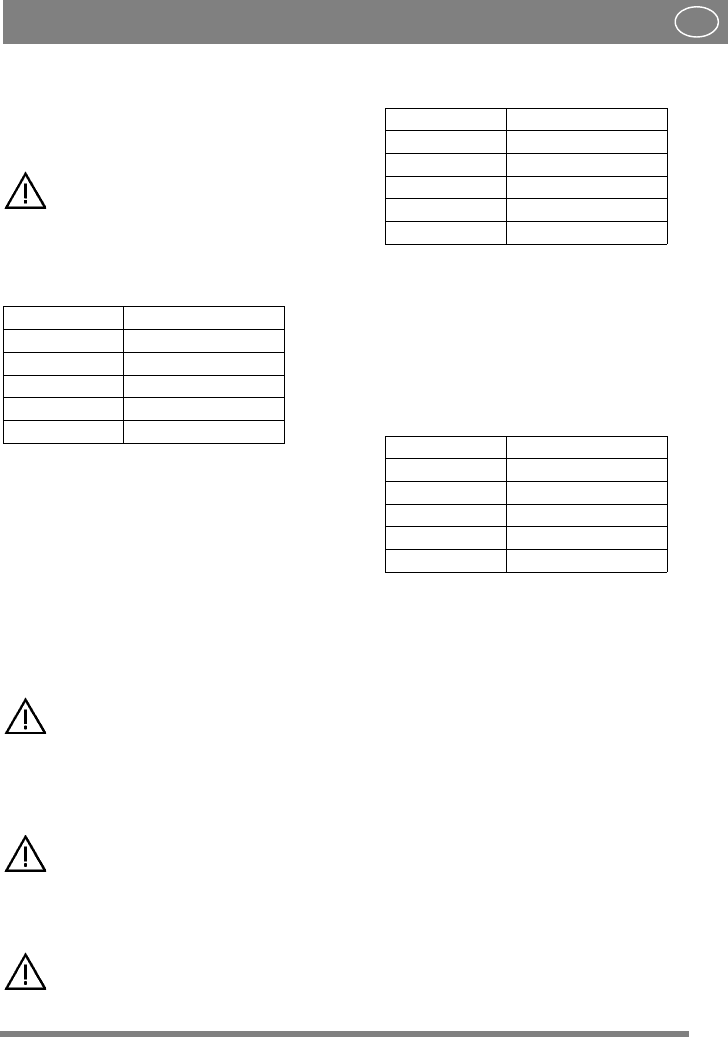
4.14 Choke
The choke must never be activated dur-
ing operation. This will damage the en-
gine.
The choke must be activated at cold starts.
The choke is shown according to the table below:
4.15 Primer
Only applies to 50R-B.
The primer (1:E) must be pressed in 3-5 times be-
fore a cold start.
4.16 Starting handle
Handle for starting the engine.
The starting handle is shown according to the table
below:
4.17Depth skid (1:S).
The task of the depth skid is to keep the machine
stable so that the soil can be cultivated.
The wheels must be removed before work com-
mences. See “4.11”.
The depth skid can be set to the desired height. Set
as follows:
1. Slacken off the knob (1:S).
2. Set the depth skid to the desired position.
3. Tighten the knob (1:S).
Machine Figure:Position
40-G The engine manual
40R-G The engine manual
50-G The engine manual
50-H The engine manual
50R-B 1:O
Machine Figure:Position
40-G 2:O
40R-G 2:O
50-G 2:O
50-H 3:O
50R-B 1:O
Machine Figure:Position
40-G The engine manual
40R-G The engine manual
50-G The engine manual
50-H The engine manual
50R-B 1:N