


10
9. If any DE remains on grids after backwashing, flush filter elements with
garden hose to remove it. Be sure to comply with local code for waste DE
disposal.
10. Follow instructions under 'Assembly', Page 8, to reassemble filter.
11. Follow 'Initial Start-up' procedure (Page 7, steps 4, 5, 6 and 7) to restart
system.
12. Compare pressure reading on gauge with reading recorded after initial
startup. The two readings should be very close; if not, do "Manual Filter
Cleaning Procedure", below.
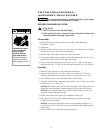
MANUAL FILTER
CLEANING PROCEDURE
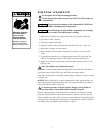
Before Disassembling Filter:
1. STOP PUMP.
2. OPEN air release valve.
3. WAIT until all pressure is released from filter tank and system
before loosening clamps.
NOTICE: At least twice a year, disassemble and clean filter regardless of oper-
ating pressure readings. This can be done conveniently while winterizing pool
in cold climates. Use this method regularly if no means of backwashing is
available.
1. Backwash filter as usual, but do not precoat.
2. Disassemble filter (see Page 8).
To avoid severe injury or major property damage, exactly follow in-
structions under “Disassembly” (Page 8)!
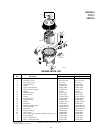
3. Unscrew union collar holding element assembly in position.
NOTICE: Be careful not to lose O-Ring.
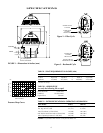
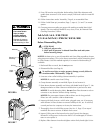
4. Grasp element assembly at manifold (Figure 6) and remove it.
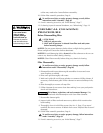
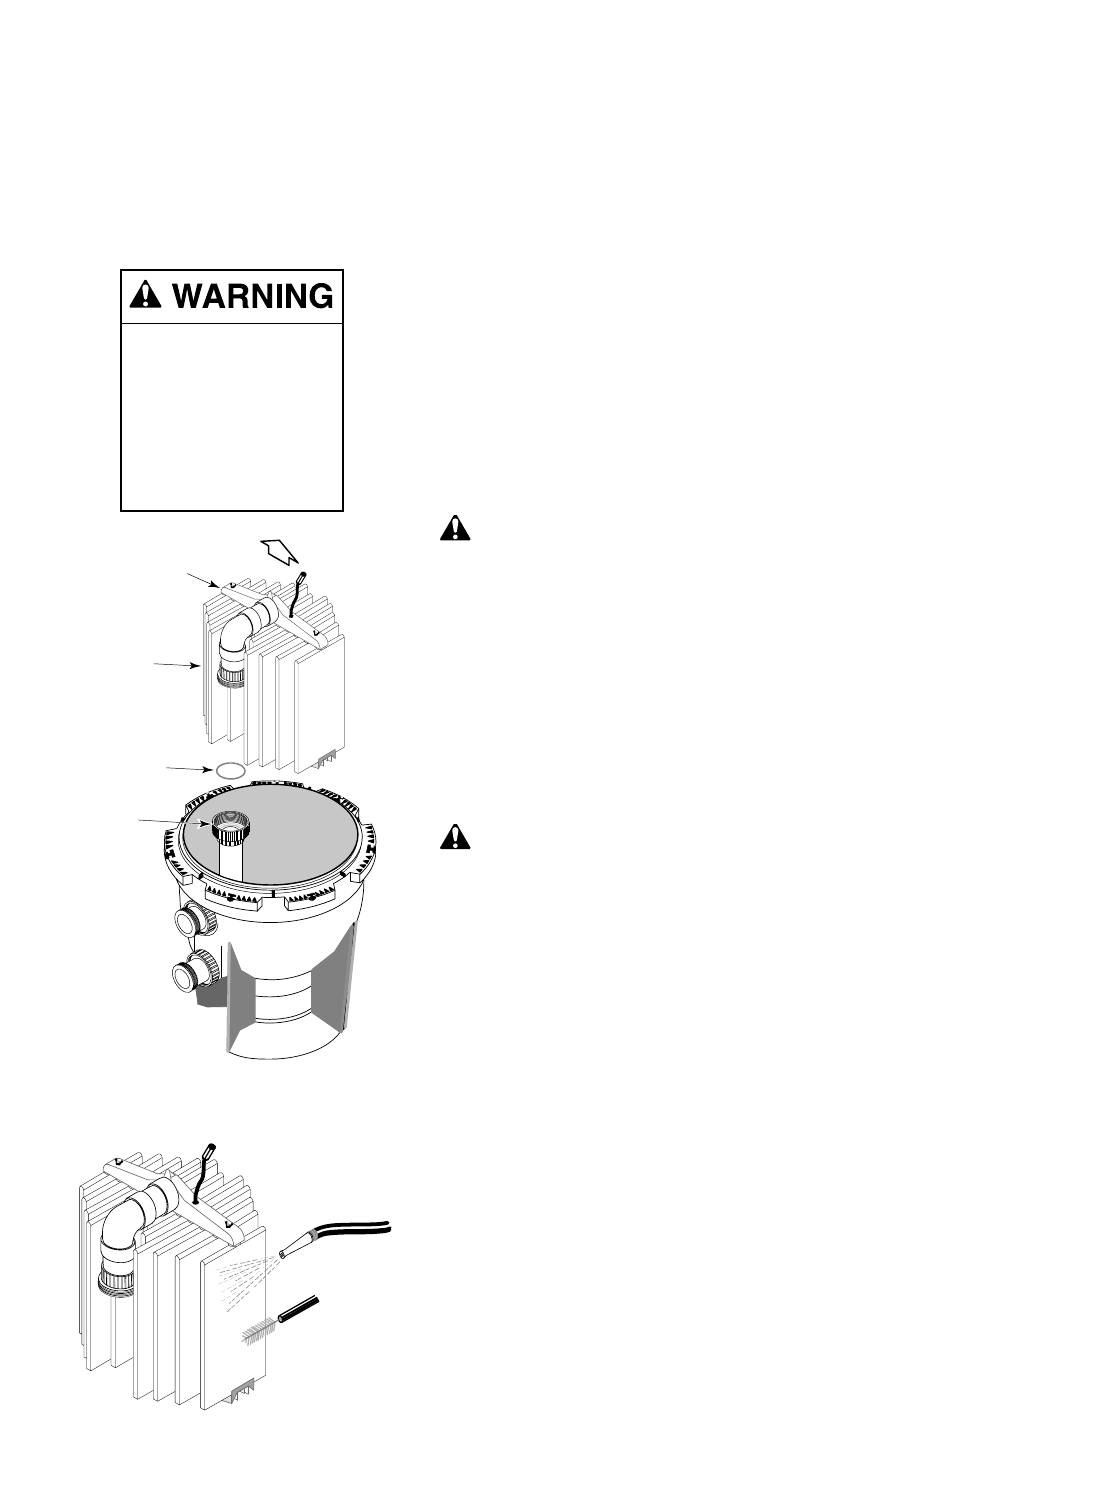
5. Hose down element assembly and clean with bottle brush (Figure 7). Use
detergent solution or filter cleanser available from a pool service store.
NOTICE: To avoid damaging fabric, do not allow filter element to rub on
concrete or any abrasive surface during cleaning.
NOTICE: Do not expose element cloth to direct sun for long periods.
Direct sun will cause the cloth to deteriorate.
6. Inspect grid cloth for tears, calcification, plugged areas, etc. If necessary,
soak element in filter cleanser to remove buildup of oils, etc. If calcified,
consult pool service company or factory for instructions.
7. Thoroughly clean air relief filter screen (Key No. 2, Page 15) on top of
manifold. Be sure to remove all debris from screen.
8. Inspect O-Ring out of the internal union (see Figure 6) for damage.
Reinstall it in the groove in the union half if it is undamaged; if it shows
tears or cuts replace it.
9. Replace filter element in tank and tighten union firmly hand tight. Union
1216 0497
Union
Collar
Element
Assembly
O-Ring
Manifold
1215 0497
FIGURE 6
FIGURE 7
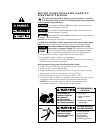
Hazardous pressure.
Can cause severe
injury or major
property damage
from tank blow up.
Release all pressure
and read instructions
before working on filter.