9
Section 3 – ADJUSTMENTS & REPAIR
3.1 SERVICE PARTS & ASSISTANCE
To retain the original quality of your Tiller, use only
genuine SNAPPER replacement parts. Specify the
model and serial number as found on the nameplate of
your Tiller when contacting your SNAPPER Dealer for
parts or service assistance.
3.2 STANDING THE TILLER ON END
WARNING
DO NOT attempt any adjustments, maintenance,
service, or repairs with the engine running. Stop
tines and engine. Remove spark plug wire and
secure wire away from spark plug. DO NOT stand
Tiller on end with the engine running! To avoid fuel
leakage and potential FIRE HAZARD the fuel tank
must be drained before standing tiller on end. Allow
engine to cool for at least ten minutes before draining
or refilling fuel. Wipe off any spilled fuel before starting
engine. Take all necessary precautions to prevent
fuel leakage BEFORE standing the Tiller on end. Any
draining of fuel must be done outside with the engine
cool and away from ignition sources. If the Tiller is
stored on end for any length of time, check it frequently
for signs of fuel and/or oil leakage. Use approved fuel
container. DO NOT smoke near open fuel container. DO
NOT drain or fill fuel tank indoors or when engine is
running. DO NOT run engine indoors.
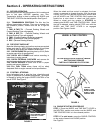
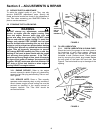
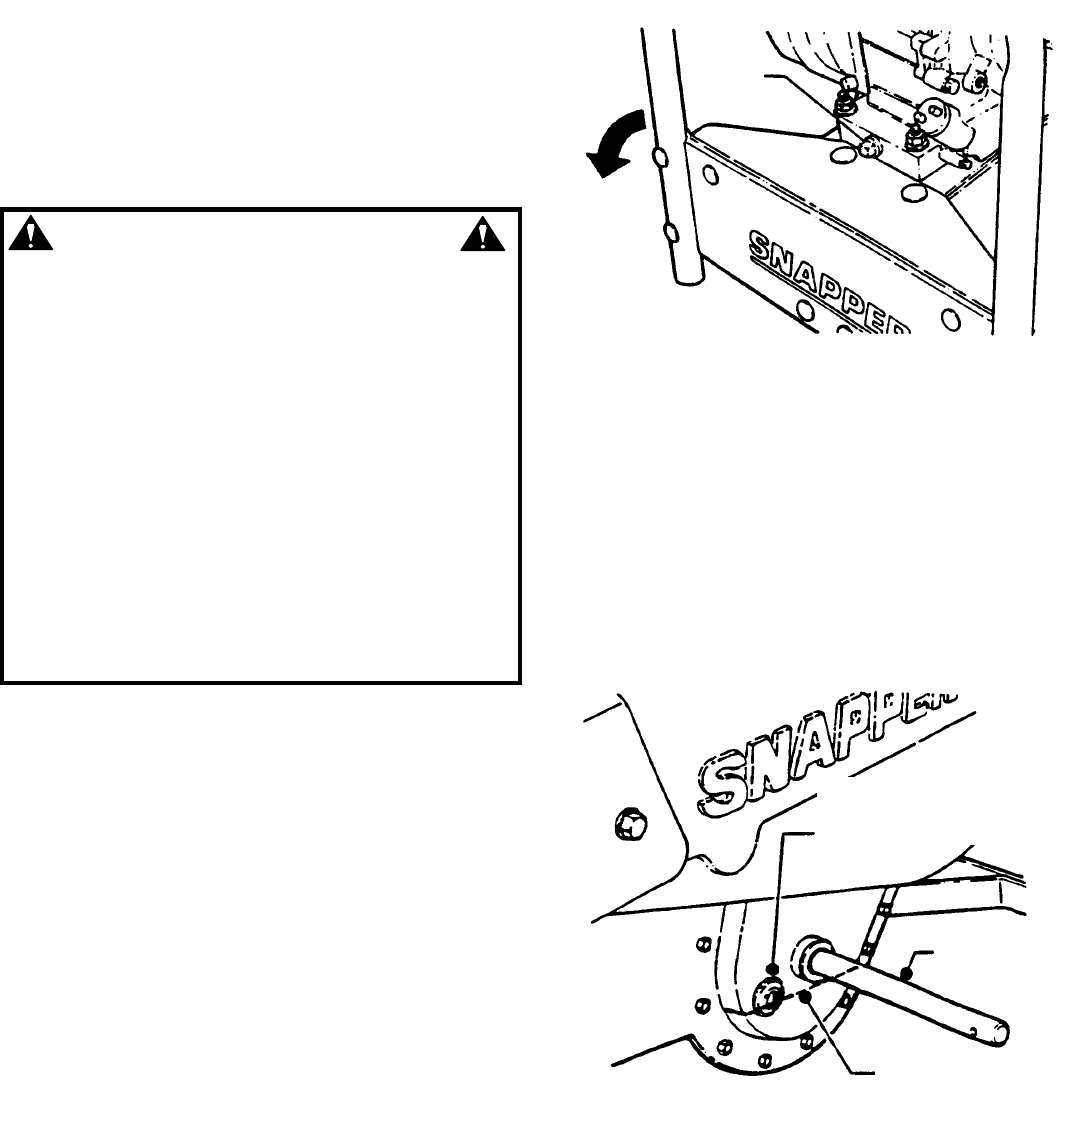
3.2.1. ENGINE SERVICE: Refer to the engine
owner’s manual for details. Engine oil is drained by
removing front filler plug and standing Tiller on end.
See Figure 8.
3.2.2. SERVICE NOTE: Since a Tiller normally
operates under extremely dusty or dirty conditions,
the air cleaner, engine oil and cooling fins must be
serviced as specified in the engine manual at
frequent intervals. The Tiller itself should be
serviced as follows:
FIGURE 8
3.3 TILLER LUBRICATION
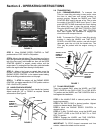
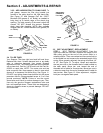
3.3.1. CHECK LUBRICATION IN CHAIN CASE:
Check the level of the grease in the chain case at
the beginning of each tilling season. Remove
clevis pin and cotter pin that secures left hand
tire/wheel to axle. Remove wheel. Check grease
level by removing the plastic plug located beside
the axle shaft on the lower left hand side. See
Figure 9. The level should be up to the edge of the
opening.
FIGURE 9
OIL
DRAIN
PLUG
STAND
TILLER ON
END TO
DRAIN
ENGINE OIL
GREASE CHECK PLUG
(REMOVE TO CHECK
GREASE LEVEL)
REMOVE L.H.
TIRE/WHEEL
ASSEMBLY
PROPER
GREASE
LEVEL


