


7
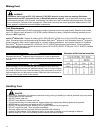
NOTE:
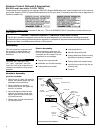
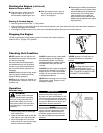
The plastic shield is for use with the Nylon Line Head only. Install Metal
Shield when using plastic or metal blades.
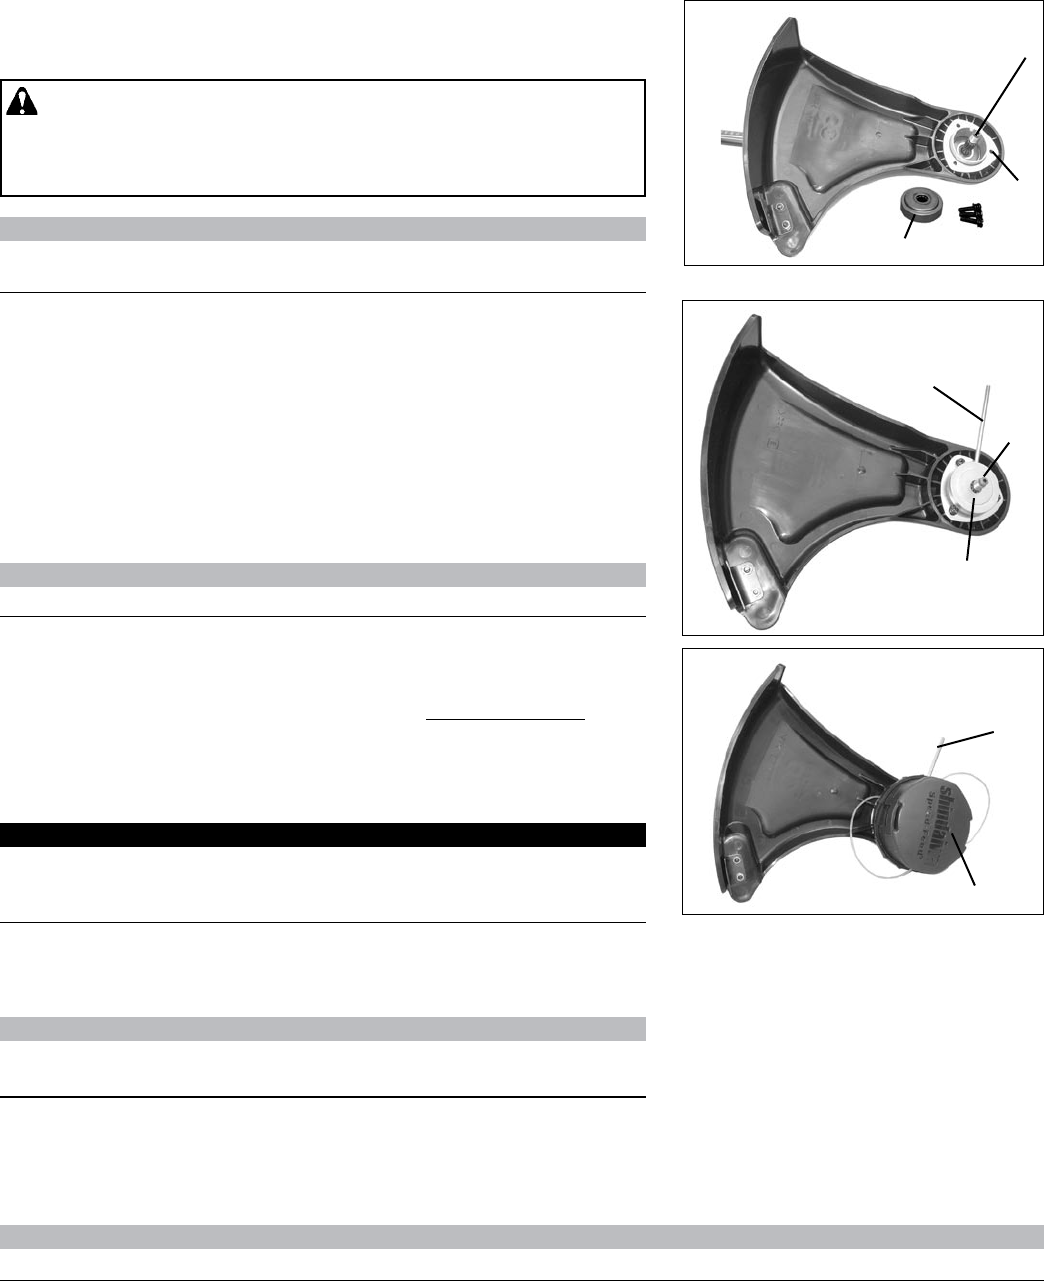
1. Remove plastic threaded shaft sleeve and adapter plate (C) from
PTO shaft (A).
2. Place the shield on the bottom of the bearing housing ange.
3. Place shield plate (B) on shield, align holes. Install three (3) screws
from bottom through plate and shield into gear case.
A
A
C
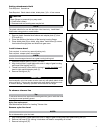
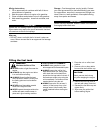
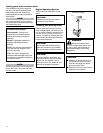
Install trimmer head
Tools required: 4 mm hex key wrench (locking tool)
Parts required: adapter plate, trimmer head
NOTE:
Use the 4 mm hexagonal wrench as a gear housing locking tool.
1. Assemble adapter plate (C) onto PTO shaft.
2. Align locking hole in upper plate with notch in edge of gear housing
and insert head locking tool (D).
3. Thread line head (E) onto shaft by turning it counter-clockwise until
head is tight against adapter plate (C).
4. Remove locking tool (D).
IMPORTANT
Semi-automatic nylon line heads must be used only with plastic debris shield
with cut-off knife. Using nylon line heads with metal debris shield can result
in trimmer damage, caused by operation with excessive line length.
D
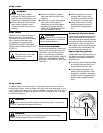
To advance trimmer line
Tip:
To advance trimmer line, tap trimmer head against the ground while the head
is turning at normal operating speed.
Nylon line replacement
See Maintenance Section for Loading Trimmer Line.
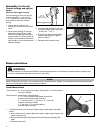
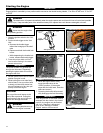
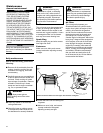
Remove nylon line head
C
B
D
E
Cutting attachment shield
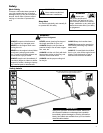
CAUTION
Wear Gloves or personal injury may result:
• Cutoff knife is sharp.
• Gearcase and surrounding area may be hot.
NOTE:
Do not disassemble nylon line head.
1. Align locking hole in upper plate with notch in edge of gear housing and insert head locking tool (D).
2. Remove line head (E) by turning it clockwise until head is completely off of shaft.
3. Remove locking tool (D).
Tools Required: Screwdriver
Parts Required: Plastic debris shield, shield plate, (3) 5 x 10 mm screws