13
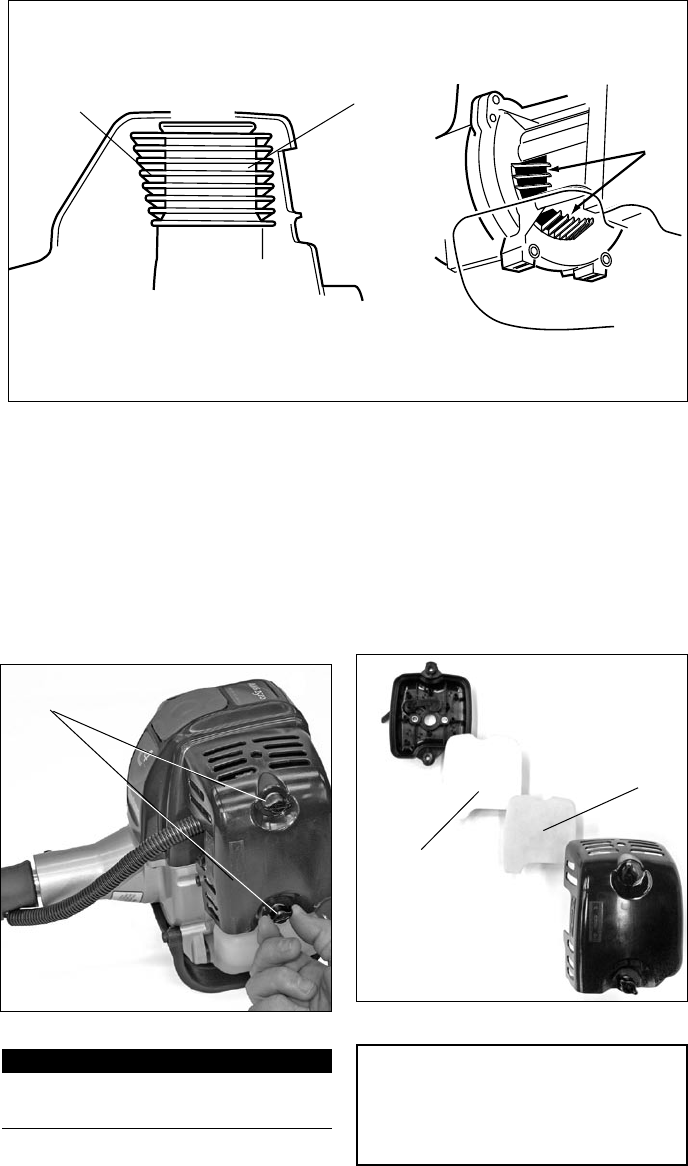
Prior to each work day, perform
the following:
Remove all dirt and debris from the
■
engine, check the cooling fins and
air cleaner for clogging, and clean
as necessary.
Clean any debris or dirt from the
■
cutting attachment.
Check the entire unit for leaking
■
fuel or grease.
Check for loose or missing screws
■
or components. Make sure the cut-
ter attachment is securely fastened.
Make sure nuts, bolts, and screws
■
(except carburetor idle speed
adjusting screws) are tight.
Carefully remove any accumulations
■
of dirt or debris from the muffler
and fuel tank. Check cooling air
intake area at base of crankcase.
Remove all debris. Dirt build-up in
these areas can lead to engine over-
heating, fire, or premature wear.
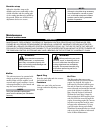
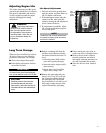
Daily maintenance
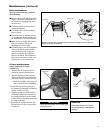
Remove all dirt and debris from the engine, check the cooling ns and air cleaner for
clogging, and clean as necessary
Cooling ns
Air
intake
Cooling ns
Maintenance (continued)
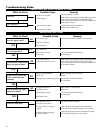
10 hour maintenance
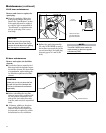
Loosen
thumbscrews
(more frequently in dusty
conditions)
Remove the air cleaner cover by 1.
loosening the two thumbscrews.
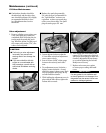
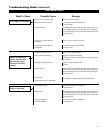
Remove and inspect the pre-filter. 2.
If the pre-filter is torn or otherwise
damaged, replace it with a new one.
Clean the pre-filter with soap and a.
water. Let dry before reinstalling.
3. Inspect the air cleaner element. If
the element is damaged or distorted,
replace it with a new one.
4. Tap filter gently on a hard surface
to dislodge debris from element or
use compressed air from the inside
to blow debris out and away from the
air cleaner element.
5. Install the air cleaner element, pre-
filter and cover in the reverse order
of removal.
Air lter
element
Pre-lter
IMPORTANT!
Direct the air stream at the inside face
of the lter only!
CAUTION!
Never operate the unit if the air
cleaner assembly is damaged or
missing!


