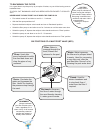
The liner installation is a straight forward procedure as long as you follow the instruction guide lines carefully depicted in
the Vogue Installation manual.
All Vogue liners supplied in the UK are ‘hung liners’. The PVC all patterned liner that you have received with your pool kit
is manufactured in one piece. Welded to the top of the liner is a ‘white beading’. The beading is designed to hung onto the
pool wall and held in position by the ‘top-rails’.
Liners are manufactured slightly undersize to allow for the PVC material to stretch into position to ensure a ‘crease free’ fit.
With this in mind, you may find that in that you are unable to place all of the liner bead (especially in cooler temperatures
i.e. 60 - 65 deg.F) onto the pool wall.
DO NOT ATTEMPT TO FIT A LINER IF TEMPERATURE IS BELOW 60 deg.F
Before attempting to fit a liner.
Have a minimum of two people, ideally three to help you instal the liner.
Check the label description on the box, to make sure that you have been supplied the correct liner.
Make sure that all footwear is removed prior to entering the pool floor area.
Thoroughly clean, sweep & hoover any visible debris, small stones etc.
What to do if the liner does not fit.
If the liner seems to be too small then the liner material may be too cold! Try the following:-
Place as much of the liner (beading) onto the top of the pool wall as possible, making sure that the liner’s vertical seam
weld is vertical and perpendicular to the pool wall and floor (as described in the installation manual).
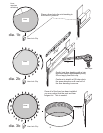
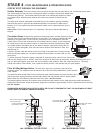
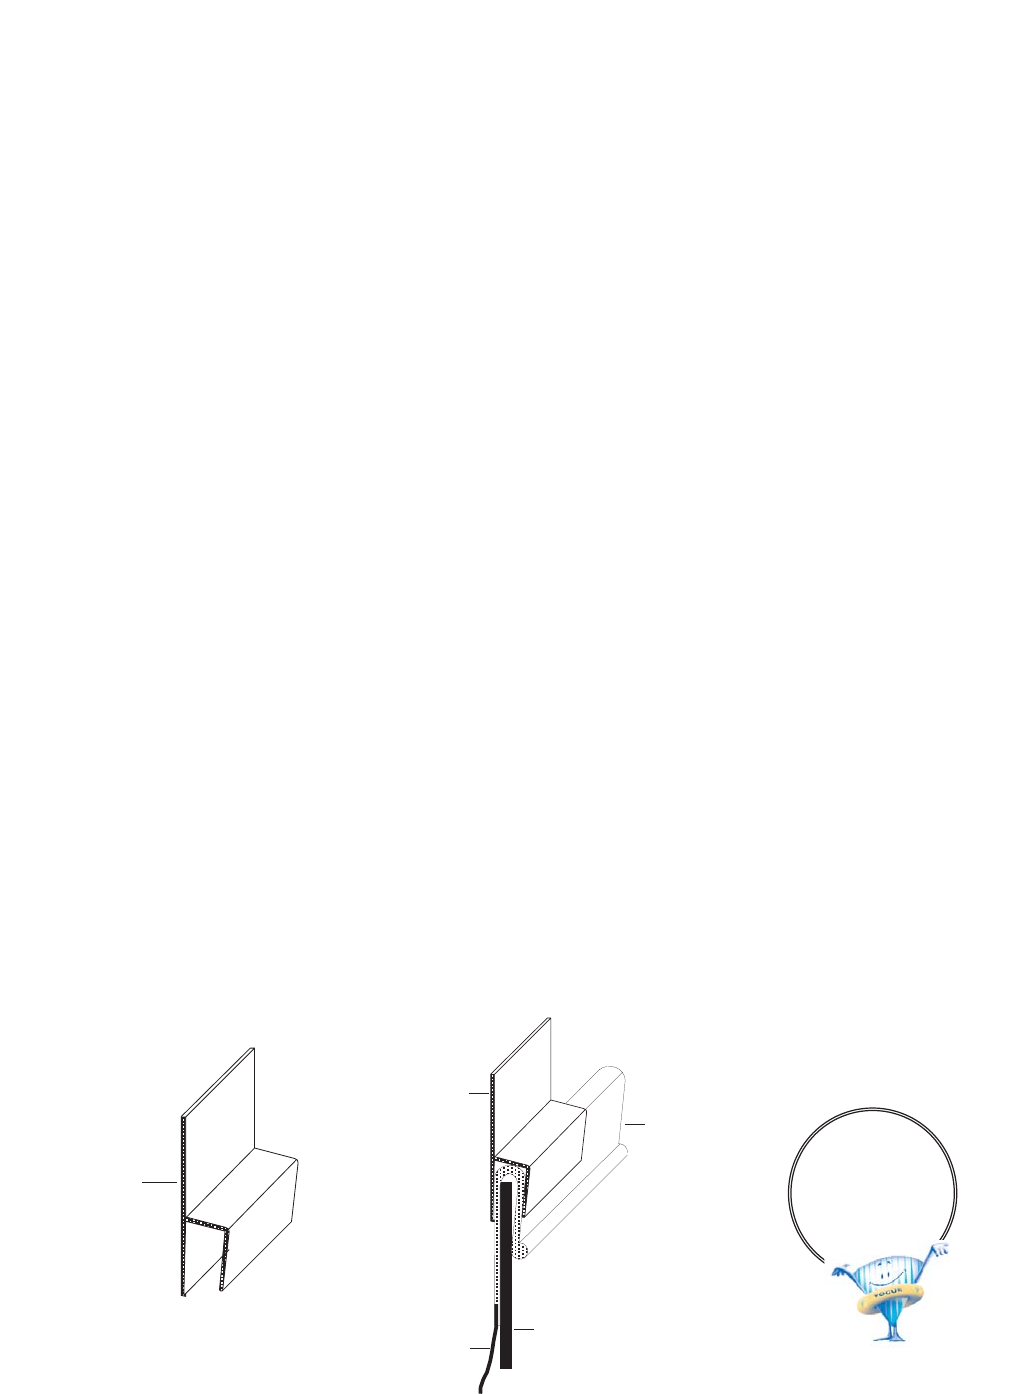
Using a piece of 2” ‘liner-lock clip’ (available from your dealer) place onto liner bead above the wall seam - page 8 (dia.1b).
The liner-lock clip will help lock the liner into position. Using a ‘hair dryer’ (dia.2b) heat approximately 24” of the beading
and the liner material (this helps the beading and liner to become more pliable and easier to stretch). Ideally using two
pairs of hands stretch the top of the beading as much as possible. Without letting go of the material apply another liner-lock
clip. Repeat this procedure half way round the perimeter of the pool. Go back to the wall seam and stretch the remaining
beading onto the pool wall. This method is applicable to oval and round pools.
You will find that stretching the liner bead in small intervals will enable you to place all of the liner bead onto the top of the
pool wall!
Note. Once all of the liner has been installed, slight bulging will occur around top perimeter of the pool wall, this normal. A
liner has a stretch factor of 170%!
I have tried the above and the liner still does not fit. What do I do?
REPEAT the above procedure. The more you stretch the beading, the closer you will get to installing of the liner bead.
In the event that you are unable to fit the liner, use a cloth measuring tape and measure the perimeter of the white beading.
Call your pool dealer with this measurement. Please also have the four digit number printed on the box (not the label) that
the liner was packed in. Your pool dealer will advise you what to do next.
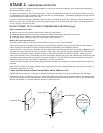
STAGE 2 - LINER INSTALLATION TIPS
Liner-lock Clip
Liner-lock Clip
Liner Beading
Pool Wall
Liner
TIP
Place the liner in
warm environment
prior to installation!
7


