


SERVICE AND ADJUSTMENTS
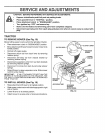
TO ADJUST STEERING WHEEL ALIGNMENT
Ifsteering wheel crossbars are not horizontal (left to right)
when wheels are positioned straight forward, remove steer-
ing wheel and reassemble per instructions in the Assembly
section of this manual.
FRONT WHEEL TOE-IN/CAMBER
The front wheel toe-in and camber are not adjustable on
your' unit If damage has occurred to affect the front wheel
toe-in or camber, contact your nearest authorized service
center
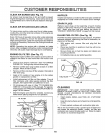
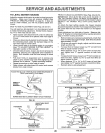
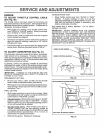
TO REMOVE WHEEL FOR REPAIRS
(See Fig. 27)
o Block up axle securely,
° Remove axle cover, retaining ringand washers to allow
wheel removal (rear wheel contains a square key - Do
not lose)
Repair tire and reassemble.
o On rear wheels only: align grooves in rear wheel hub
and axle, Insert square key.
° Replace washers and snap retaining ring securely in
axle groove.
o Replace axle cover,
WASHERS
RETAINING \
RING
AX VER
'_LSQUARE KEY
(REAR WHEELONLY)
FIG. 27
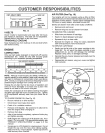
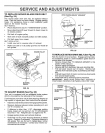
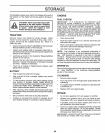
TO START ENGINE WITH A WEAK BA'FrERY
(See Figs. 28)
_,_ CAU'fION: Lead-acid batteries gener=
,_ ate explosivegases. Keep sparks,flame
and smoking materials away from bat-
teries. Always.wear eye protection when
If your battery is too weak to start the engine, it should be
recharged. If "jumper cables" are used for emergency
starting, follow this procedure:
IMPORTANT: YOUR UNIT IS EQUIPPED WITH A 12 VOLT
NEGATIVE GROUNDED SYSTEM THE OTHER VEHICLE
MUST ALSO BE A 12 VOLT NEGATIVE GROUNDED SYSTEM.
DO NOT USE YOUR TRACTOR BATTERY TO START OTHER
VEHICLES
TO ATTACH JUMPER CABLES -
Connect each end of the RED cable tothe POSITIVE (+)
terminal ofeach battery, taking care not to short against
chassis.
Connect one end of the BLACK cable to the NEGATIVE
(-) terminal of fully charged battery.
o Connect the other end of the BLACK cable to a good
CHASSIS GROUND, away from fuel tank and battery
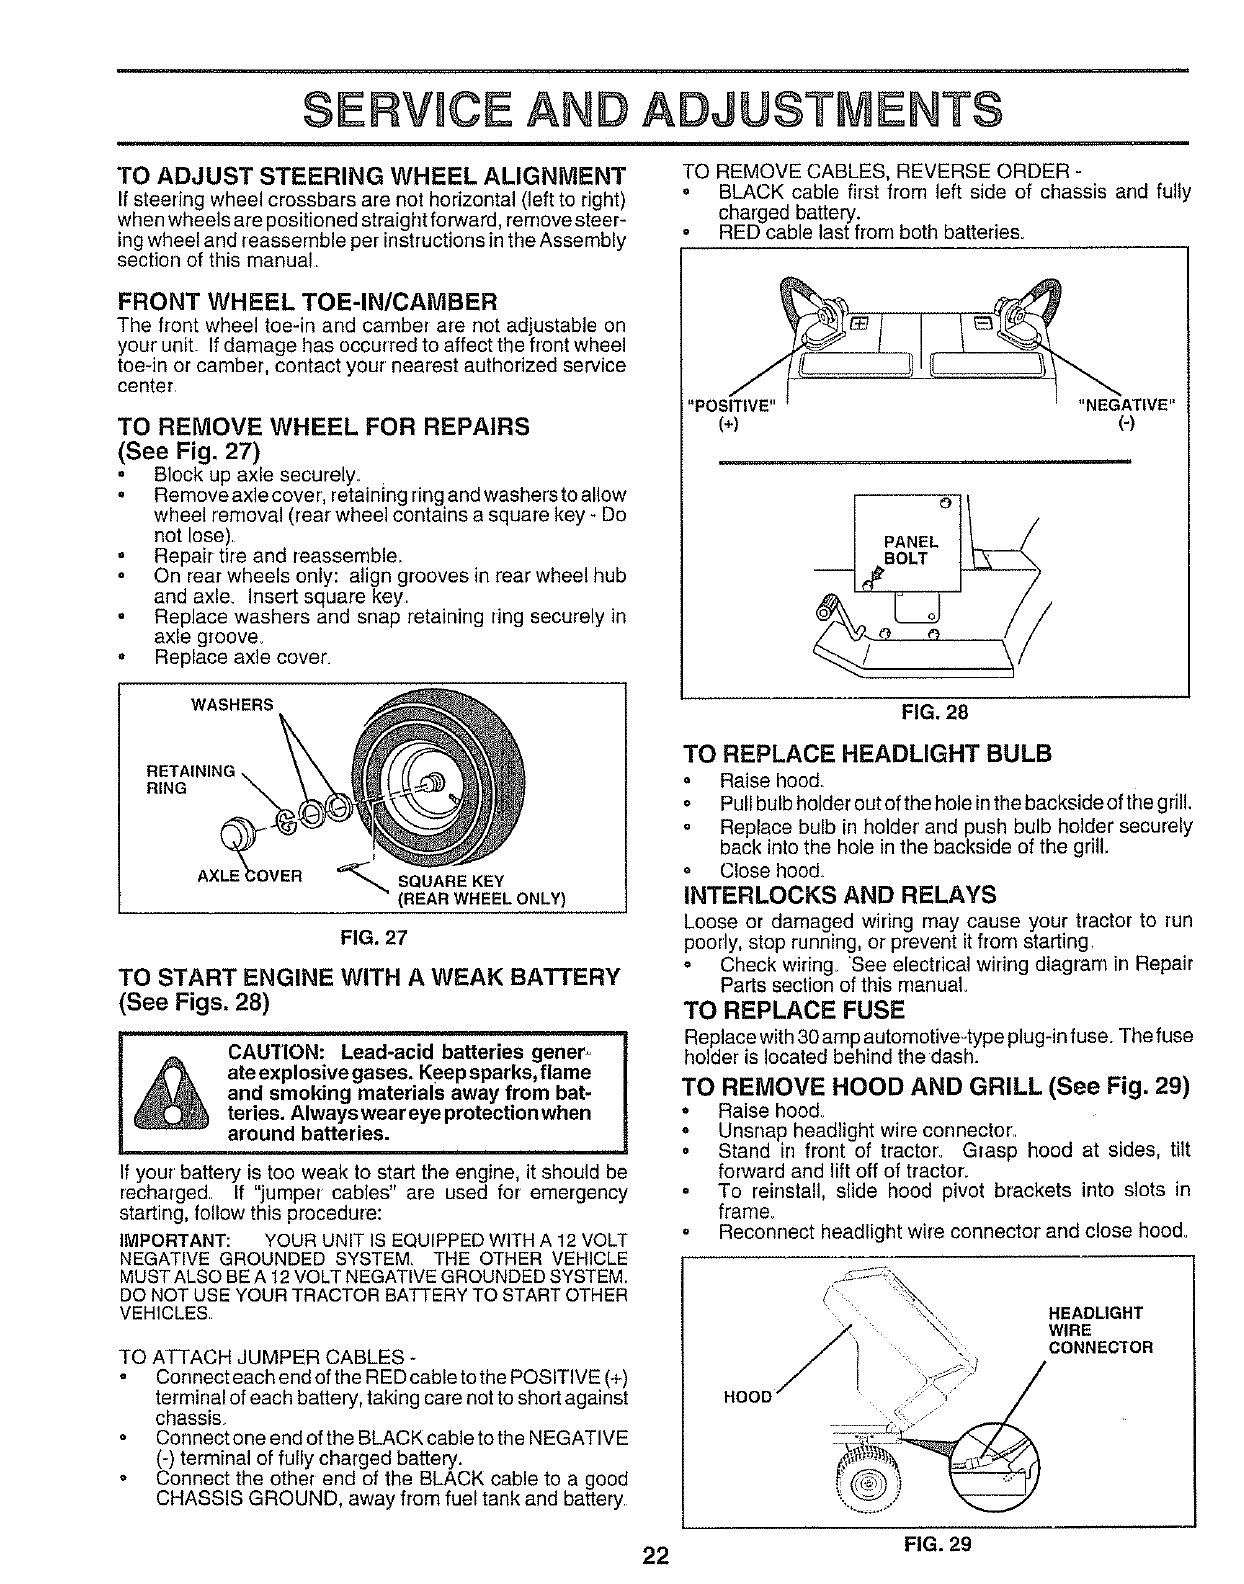
TO REMOVE CABLES, REVERSE ORDER -
o BLACK cable first from left side of chassis and fully
charged battery.
RED cable last from both batteries.
"POSITIVE .... NEGATIVE"
(+) (-)
PANELO
FIG. 28
TO REPLACE HEADLIGHT BULB
° Raise hood.
o Pull bulb holder out of the hole inthe backside of the gdll.
. Replace bulb in holder and push bulb holder securely
back into the hole in the backside of the grill
o Close hood.
INTERLOCKS AND RELAYS
Loose or damaged wiring may cause your tractor to run
poorly, stop running, or prevent itfrom starting.
° Check wiring. 'See electrical wiring diagram in Repair
Parts section of this nranuaL
TO REPLACE FUSE
Replace with 30 amp automotive=type plug-in fuse. The fuse
holder is located behind the dash.
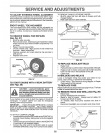
TO REMOVE HOOD AND GRILL (See Fig. 29)
o Raise hood
° Unsnap headlight wire connector.
° Stand irr front of tractor_ Grasp hood at sides, tilt
forward and lift off of tractor.
• To reinstall, slide hood pivot brackets into slots in
frame.
• Reconnect headlight wire connector and close hood_
HO(
HEADLIGHT
WIRE
CONNECTOR
I ,t
22 FIG. 29