


OPERATION
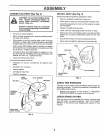
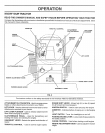
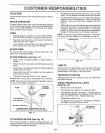
TO OPERATE ON HILLSTO ADJUST GAUGE WHEELS (See Fig. 7)
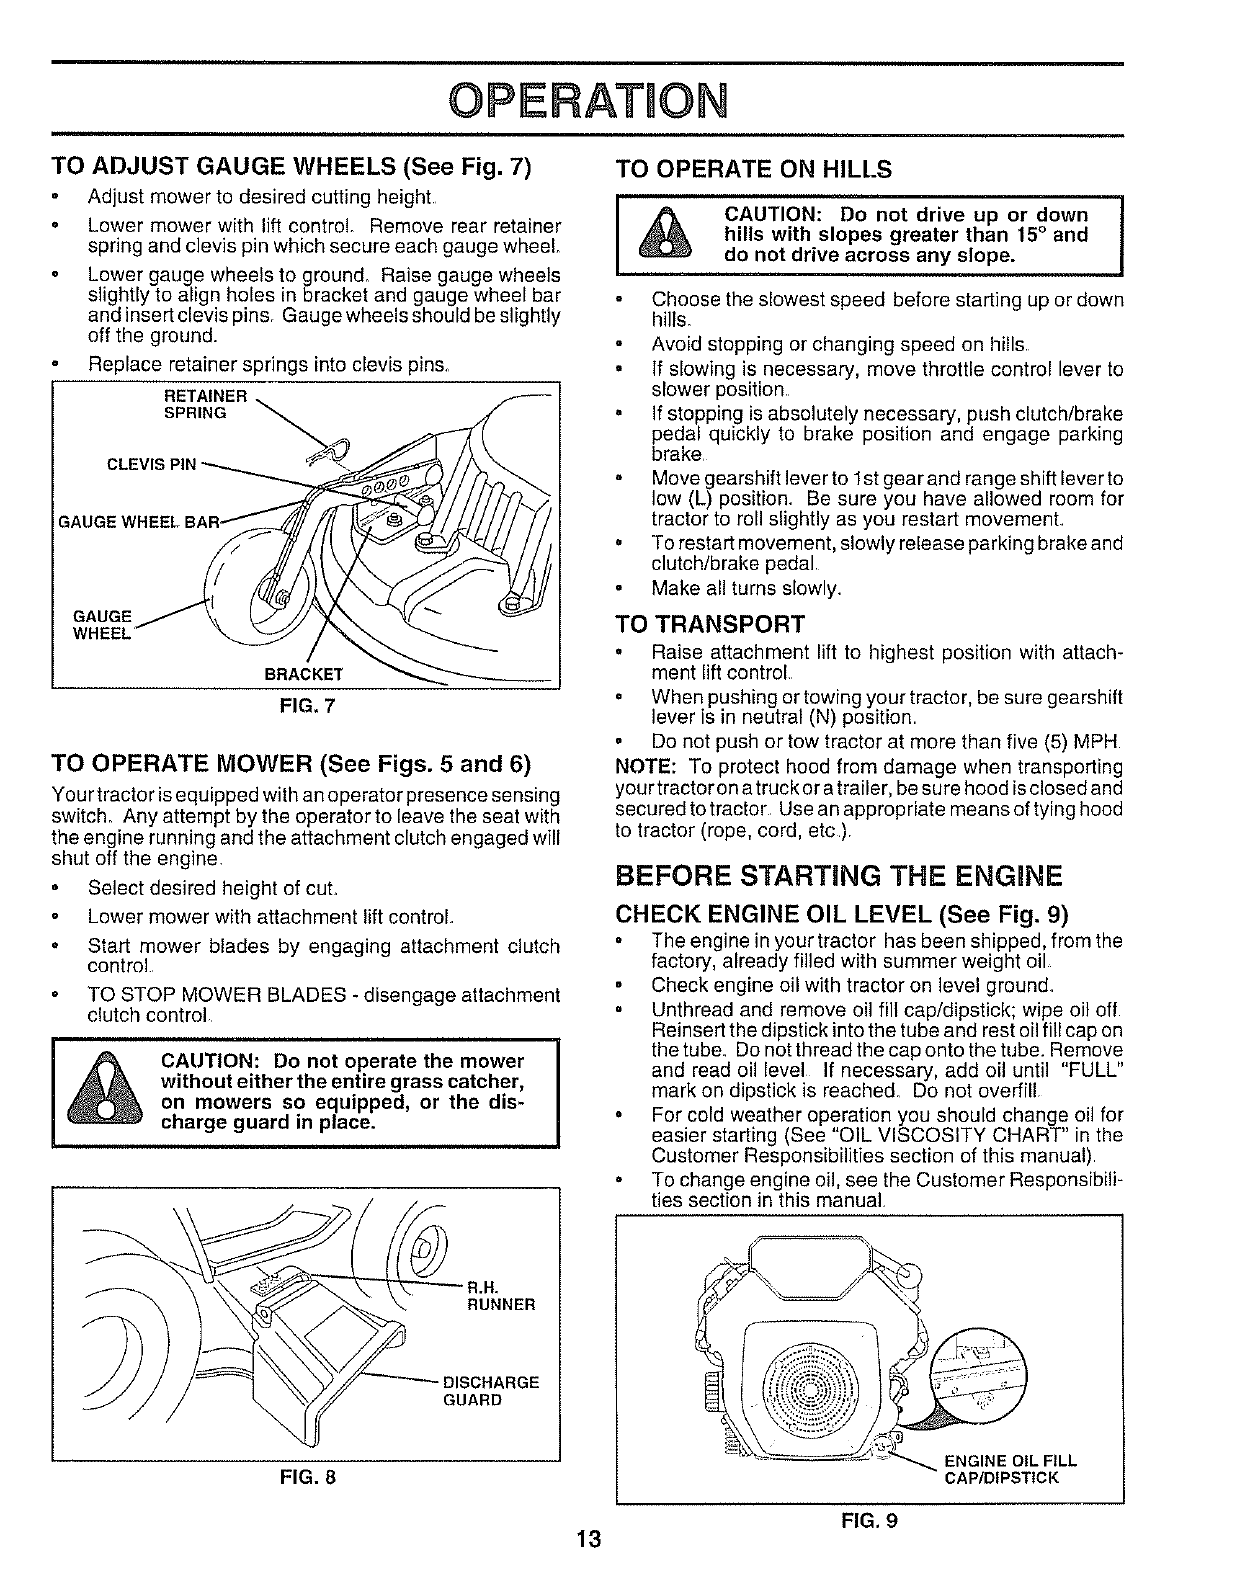
Adjust mower to desired cutting height
• Lower mower with lift control Remove rear retainer
spring and clevis pin which secure each gauge wheel
Lower gauge wheels to ground_ Raise gauge wheels
slightly to align holes in bracket and gauge wheel bar
and insert clevis pins. Gauge wheels should be slightly
off the ground.
Replace retainer springs into clevis pins.
RETAINER
SPRING _
GAUGE
WHEEL
BRACKET
FIG. 7
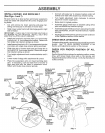
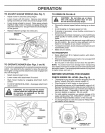
TO OPERATE MOWER (See Figs. 5 and 6)
Your tractor isequipped with an operator presence sensing
switch. Any attempt by the operator to leave the seat with
the engine running and the attachment clutch engaged will
shut off the engine.
Select desired height of cuL
Lower mower with attachment lift control.
Start mower blades by engaging attachment clutch
control
TO STOP MOWER BLADES - disengage attachment
clutch control
I
CAUTION: Do not operate the mower
without either the entire grass catcher,
I
on mowers so equipped, or the dis-
charge guard in place.
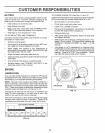
RUNNER
DISCHARGE
GUARD
FIG. 8
I _ CAUTION: Do not drive up or down
hills with slopes greater than 15° and
do not drive across any slope.
Choose the slowest speed before starting up or down
hills.
Avoid stopping or changing speed on hills
. If slowing is necessary, move throttle control lever to
slower position.
• If stopping is absolutely necessary, push clutch/brake
pedal quickly to brake position and engage parking
brake
Move gearshift lever to 1st gear and range shift lever to
low (L) position. Be sure you have allowed room for
tractor to roll slightly as you restart movement
• To restart movement, slowly release parking brake and
clutch/brake pedal
Make all turns slowly.
TO TRANSPORT
° Raise attachment lift to highest position with attach-
ment lift control
• When pushing or towing your tractor, be sure gearshift
lever is in neutral (N) position
Do not push or tow tractor at more than five (5) MPH
NOTE: To protect hood from damage when transporting
your tractor on atruck or a trailer, be sure hood isclosed and
secured to tractor Use an appropriate means of tying hood
to tractor (rope, cord, etc).
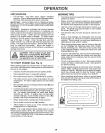
BEFORE STARTING THE ENGINE
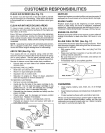
CHECK ENGINE OIL LEVEL (See Fig. 9)
• The engine in your tractor has been shipped, from the
factory, already filled with summer weight oil
Check engine oil with tractor on level ground.
Unthread and remove oil fill cap/dipstick; wipe oil off
Reinsert the dipstick into the tube and rest oil fill cap on
the tube. Do not thread the cap onto the tube. Remove
and read oil level If necessary, add oil until "FULL"
mark on dipstick is reached. Do not overfill
° For cold weather operation you should change oil for
easier starting (See "OIL VISCOSITY CHART" in the
Customer Responsibilities section of this manual)
° To change engine oil, see the Customer Responsibili-
ties section in this manual.
ENGINE OIL FILL
CAP/DIPSTICK
FIG. 9
13