


Yourpressurewasherrequiressomeassemblyandis
readyforuseonlyafterit hasbeenproperlyserviced
withtherecommendedoilandfuel.
If youhaveanyproblemswiththeassemblyof
yourpressurewasher,pleasecall the pressure
washerhelplineat 1-800-222-3136.
IMPORTANT:Anyattemptto runtheenginebeforeit
hasbeenservicedwiththerecommendedoilwillresult
inanenginefailure.
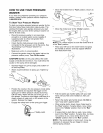
REMOVE PRESSURE WASHER
FROM CARTON
• Open carton and slice two corners opposite guide
handle from top to bottom so the panel can be
folded down flat.
• Remove fillers and parts box shipped with your
pressure washer.
• Roll the pressure washer out the open end of the
carton.
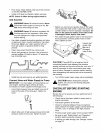
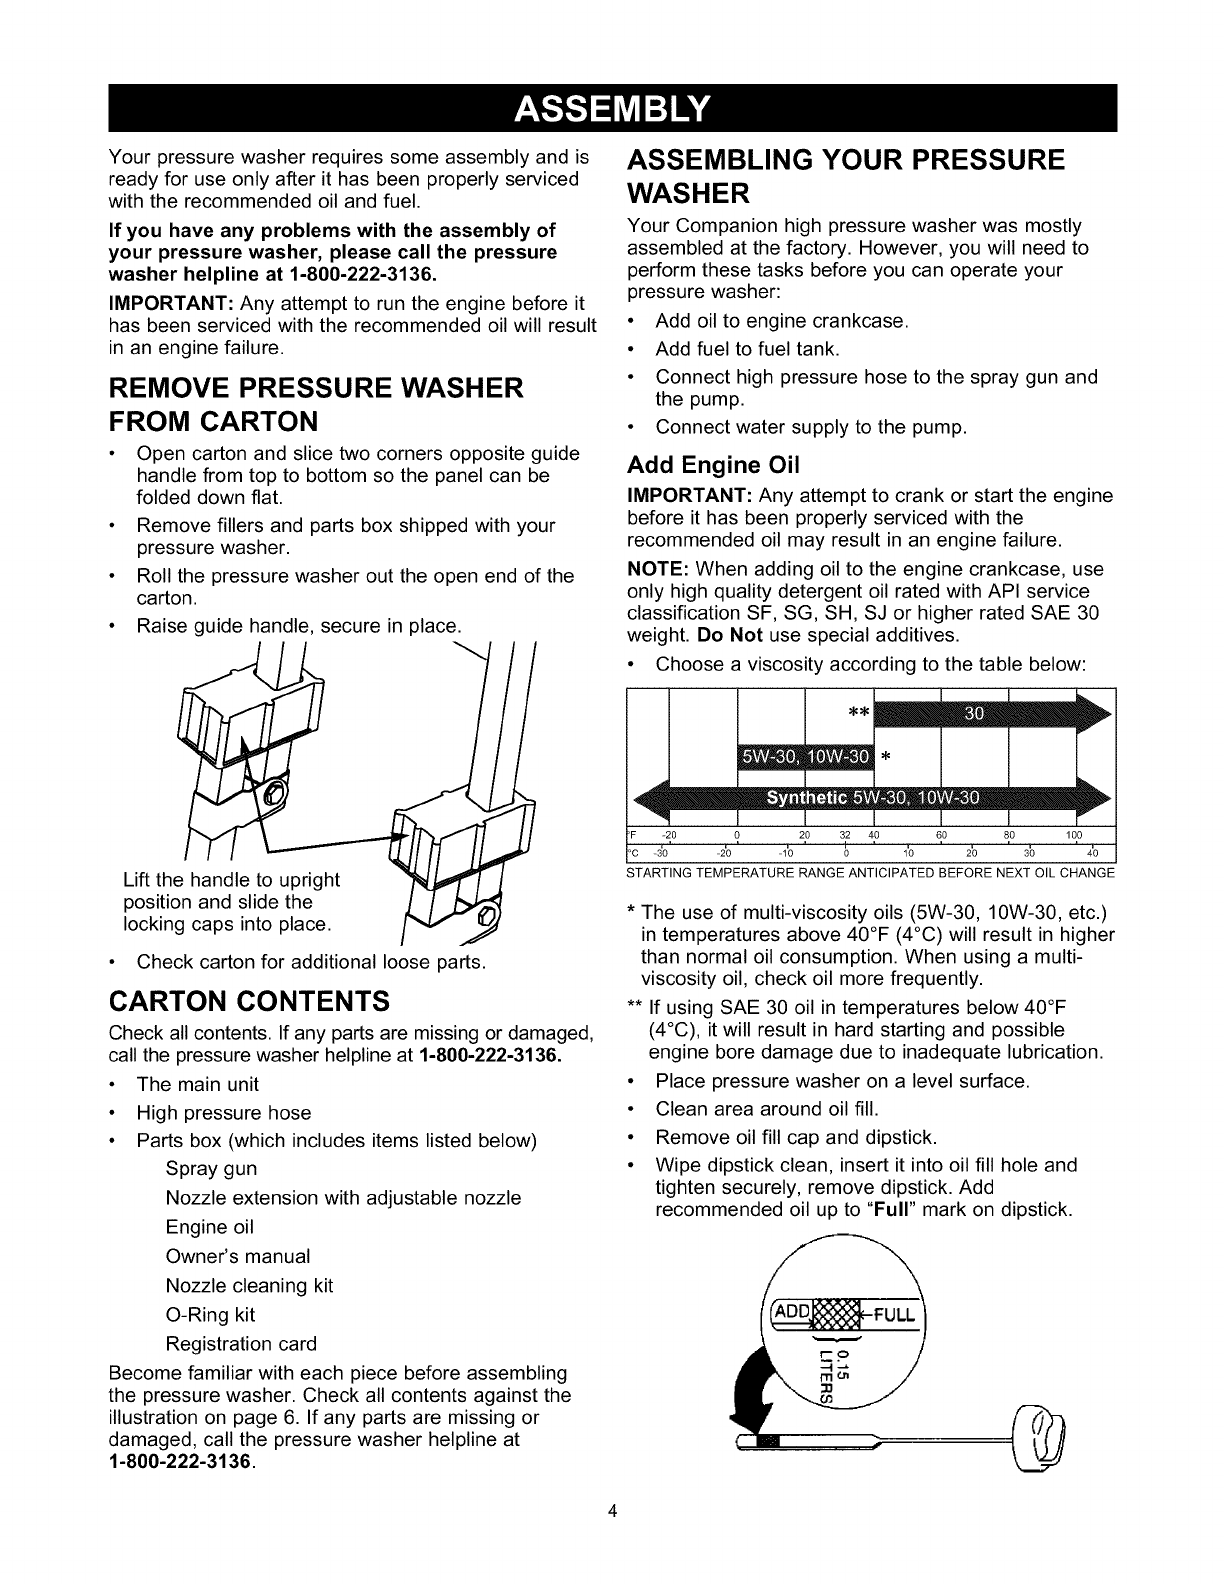
• Raise guide handle, secure in place.
Lift the handle to upright
position and slide the
locking caps into place.
• Check carton for additional loose parts.
CARTON CONTENTS
Check all contents. If any parts are missing or damaged,
call the pressure washer helpline at 1-800-222-3136.
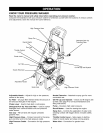
• The main unit
• High pressure hose
• Parts box (which includes items listed below)
Spray gun
Nozzle extension with adjustable nozzle
Engine oil
Owner's manual
Nozzle cleaning kit
O-Ring kit
Registration card
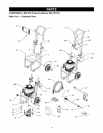
Become familiar with each piece before assembling
the pressure washer. Check all contents against the
illustration on page 6. If any parts are missing or
damaged, call the pressure washer helpline at
1-800-222-3136.
ASSEMBLING YOUR PRESSURE
WASHER
Your Companion high pressure washer was mostly
assembled at the factory. However, you will need to
perform these tasks before you can operate your
pressure washer:
• Add oil to engine crankcase.
• Add fuel to fuel tank.
• Connect high pressure hose to the spray gun and
the pump.
• Connect water supply to the pump.
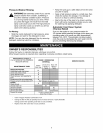
Add Engine Oil
IMPORTANT: Any attempt to crank or start the engine
before it has been properly serviced with the
recommended oil may result in an engine failure.
NOTE: When adding oil to the engine crankcase, use
only high quality detergent oil rated with API service
classification SF, SG, SH, SJ or higher rated SAE 30
weight. Do Not use special additives.
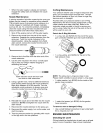
• Choose a viscosity according to the table below:
**mmm
ram,
F _20 0 20 32 40 60 80 100
C -30 -20 R -10 R _ ' 10 20 30 40
STARTING TEMPERATURE RANGE ANTICIPATED BEFORE NEXT OIL CHANGE
* The use of multi-viscosity oils (5W-30, 10W-30, etc.)
in temperatures above 40°F (4°C) will result in higher
than normal oil consumption. When using a multi-
viscosity oil, check oil more frequently.
** If using SAE 30 oil in temperatures below 40°F
(4°C), it will result in hard starting and possible
engine bore damage due to inadequate lubrication.
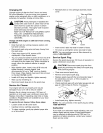
• Place pressure washer on a level surface.
• Clean area around oil fill.
• Remove oil fill cap and dipstick.
• Wipe dipstick clean, insert it into oil fill hole and
tighten securely, remove dipstick. Add
recommended oil up to "Full" mark on dipstick.
@