5
Call 1-866-576-8388 for missing parts or assembly help
DO NOT RETURN TO STORE
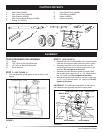
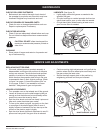
FIGURE 3
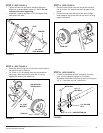
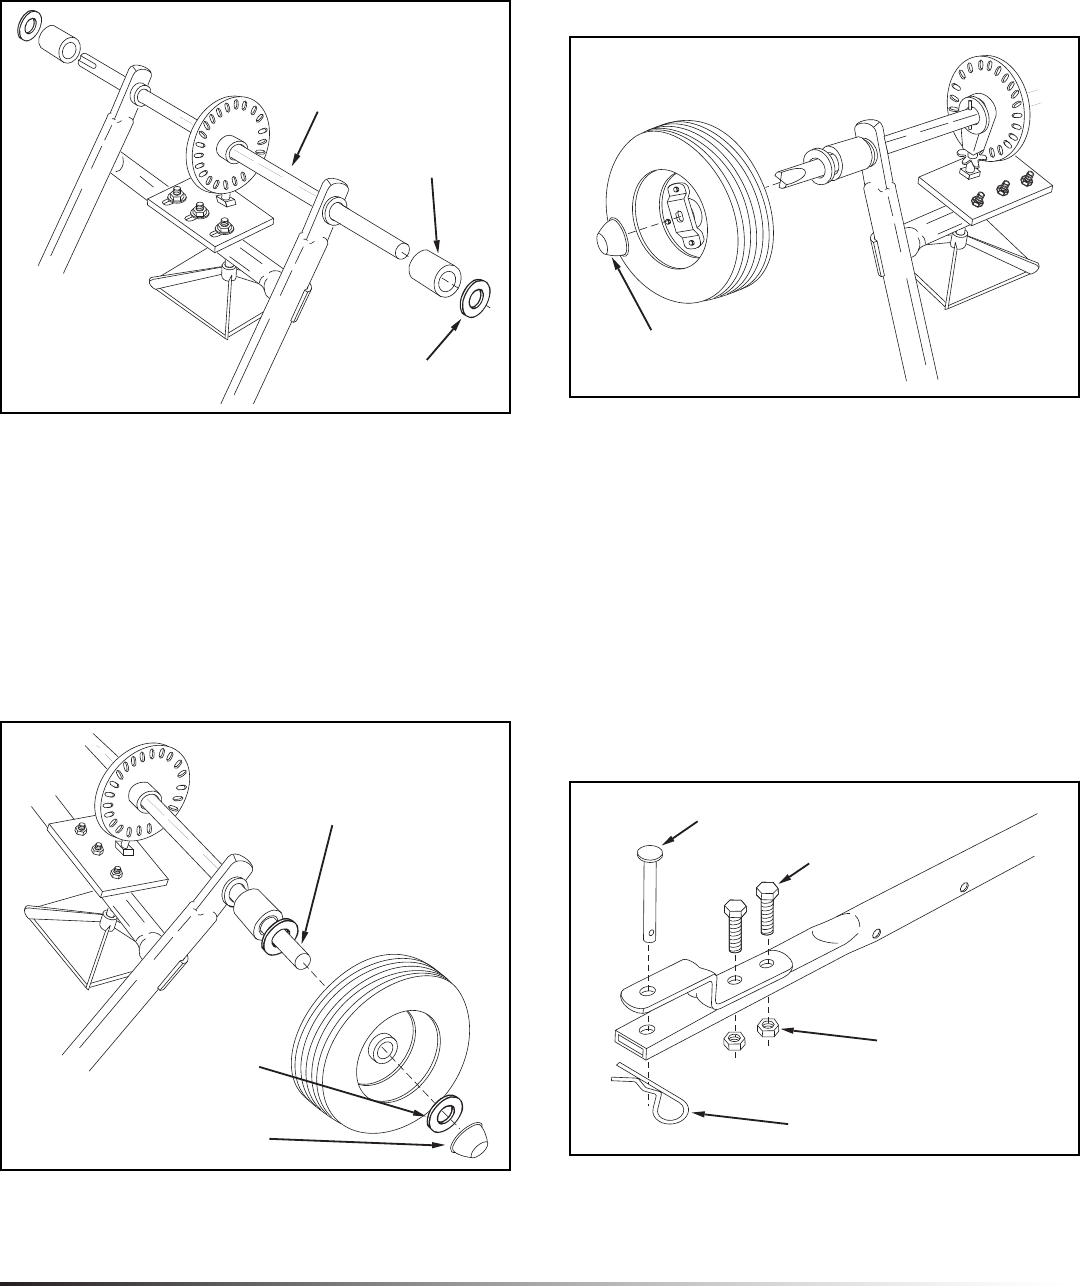
STEP 3: (SEE FIGURE 3)
• Tighten all hex nuts and bolts, following the same
sequence as assembled in steps 4, 5 and 6. Do not
collapse tube when tightening.
• Assembleaspacerandthena1/2"atwasheronto
each end of the axle.
AXLE
SPACER
1/2" DIA.
FLAT WASHER
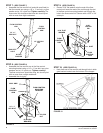
STEP 4: (SEE FIGURE 4)
• Placethewheel(longendofhubrst)ontotheendof
the axle that has no indents.
• 10. Placea1/2"atwasherontotheaxleandthen
lightly tap a hub cap onto the axle until it is snug
against the washer and wheel hub.
1/2" FLAT
WASHER
HUB CAP
END WITH NO
CROSS HOLE
FIGURE 4
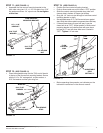
STEP 5: (SEE FIGURE 5)
• Place the drive wheel onto the end of the axle that
has an indent. The long end of the hub goes to the
inside.
• Place a hub cap onto the end of the axle. Using a
small hammer, lightly tap the hub cap until it is snug
against the wheel.
FIGURE 5
HUB CAP
STEP 6: (SEE FIGURE 6)
• In order to assemble the hitch bracket to the hitch
tube, turn the spreader upright on its wheels.
Assemble the bracket to the top of the hitch using two
1/4" x 1" hex bolts and 1/4" nylock nuts.
FIGURE 6
1/4" x 1"
HEX BOLT
1/4" NYLOCK
NUT
HITCH PIN
HAIR COTTER PIN


